For the Home, Other, Tutorials

DIY Faux Plant Desk Decor

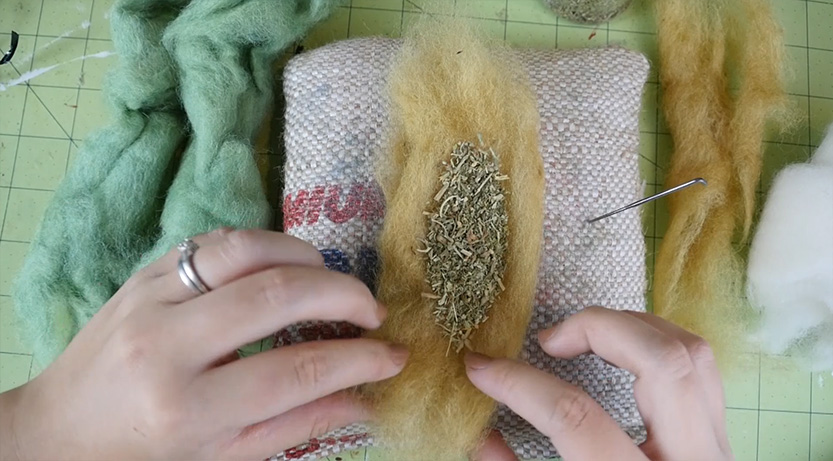
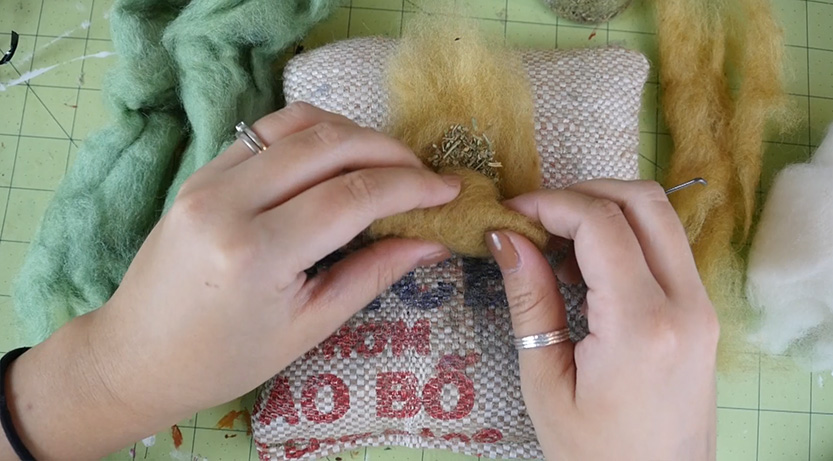
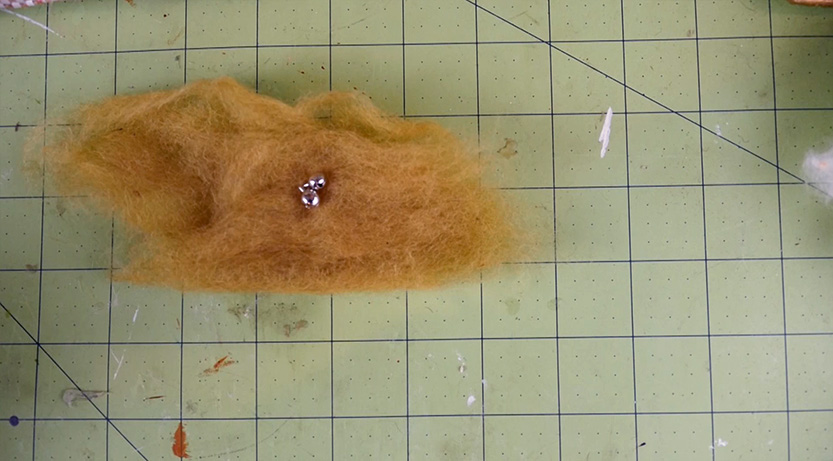
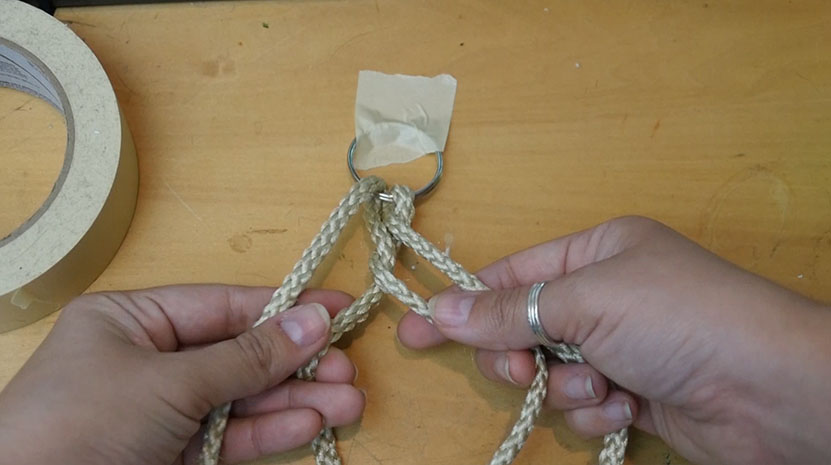
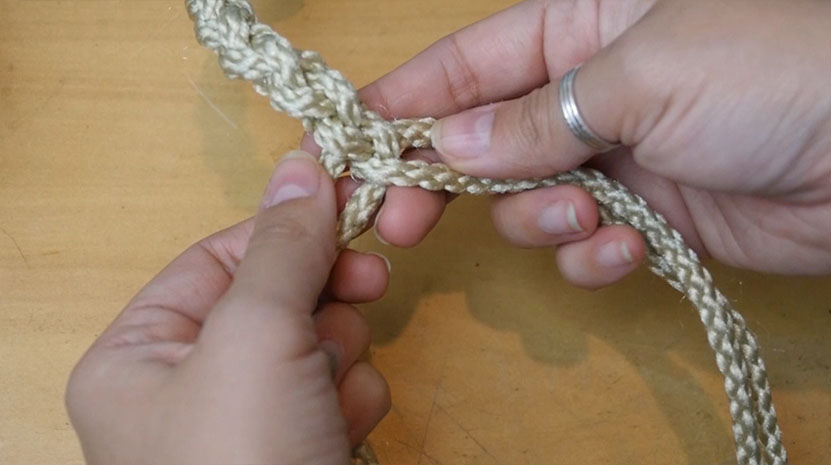
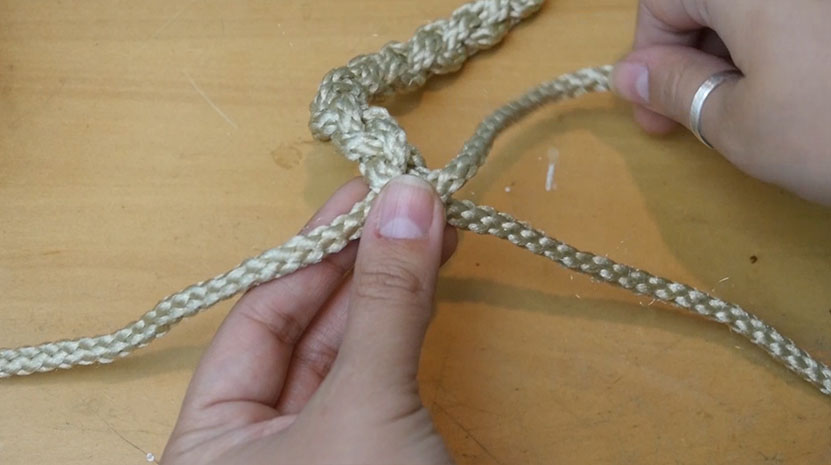
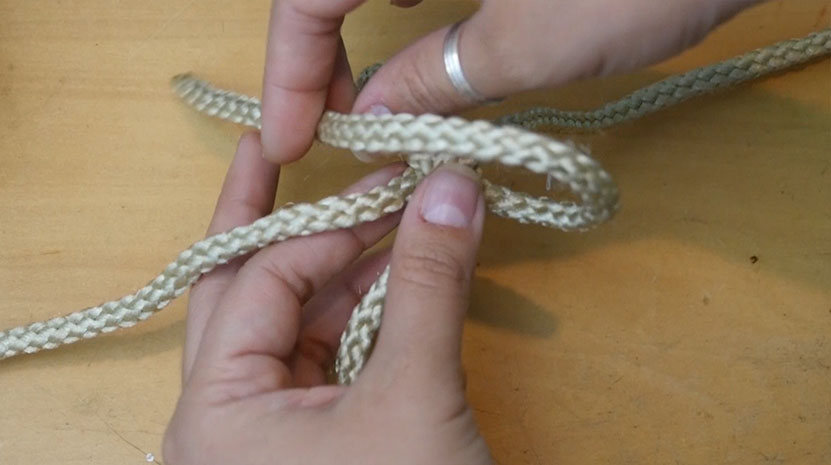
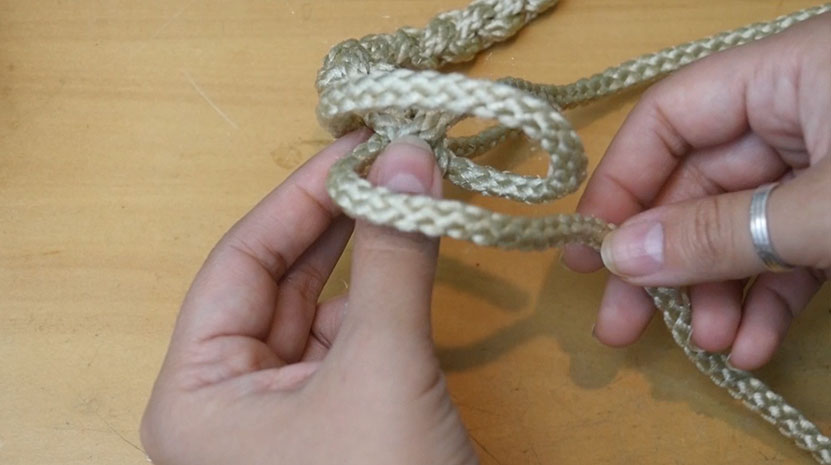
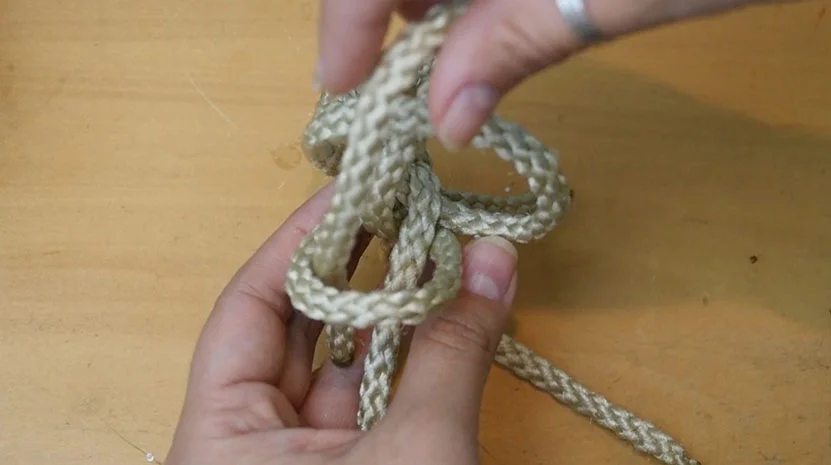
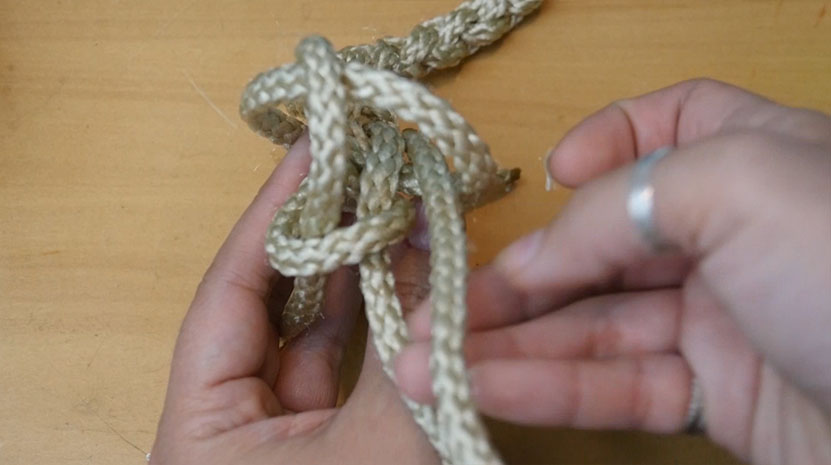
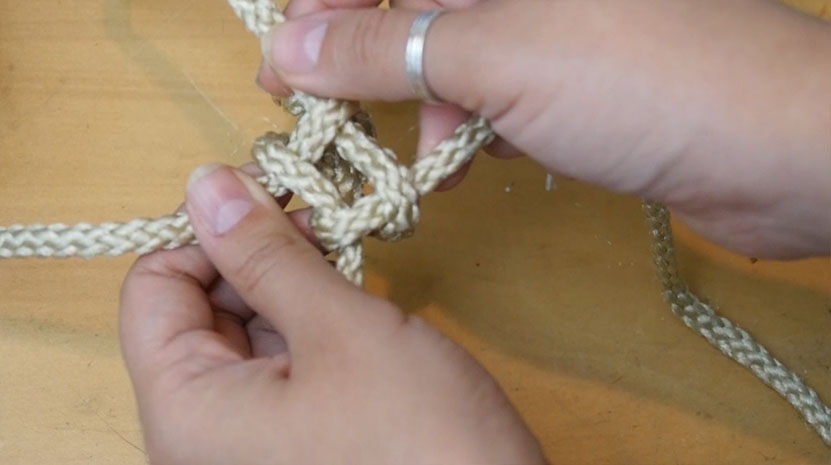
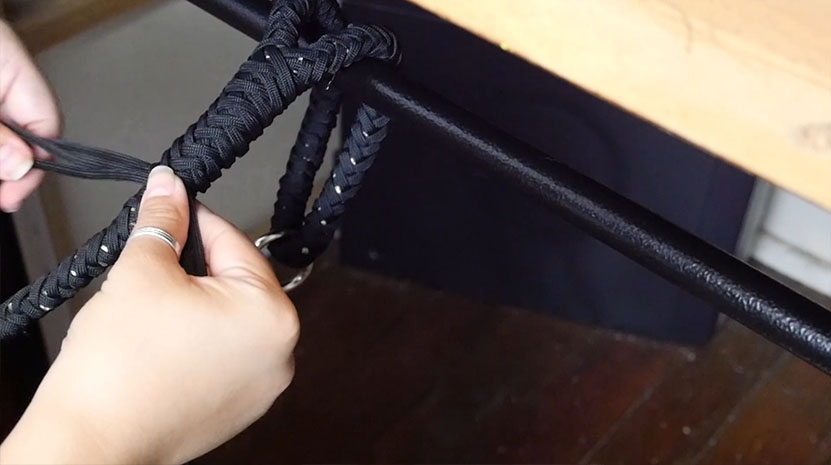
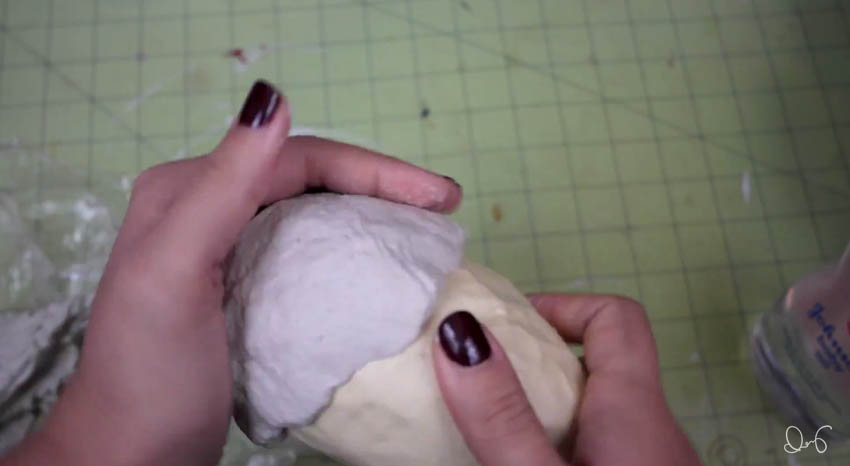
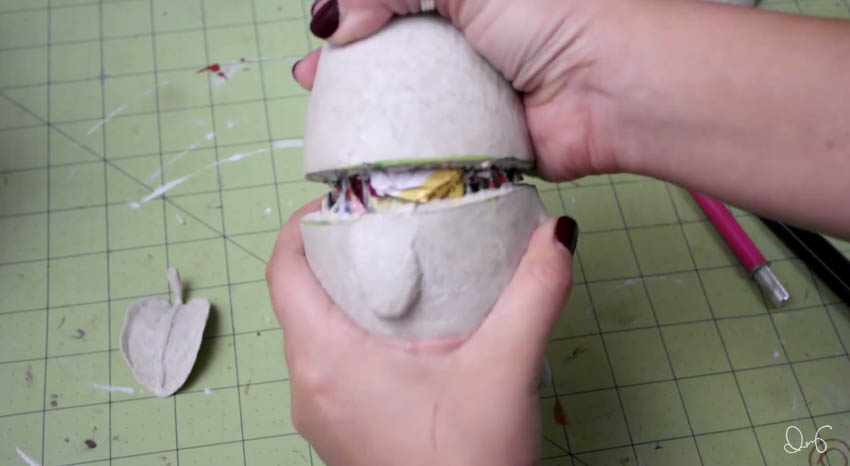
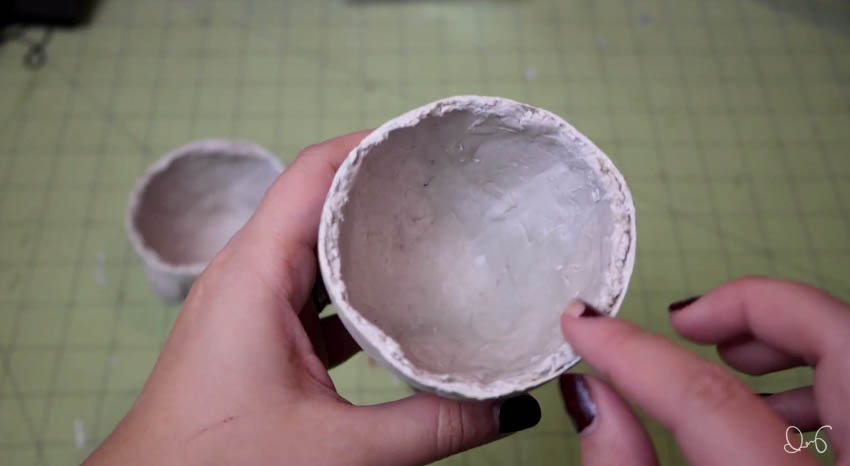
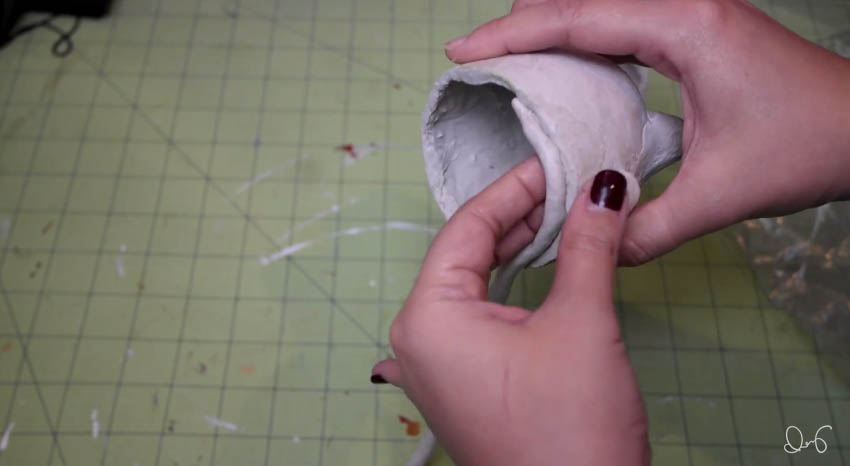
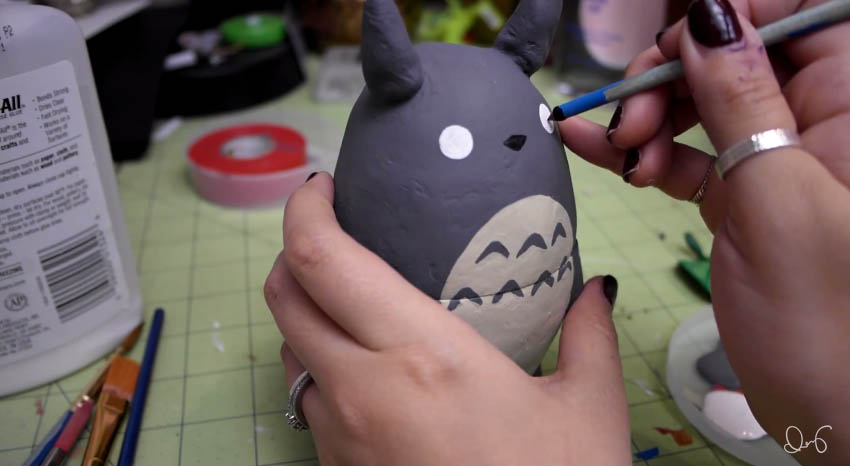
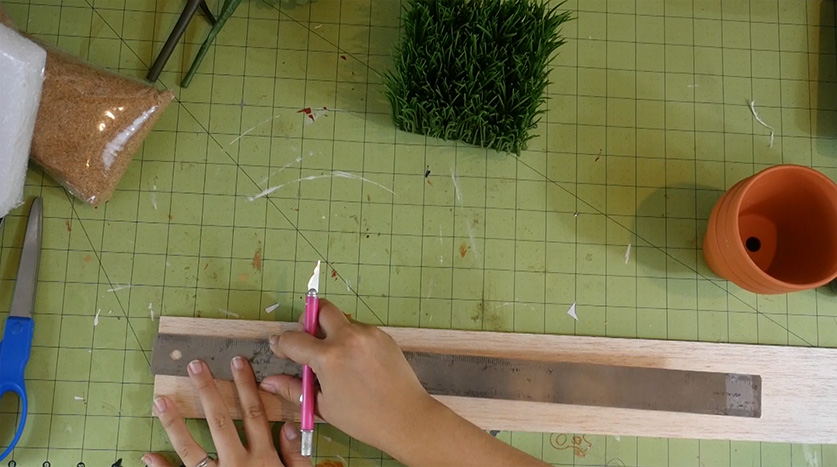
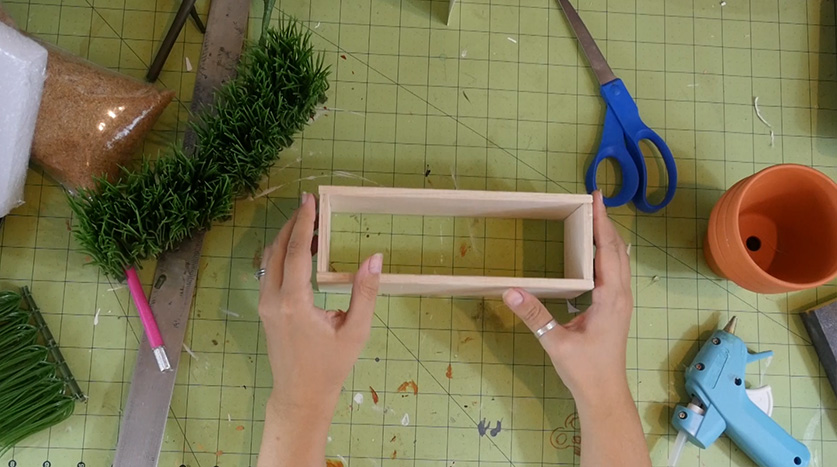
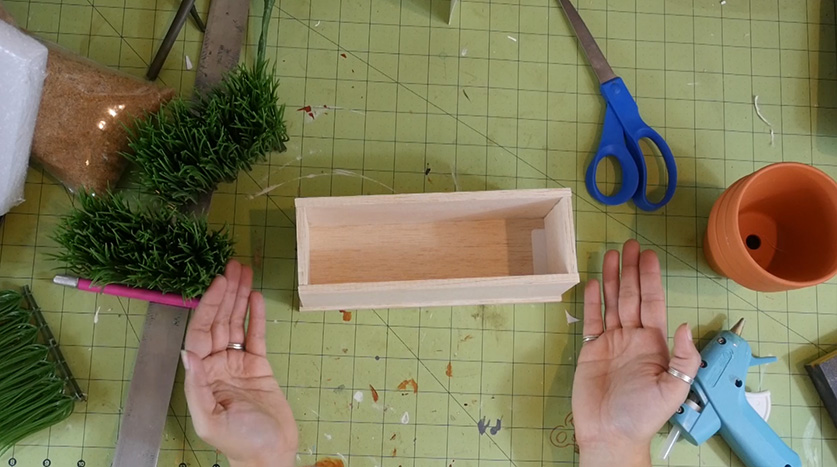
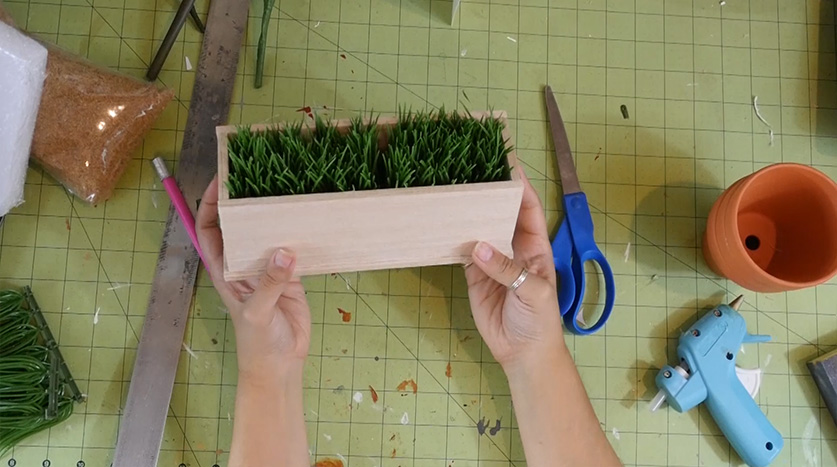
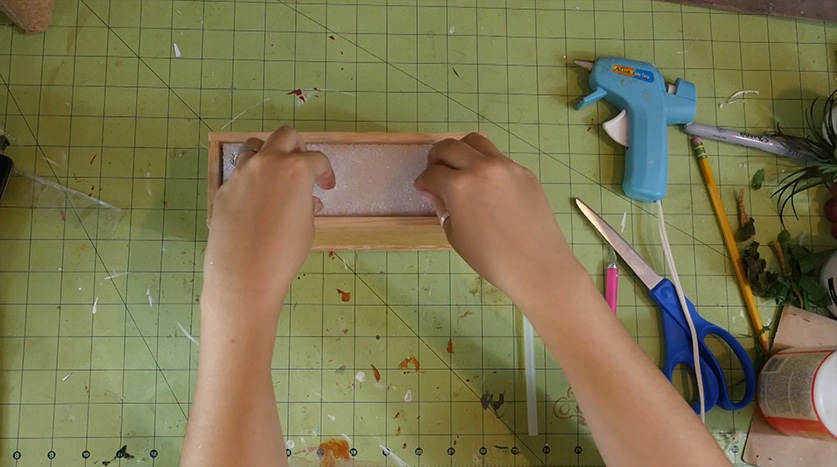
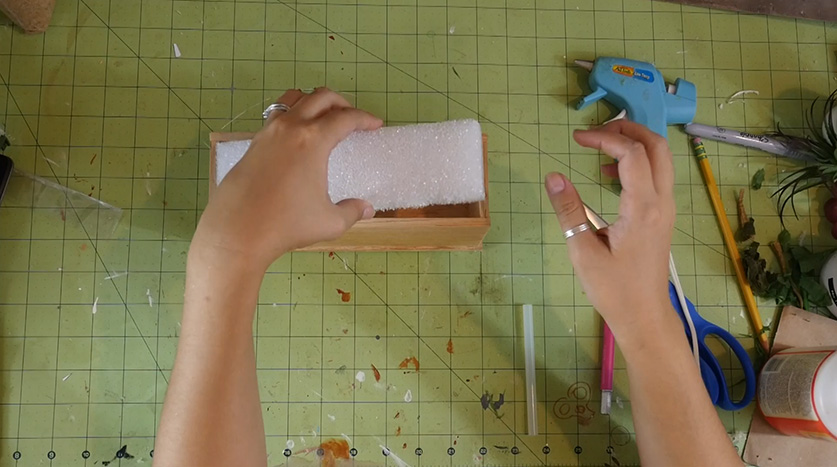
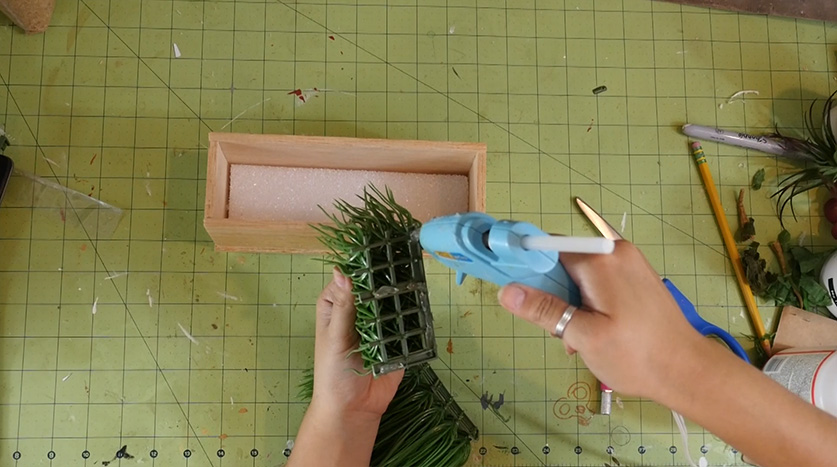
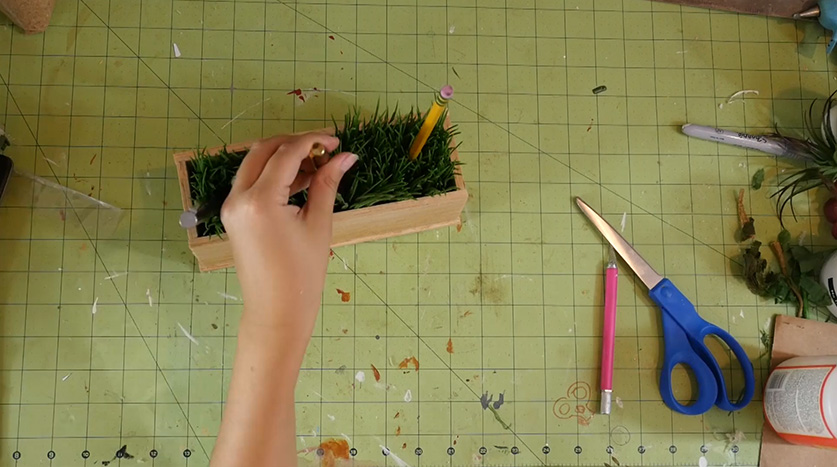
This week I'll be showing you how to make some cute faux plant desk decorations. I decided to make these because my sister got her first internship and she needs decorations for desk at work! First I'll start off with the grass. I thought it could make a pretty neat looking pen/pencil holder. I wanted it to be long, so I'm going to cut the grass chunk in half.

-fake plants -scissors -sand -styrofoam -hot glue gun -pots -balsa wood -xacto knife -saw -paints/finish -ModPodge

First I'll start off with the grass. I thought it could make a pretty neat looking pen/pencil holder. I wanted it to be long, so I'm going to cut the grass chunk in half.

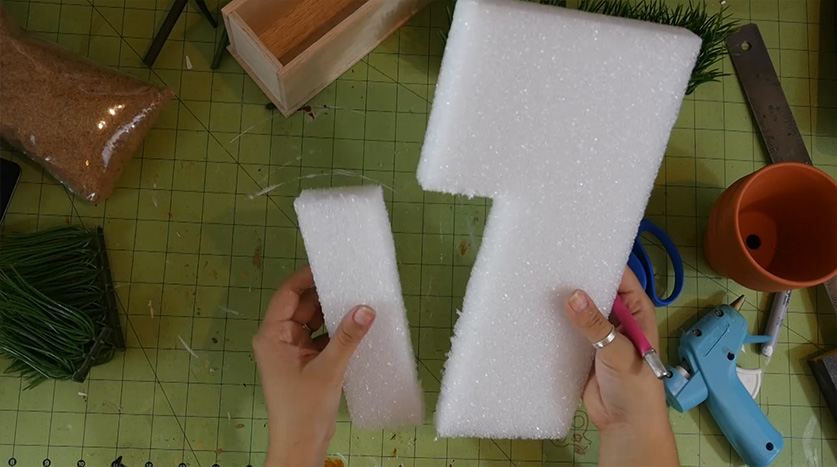
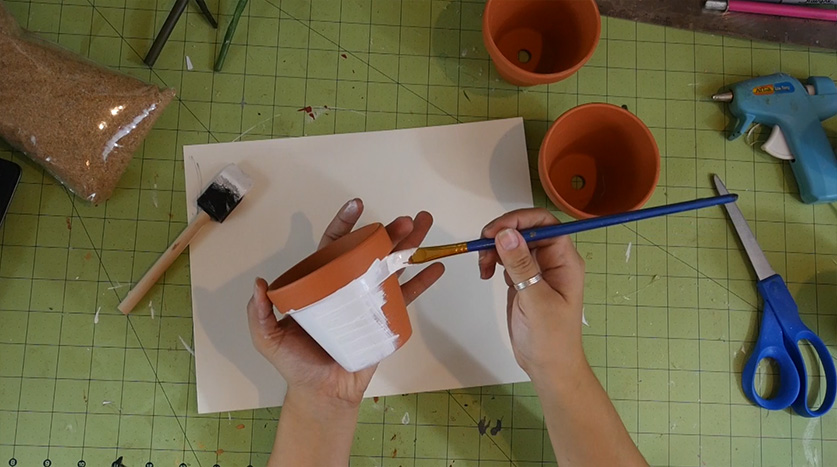
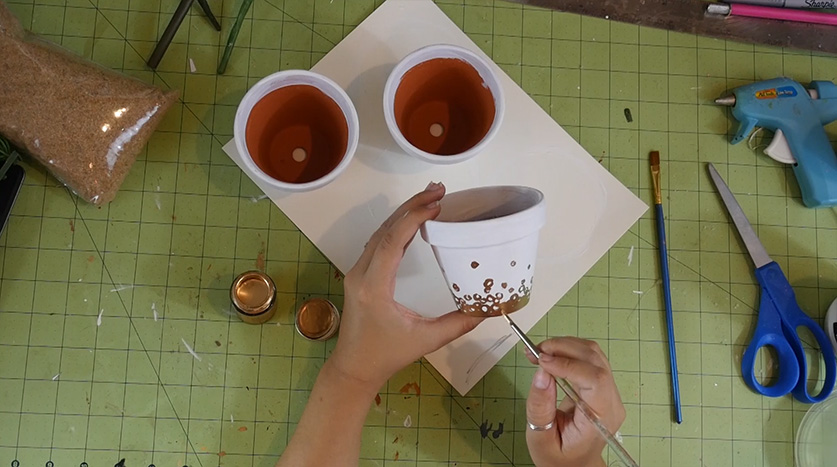
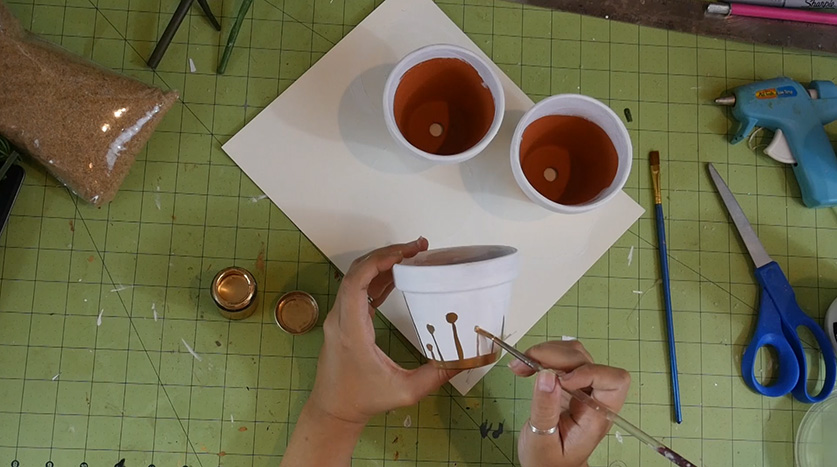
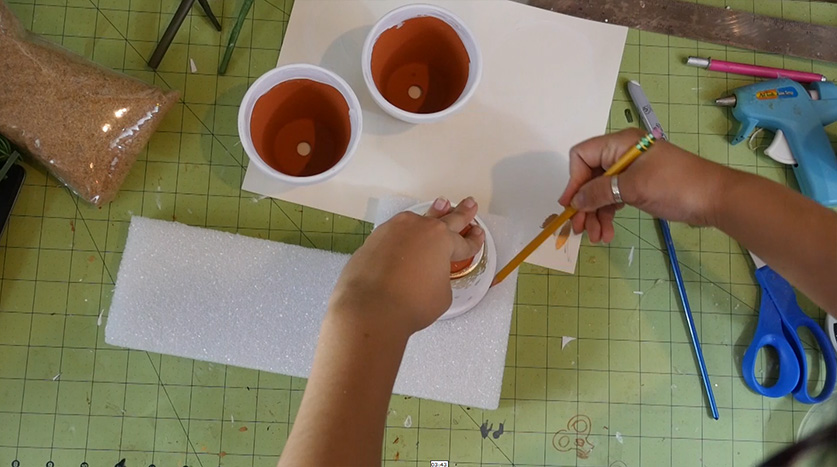
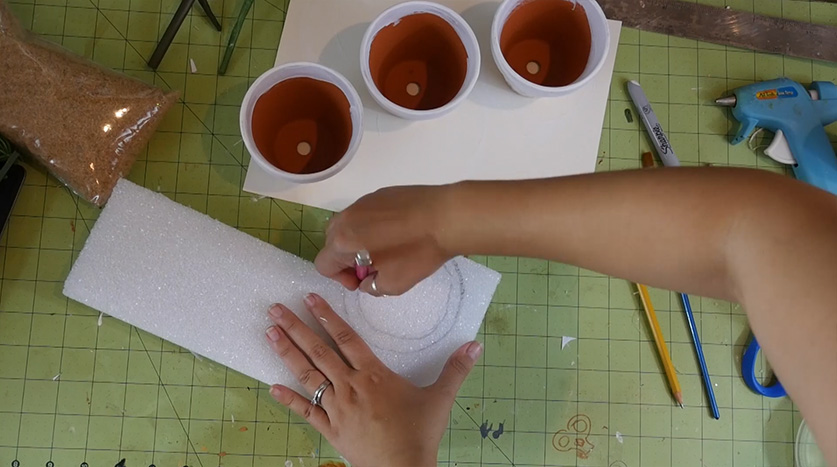
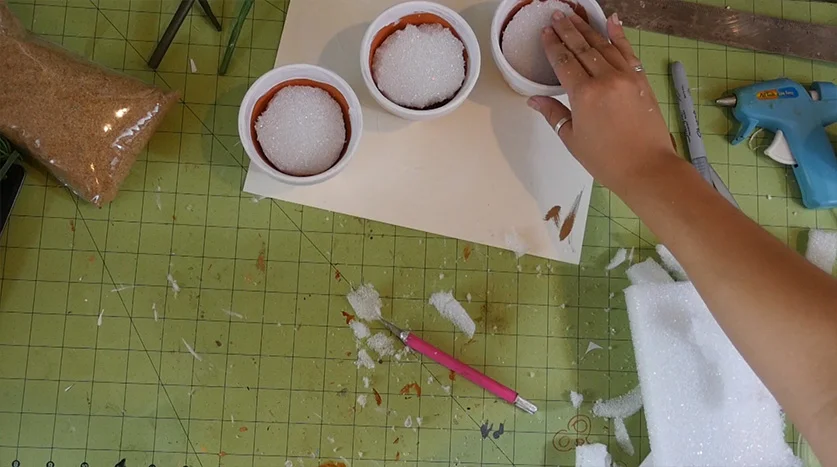
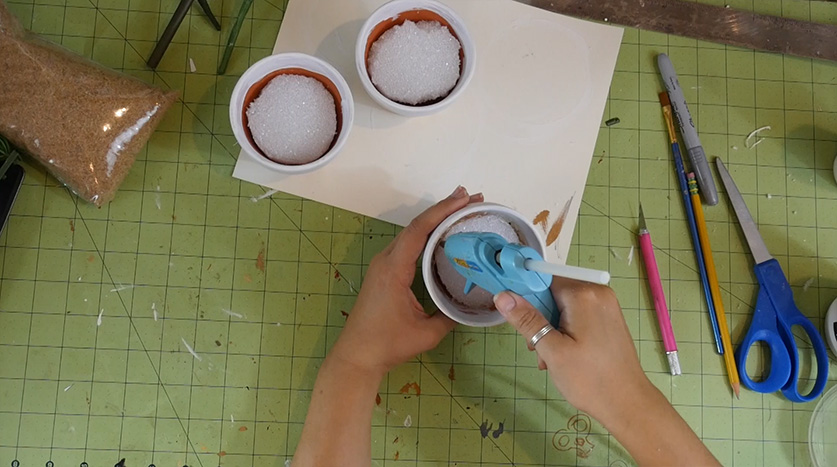
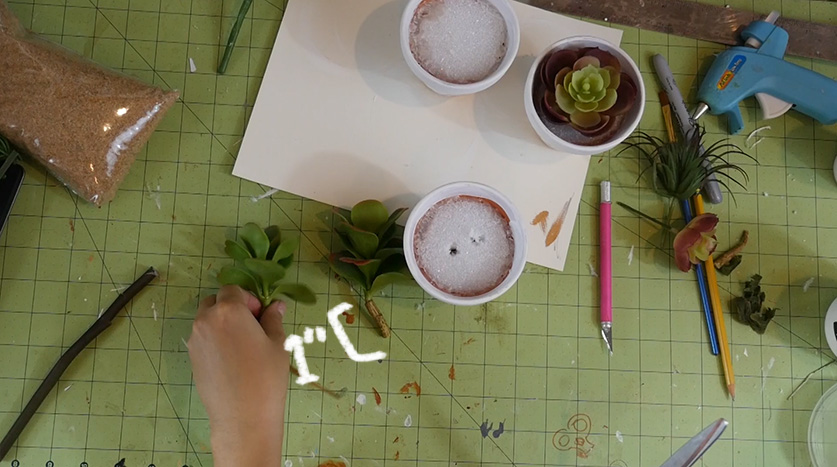
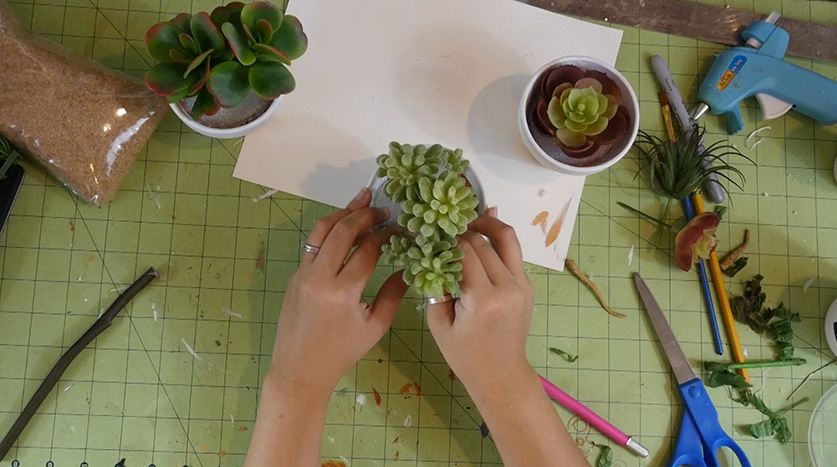
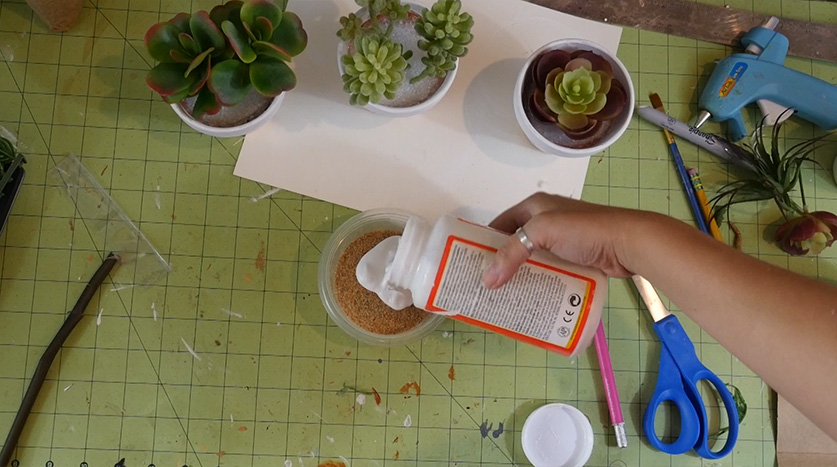
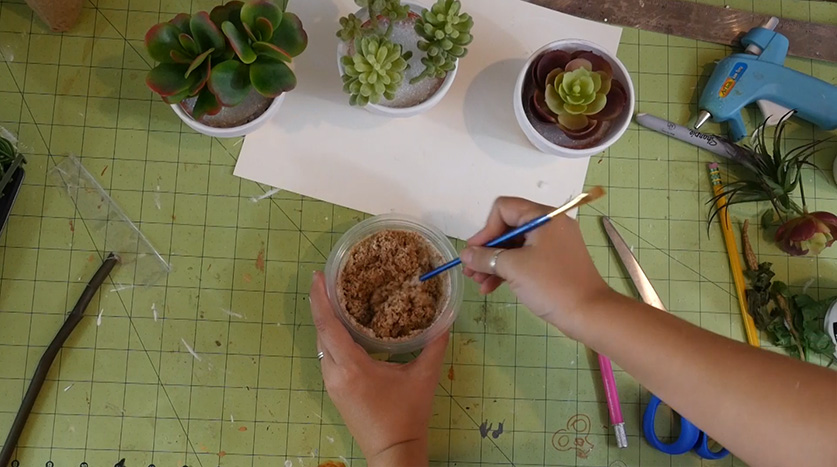
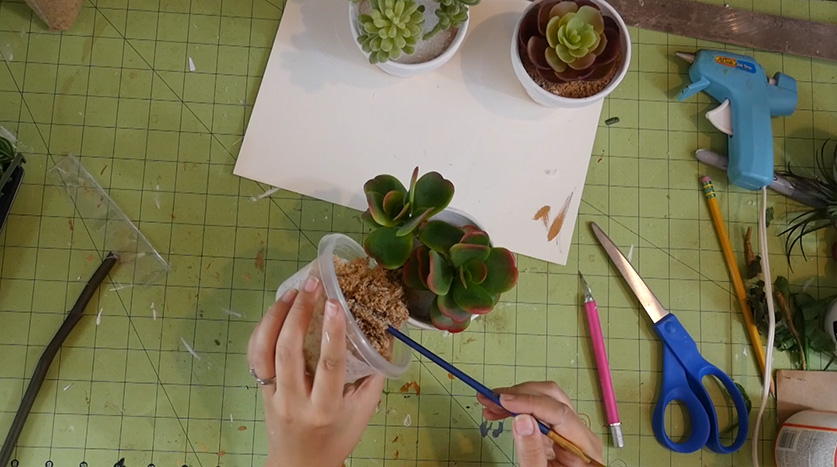
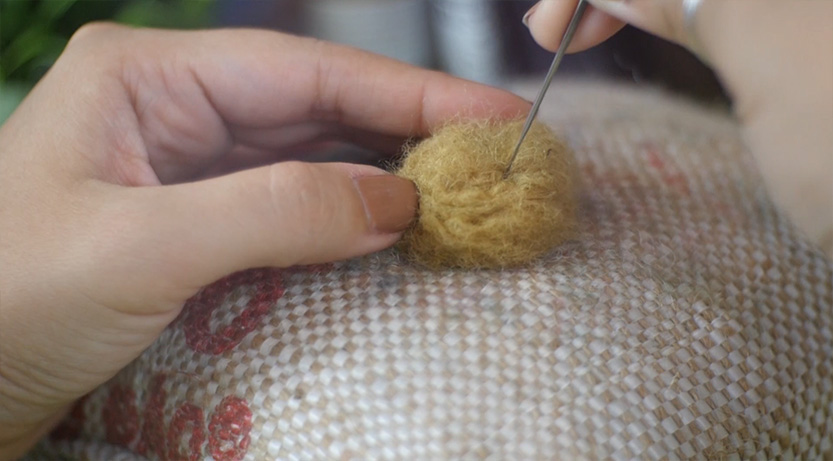
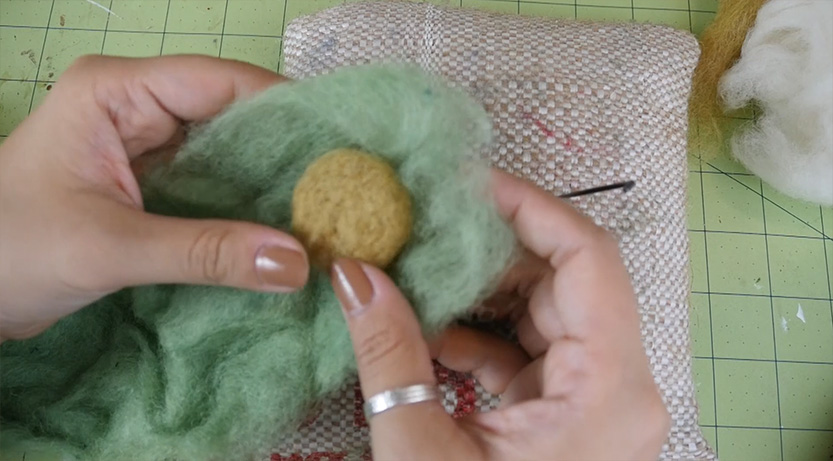
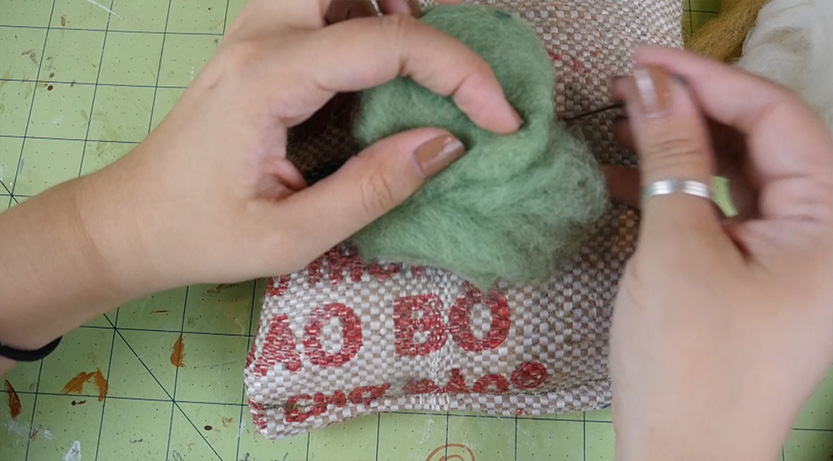
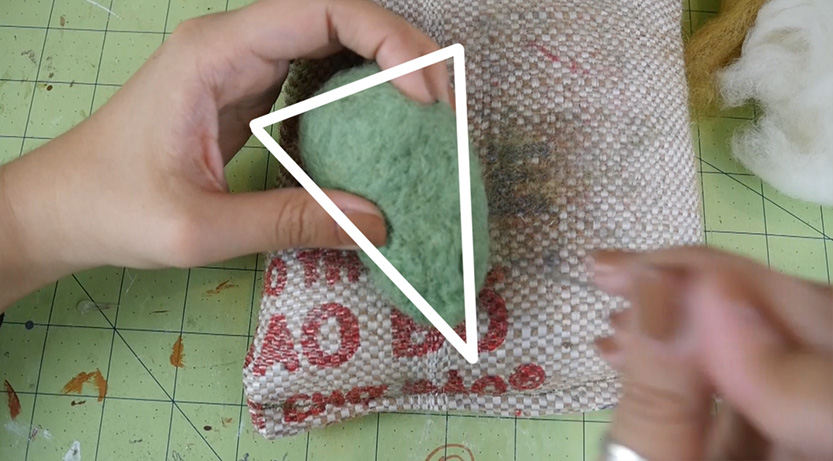
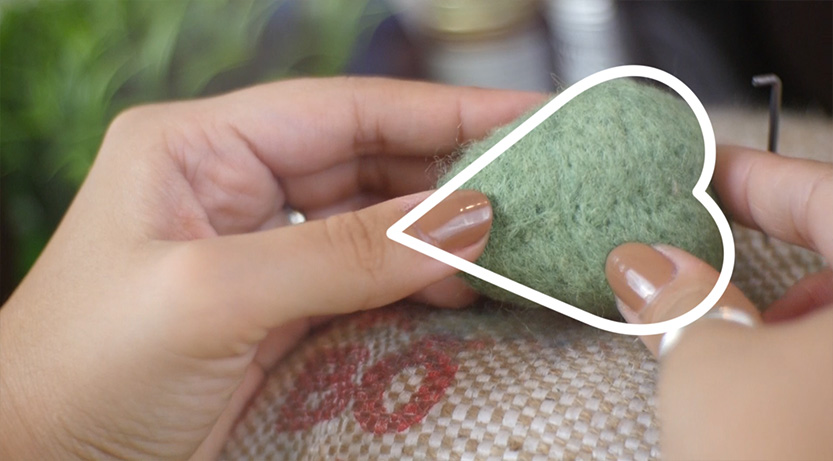
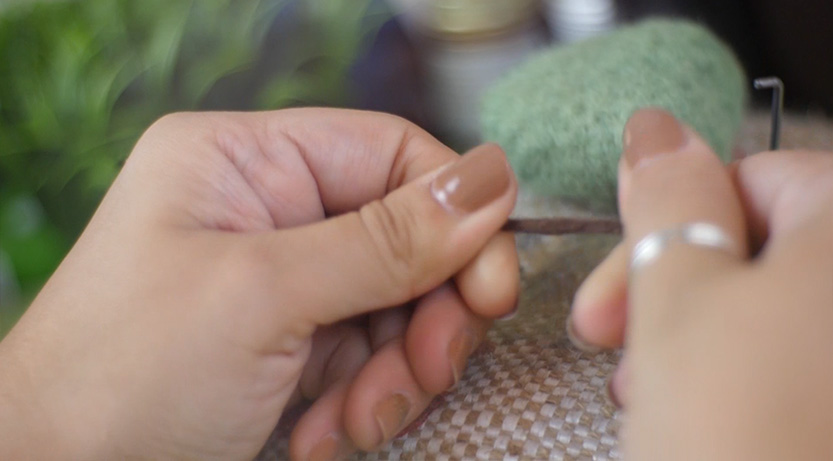
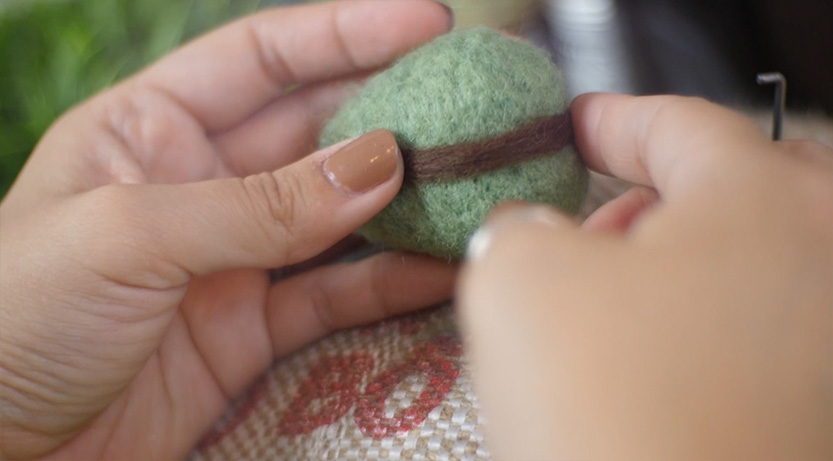
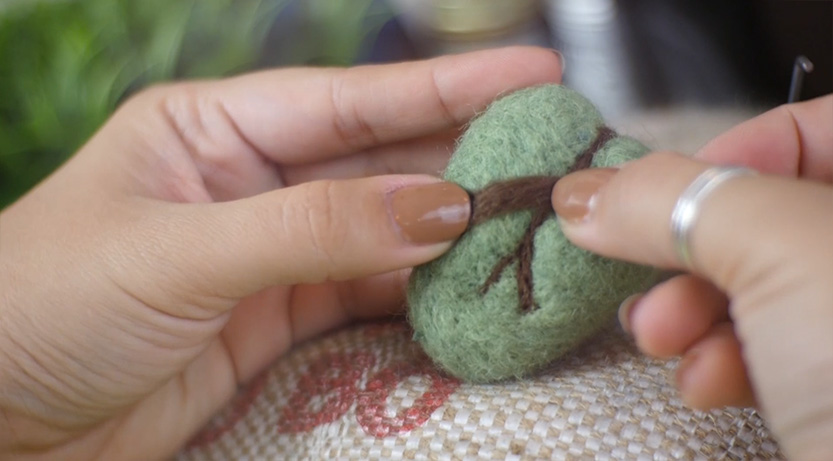
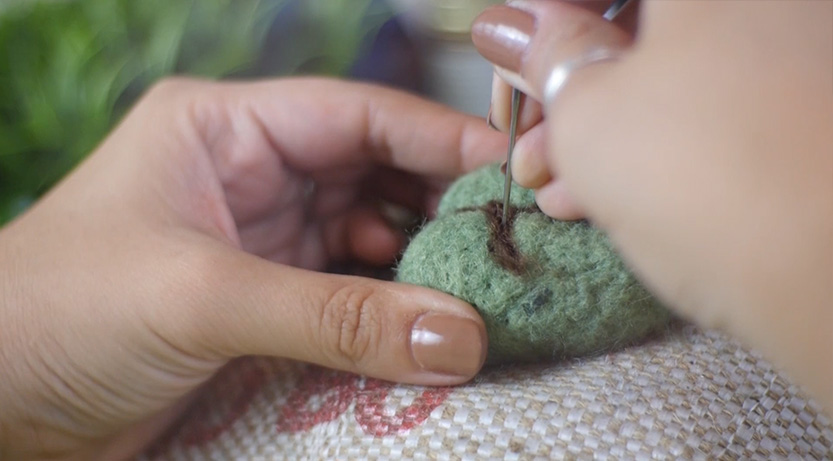
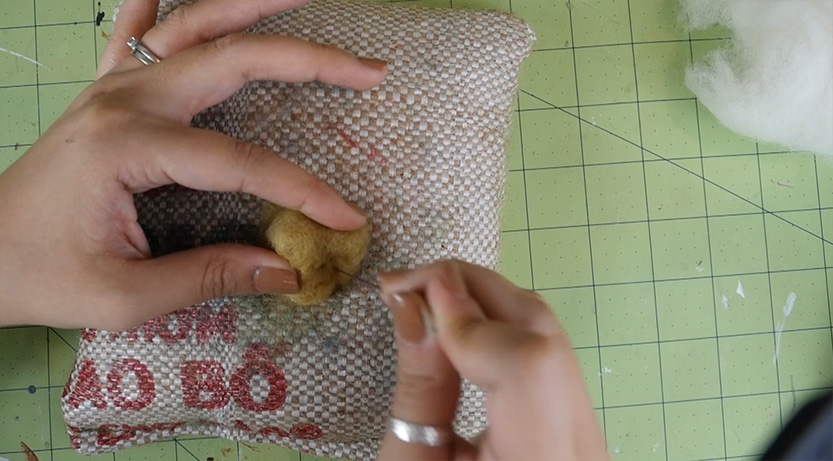
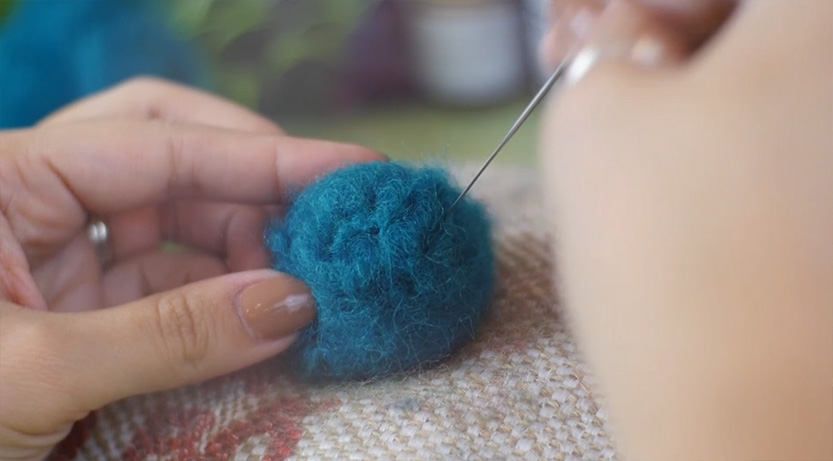
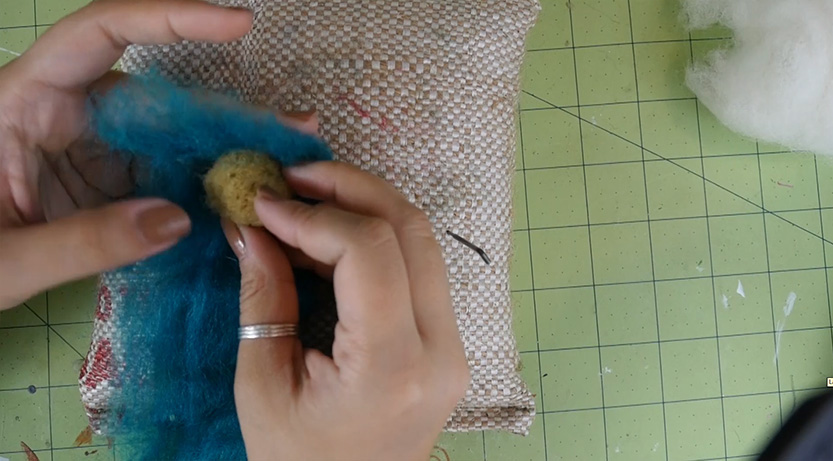
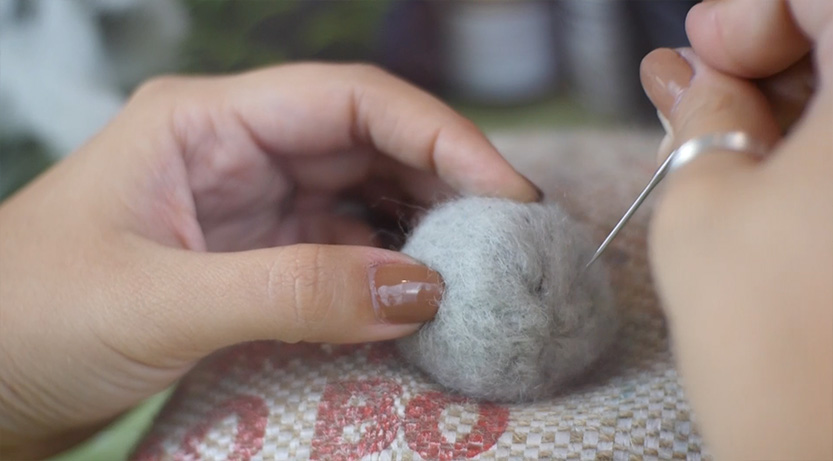
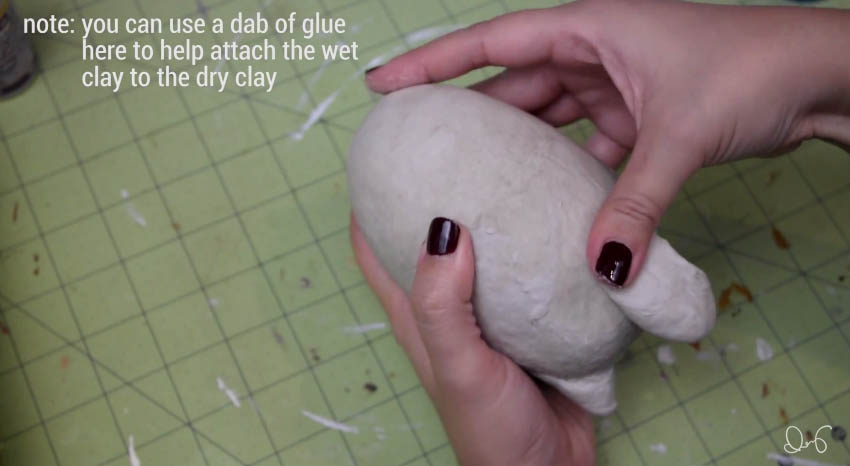
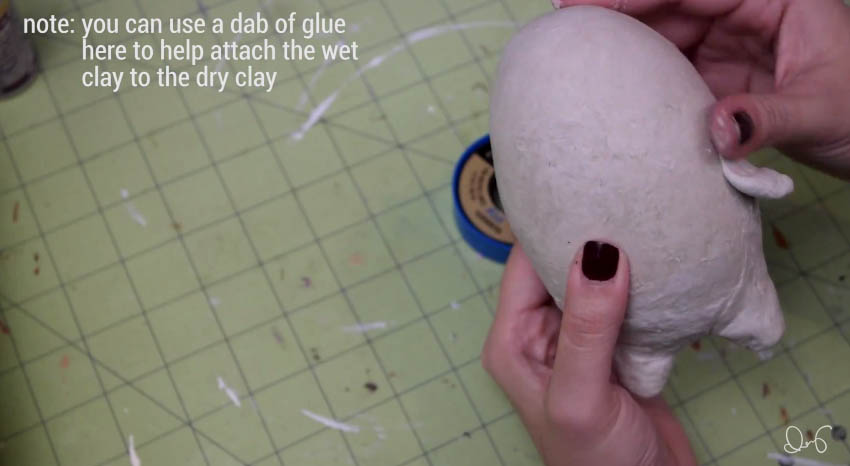
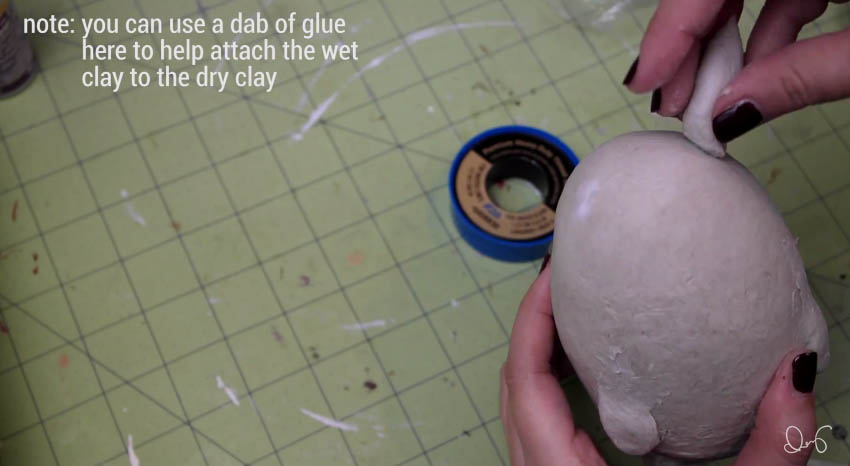
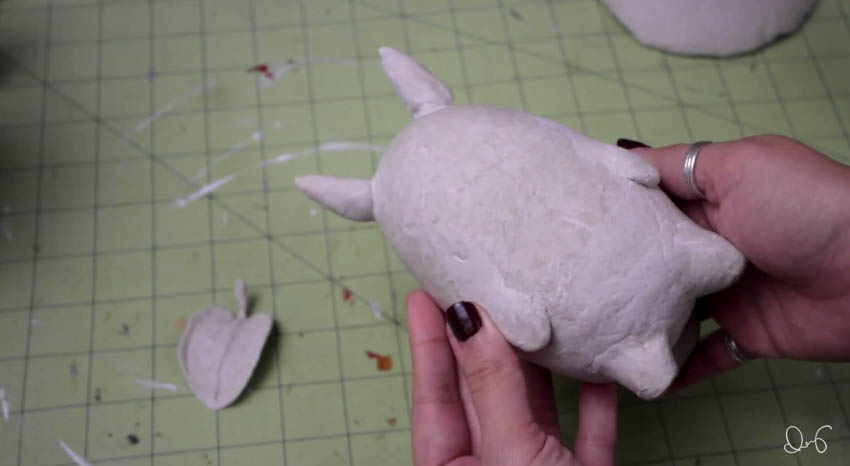
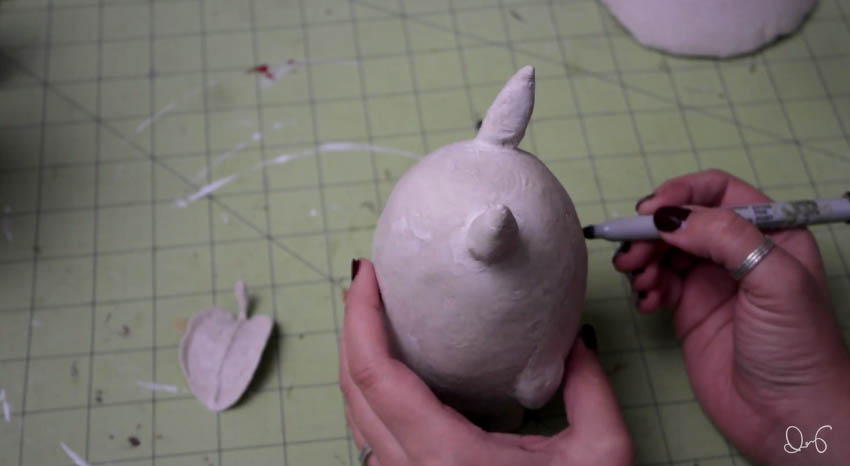
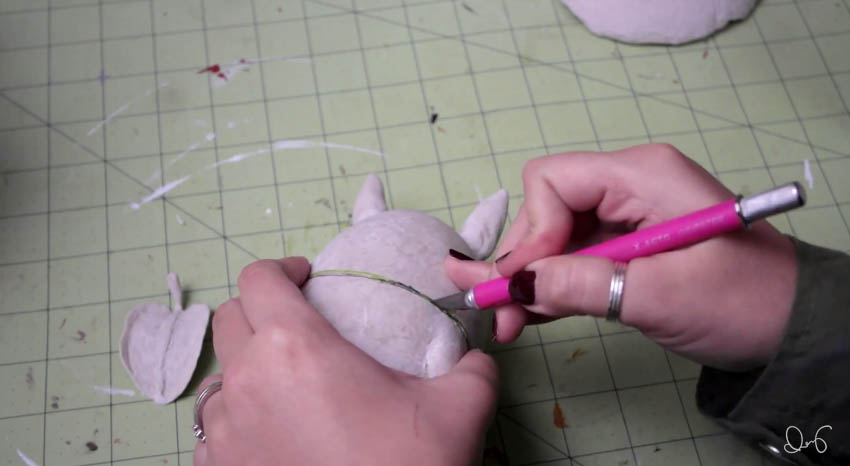
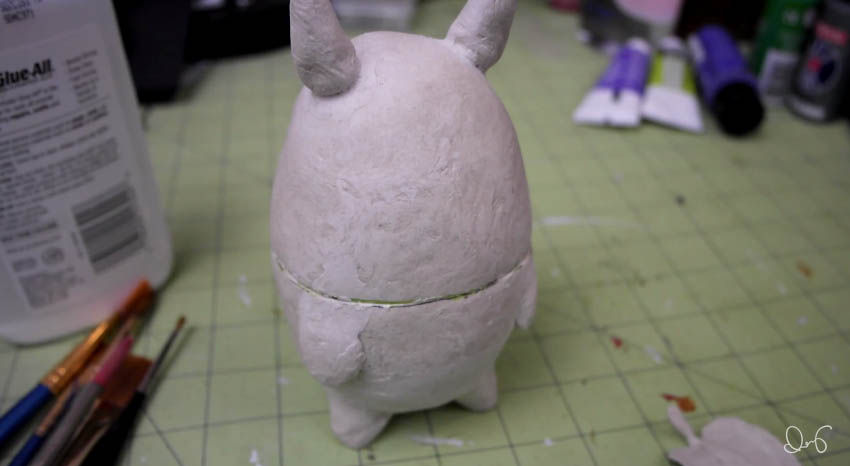
Now onto the succulent plants. I decided to make a little trio.

And now they're done!


Misc-

DIY Thrift Store Word Art

While on vacation my sister said something super quotable, and I decided to take said quote and make it into some art for my kitchen. I did the same technique as I had done a few years ago to make some art for my living room. Basically I just took some thrift store art, masked out a phrase, painted over the whole thing and then peeled off the lettering. It's super easy and turns out really nice! You'll need: -a piece of thrift store art -paint -spray adhesive Not pictured: -printed quote -paint brush -xacto knife Optional: -sandpaper

Remove the artwork from the frame. I used a flathead screwdriver to help me bend the nails out of the way. I actually ended up removing these nails later on.

Unfortunately the piece I got was quite water damaged. The backing and the print were really warped.

In the other one I did, I just used the backing that came with the artwork, but obviously that wasn't going to work for this one, so I cut a new backing from some foam core board I had lying around.

Use the spray adhesive to glue the artwork onto the backing. Thankfully, for me, the wrinkling caused by water damage was able to be smoothed out.

This is optional, but if you want to paint the frame, lightly sand it and then paint it whatever color you'd like. I went with white.

Make a 1/4inch border around the whole piece. This is only really necessary for framed work because the edges will get covered by the frame slightly, so you can't have the lettering right on the edge. Measuring out the phrase spacing will be different for everyone depending on the size of the art, the length of your quote and the size of the lettering. My quote was kind of long and I wanted to make sure it fit nicely, so I measured everything out and made guide lines so I could line up the words. You could totally just eyeball it though. I did that for the other one I made, since it was such a short phrase.

Cut the letters out. To reduce paper waste, I typed the whole phrase with no spaces, since I was going to have to re position the quote after cutting it out anyway.

After everything is cut out, lay them out on a scrap piece of cardboard and then flip all of the letters over. Lightly spray the letters with the spray adhesive. If you spray in small bursts it helps keep the letters from being blown away. Let them sit for about 5 minutes.

Now stick them on the artwork!

Now you paint!

Just completely paint over the image! I really like when you can see the brush strokes so I made sure not to make it all nice and smooth.

Once it's all painted and still wet, start unsticking the letters. Just be sure not to smudge paint onto the letters. I used a blade to help me get the letters up.

Time to reassemble the piece!  Just stick the artwork back into the frame and secure in place!

Like I mentioned before, I ended up removing the nails that held the art in place so I just had to hammer a few  new ones in. This probably wouldn't be necessary for everyone though.

And you're done! Now go proudly display you're new piece of art!

Misc-

DIY Sweatpants

I had a little vacation coming up so I decided to whip up a pair of sweat pants to wear while traveling. It's horrible to wear uncomfortable clothes while you're stuck in a car or on a plane. I also ended up making these sweats reversible because I found this great fabric at the store! You'll need: -fabric - as I mentioned before, I'm using reversible fabric, but thats not necessary. about 2 yards. I had a bit of extra fabric, but I'd rather have that then being just short. -an old pair of sweats - You could even just pick up some sweats that fit you from the thrift store. Even if they're hideous, you just need them for the pattern. -elastic -pins -sewing machine and  -serger -optional

Fold your fabric in half, length wise. Then fold in half again.

Fold your sweats in half, back side facing out. Position your sweatpants on the fabric. One edge of the pants should be fairly straight. Line that up with the edge of the fabric and smooth the pants down. At the part where it sticks out, make sure to pull at it until the seam is right on the edge.  Now cut around the pants, giving yourself about 1/4 inches of seam allowance.

Now unfold the fabric and it should look like this.

Now fold your sweat pants with the front facing out, and be sure to adjust them so the seam on the part that sticks out is right on the edge.  Line up the top and bottom of the sweat pants. The pointy part of the pants should be a little bit smaller on this side now. Trim the fabric accordingly.

Now you should have two pieces of fabric all cut and ready to be sewn.  Make sure you have the right sides touching before you sew! Sew along the curved edges.

Sew. If you have a serger, go ahead and use that, if not then just use the zigzag stitch. You need to use that stitch because it allows the fabric to stretch.

Lay the fabric out again like so. Now grab the mid points of the top ...

...and pull away from eachother and lay the fabric back out. Now it should look like a pair of pants! Now pin up the inside of the legs. And sew!

My plan to make the pants reversible was to hand sew the seams down, so I had to do that for. Every. Seam.

Take a piece of fabric that's about twice as wide and twice as long as the leg band piece.  Fold it in half length wise and then width wise and sew it up.

Since I wanted my leg bands to also be reversible, I cut them in half length wise and sewed them together so that the flowery side shows on one side and the grey side shows on the other.

Start by pinning the seams together.

Then from there, find the mid point on the other side of the leg and leg band and pin there. Then find the mid point between these two pins on each side and pin together. Doing this helps to keep it stretched evenly while you sew.

Sew it up!

Cut the elastic about an inch shorter than the waistband and sew it up.

Basically you want to repeat this process with the waist band, but first you need to insert the elastic into the waist band fabric to fully encase it.

Sew it up~

After I finished sewing the pants up I hand sewed every seam down.

Here they are, done! So comfy!

Other, Tutorials

DIY Needle Felted Cat Toys

I've had some requests to do more cat projects and I've been meaning to put together a needle felting tutorial, so I decided to combine those two ideas together. So today I'll be showing you how to make some needle felted cat toys! I made three different types, one stuffed with cat nip, one stuffed with jingly bells and one stuffed with a crinkly plastic bag. -some wool -a felting needle -a felting surface - typically people use a foam block or a bristle brush but I'm using a burlap pillow thing I made. If you're interested in learning how to make one of these, stay tuned next week and i'll show you how! -some goodies to put in the middle of the toy. These are optional.

The reason wool fibers felt together has to do with how the fibers are made up. Like human hair, wool fibers have tiny scales all over them, however, the wool fiber scales stick out way more. So when the fibers are rubbed together, whether with hot soapy water, like in wet felting, or through stabbing with a felting needle, they hook on to eachother. So whenever you felt, essentially you're creating a big ball of tangled fur.  Also, you can't just use a normal needle to felt, you have to use a special needle. You can see here how it has little tiny hooks all over it and these grab the felt and pull them down, rubbing them against the rest of the wool fibers as you stab.

First, here's the cat nip stuffed toy:

Once you have the veins all attached and the leaf is felted nice and tight, you're done!

And now, the jingly bell toy:

Once it's felted tightly then you're done!

Finally, the crinkly bag stuffed toy:

And there we go, three types of needle felted cat toys!

The catnip laced toy is Gremlin's favorite.

I hope you (and your cat!) enjoyed this project! Next week I'll be doing a tutorial on how to make the felting surface, so stay tuned if you're interested!

Holidays, Tutorials

DIY: Image Transfer: Mother's Day Edition!

FeaturedImage.jpg

Mother's Day is right around the corner, and if you have yet to get your mom something, there is still possibly time for you to make something for her! Let's face it, homemade gifts are more special since you put a little piece of yourself into it. At least, that's how I see it. So today I'm going to show you how to make a nice photo transferred wooden plaque, which isn't necessarily a Mother's Day only kind of thing, but it can be depending on the imagery that you use. Like for the one I made I used a photo of me and my sisters from the last time we were all together. Anyway, enough rambling, let's get started!

You'll need: -a wood plaque  -some hanging hardware -a plastic card, like a gift card or whatever -gel medium -foam brushes -paint -a bowl of water -a sponge -polyurathane sealer - you can also use mod podge to seal it. -laser printed or a photocopied image, flipped

Find the midpoint on the back of your wood plaque and attach your hanging hardware. The kind I'm using here comes with little nails to secure it in place.

This is gel medium, you can typically find it in that art section of the craft store with all of the other additives for paint.

Apply it to the plaque in an even layer. Make sure to get a good coating. You don't want it to be too thin or too thick.

Carefully lay your printed image down, face down onto the wood.

Run your card along the back of the image to make sure the image is completely smooth and touching all of the gel medium. If there are any bubbles or anything, the image wont transfer in that spot, so make sure you get rid of them! Let this dry overnight.

Use a sponge to dampen the paper. You can start to see the image starting to come through!

Use your fingers to start to rub the paper so it starts to peel off.

If you're brave enough you can use your sponge to help rub the paper off. This is really risky though because you can more easily rub the image off. You just need to be gentle and be patient. Keep rewetting and rubbing until the majority of the paper is removed. This is the part that gets a bit tedious. While it's wet it will look great, but when it dries you'll notice spots that still have paper bits on it. Just keep at it and you'll finally remove most of it.

You might notice you have some excess gel around the edges. If so, just use an xacto knife to cut it off.

When you've finally removed as much of the paper as you can stand, let it dry completely and then apply your sealer. I'm using a semi matte water based polyurathane, but you can also use something like mod podge. Set it aside to let it dry.

And finally, paint the edges with your paint! Here I'm using liquid gold leaf, my favorite!  Also, there was a gap that was about 1/4 inch wide gap on one side because the image was slightly too small, so I extended the edge of the paint up around the image, 1/4 of an inch on each side. Let it dry.

Here it is, all ready to be packed up and sent to my mom!


I hope you enjoyed this weeks project! And to all the moms reading, Happy early Mother's Day!

Misc-

DIY: Faux Double Horned Necklace

FeaturedImage2.jpg

Today I'll be making, and showing you how to make a faux double horned necklace. I've been seeing a lot of people wearing this type of necklace seemingly all over the place, and I ended up wanting one so badly. And of course I decided to make my own rather than buying one! Instead of using horn I made faux horn with polymer clay. It's nice because when you use polymer clay you can customize it a bunch of ways, size, color, shape, etc. I really love how it turned out and I hope you guys like this project too! Take a chunk of polymer clay. I'm using a pearl color here. Of course, use whatever color you'd like. Roll it out into a log that's about the diameter of the tube. Also make sure to do this on a clean surface. Not on your dirty work table.

Taper the ends like so.

Bring the ends in like this to make a nice curve.

Use a blade to cut the clay at the halfway point.

Gently push the clay into the ends of the bead like so.

Bake it according to the instructions on the clay! Mine needs to bake at 275F for 15 minutes per 1/4 inch thickness.

Since we barely stuck the clay onto the bead, it's going to need to be reinforced with glue.  First, carefully remove the clay ends off of the bead.

Mix together some 2 part epoxy and use that to glue the clay back onto the bead. If you don't want to bother with mixing up epoxy or anything like that, you could just use super glue. I just prefer the epoxy because i think its a stronger bond.

Also, make sure you don't do this right over your puddle of epoxy...

But thankfully I made another one as back up! Set it aside to cure.

Attach a jump ring to the bead.

And thread the chain on.

Close the chain. I didn't use any clasps for this necklace because it was big enough to fit around my head. Of course if you want to make a shorter version you can always shorten the chain and add a clasp.

And then it's done! Ta da!

Roll the clay into a log, taper the ends and curl into a C shape like before.

Instead of cutting it in half, stick an eye pin into the middle.

Bake it.

Paint a band in the middle with liquid gold leaf paint. Or silver. Or copper. Or whatever you want!

Thread it onto a chain.

Close the chain up...

And you're done!

Tutorials

DIY Pet Leash

So, I had been wanting to get my dog, Hobbes, a new leash. Nothing is wrong with the one he has now, in fact, I love the leash he has now. It's adjustable and really easy to clip around poles or trees or anything like that if we're out at the park and want to just sit around and hang out. Even though the leash we have for him already is adjustable, it would only go so short. I wanted something that was short and was simple, easy and quick to clip on him so we could run out the door for a quick walk.

In true chezlin fashion, I decided I'd make the leash myself. So of course I documented it all and I'm going to share it with you all so you can make one for your own pets!

supplies

Now, you can stop here and be done, but if you want, you can wax it. This is supposed to make the cord more comfortable to use and it makes it waterproof and, if you do it right, can give you an effect like leather.

-parafin or beeswax. I prefered bees wax. It's softer and feels better on the skin. -a bowl to melt it in -a pot with about an inch or two of water -a toothbrush -the leash -an aluminum foil lined baking sheet with a rack

I didn't get the "leather" effect I wanted, but I'm pretty sure it's because I only did this waxing process once. I'm going to go back and repeat it a few more times later and see if that works.

Time to test it out! This ring is nice to clip your keys and/or dog pop bags

Seems like he likes it!

Clothes, Tutorials

DIY: Studded Shoes

FeaturedImage.jpg

A while ago I saw some Jeffery Campbell skulltini flats, which are basically simple flats completely encrusted with skull studs. I thought they were super cute and I wanted them, but of course I ended up talking myself into making some of my own. So today I'll be showing you how to make some, too!

You'll need: a pair of shoes a marker scissors some studs - I'm doing skull shaped ones, but you can do whatever you like! a rivet setter with small anvil (I got these in a set of rapid rivets I bought a long time ago.) Optional: a bigger anvil

Use a marker to mark where you want the studs.

Use your scissors to carefully poke a hole at each mark

Stick the stud through the hole...

... and stick the backing on.

Position the anvil, concave side up, inside the shoe, right under the stud and position the rivet setter, concave side facing down, on top.

Give the rivet setter  few good whacks with your hammer.

Here you can see the concave sides on the anvil and rivet setter.

If you happen to have a bigger anvil, like this, you can use it in conjunction with the small anvil and rivet setter to help you set the studs. It's not completely necessary, but if you have one it's nice to  use.

Repeat until you've covered the whole shoe.

Yay, done!

I absolutely love how these turned out!

Here are some affiliate links for some of the stuff in this project:

The flats

Skull studs

Anvil and rivet setter

Art, Misc-, Tutorials

DIY: Travel Watercolor Kit

The weather is getting nice so it's perfect for taking a trip to the park to hang out and paint a little bit. This week I'll show you how easily to put together your own travel sized watercolor (or gouache) kit that you can just throw in your pocket, purse, bag, etc. and be on your way! supplies

Remove the makeup.

Clean the makeup pallet with warm soapy water.

Close the pallet and spray the outside with white spray paint. Nail polish can work if you're in a pinch, or if it's raining outside and you're too impatient to wait until the next day (like me).

Set aside to dry. If your case comes apart, like mine does, you can remove the top while you fill the inside.

Fill each pot with a different color. Since this was a pretty basic pallet and there were only four pots, I did the primary colors along with panes grey. Let dry.

Snap the lid back on and you're done! Since you painted the lid white, it acts as a nice area where you can mix colors.

Here's the first ever kit I made. Obviously it's had some use. It had way more pots so I got to add a lot more colors.

In addition to my small portable kits, I also have these aqua brushes that have a water reservoir that are super convenient for on-the-go painting.  You don't need to carry an extra cup for the waste water, you just need an extra bottle of water to refill the reservoirs every once in a while.

Click here for an affiliate link for the aqua brushes.

I hope you like this weeks project! Now get out there and paint! :)

Misc-, Tutorials

DIY: Paper Clay Projects

I showed you guys how to make paper clay two weeks ago, so this week I decided to show you a few different projects you can do with this clay! A shallow dish that you can use as a jewelry holder, coin holder, etc. and a lidded vessel that I ended up decorating to look like Totoro (of course you can decorate yours however you'd like!) Shallow dish:

Lidded vessel:

And there we go! I love how these turned out. Unfortunately I'm all out of paper clay now, but I'm itching to make more so I can make some more projects!

Tutorials

DIY: Cascarones

fi3.jpg

I grew up in Texas, and around this time of year you can cute little cascarones, which are confetti filled eggs, pretty much everywhere! I have fond memories of running around and getting cracked in the head with these things and getting confetti and egg shells all tangled up in my hair. I can't find cascarones where I live now, so I decided to make some of my own to celebrate Easter and Fiesta. And I'll be showing you how to make them for yourself as well! Supplies~

Use a thumbtack to poke a hole in the top(the pointier end) of the egg. Flip it over and poke a hole in the bottom. Wiggle the thumbtack a little, or use a nail to enlarge the hole so a toothpick can fit.

Stick a toothpick in the hole and wiggle it around a bit to break up the egg yolk.

Over a bowl, blow into the top hole to force the inside of the egg out. Repeat for all the eggs. Note: You can still use the inside of the eggs for recipes!

Alternatively, you can just break the top of the egg with a spoon or edge of a bowl to make a hole about 1 inch in diameter and dump out the insides through that big hole. I wasn't brave enough to attempt that so I just poked a hole with my thumbtack and then carefully chipped away at the hole until it was big enough.

Once you've emptied all the eggs out, wash them in warm soapy water and let them dry. Then it's time to decorate!

Decorate your eggs however you see fit! I attempted a marbled dye by mixing in a little bit of vegetable oil into a prepared dye bath...but it didn't work out as well as I wanted, but I should have figured that since I used brown eggs.

After you're done decorating, set them aside to dry completely.

Cut out some tissue paper circles about 2 inches in diameter.

Fill each egg with the biodegradable confetti.

Spread glue around the top edge of the egg.

Stick a tissue paper circle over the hole and tap it down to secure it in place. Repeat with all of the eggs.

And you're done!

Now all that's left is for you to hide them for an Easter egg hunt or you can just start chasing around your friends to crack them over their heads!

cascarones

Have fun! :D

Art, Misc-, Tutorials

DIY: Paper Clay

fi2.jpg

When I made the post about how to make a paper mache deer head from scratch, I mentioned an optional ingredient: air drying paper clay. I used a homemade version, and I ended up liking it so much that I decided I'd share with you all how to make your own! I got the recipe from ultimatepapermache.com. That website is a great resource for almost anything paper mache, so if you're interested in anything like that, definitely go check it out, it's great.

Here's what you'll need for the paper clay.

To be more precise, you can measure out the dry toilet paper first. Toilet paper comes in different thicknesses, so for some brands it might take up the whole roll, but with the kind I have it was about 2/3rds of a roll.

Soak the toilet paper in warm water for a few minutes until it breaks apart.

Strain the toilet paper pulp and squeeze out the excess until it weighs 110 grams.

Break up the paper into your mixing bowl and then unceremoniously dump everything else in and mix together. I used a whisk attachment and then halfway through I switched to a dough hook.  Also, you should use a mixing bowl/attachments dedicated towards craft things. No food allowed!

Dump the clay out into a surface dusted with corn flour and knead it for a few minutes.

Here it is, finished!

Store it in an airtight container. I wrapped mine in saran wrap and then put it in a zip lock bag.

This clay is pretty great, I really like working with it. It dries extremely strong, even when it's pretty thin. It takes fine detail and you can sand it after its dry. Also, since I used baby oil it smells kind of nice too.


Food, Tutorials

Boozy Beer Mug Fudge

Saint Patrick's day is next week so I came up with a recipe for some boozy fudge that you can decorate to look like cute little mugs of beer. These would be great as a St. Patrick's day party snack. There is alcohol in this fudge, so it's adults only, sorry kids! Supplies

Green icing is optional.

A normal cookie cutter probably wouldn't work for this fudge, because they'd be too short to cut all the way through the fudge, but a petit four cutter would be perfect. Here's an affiliate link where you can get your own circular petit four cutter(make sure to select the circle).

Here's how to make the fudge!

Guiness fudge

Irish cream fudge

Once the fudge has set for at least 2 hours, it should be ready to be cut up!

Remove fudge from the fridge and use your circle cutter to cut cylinders from the fudge. My crappy handmade circle cutter couldn't deal with this fudge and broke after three cuts, so I ended up just cutting  the rest into squares.

Cut the top loops off of a pretzel like so.

Squish the cut pretzel into the fudge cylinder. Repeat for all of the fudge.

For some St. Paddy's flair, pipe a little four leaf clover on the little mugs.

All done! Here are two of the mugs with all of the extra fudge I cut into squares.

I think these turned out so cute. They look like little mugs of a dark stout with a nice, thick head. Oh, and they taste pretty great too!

I wish I had bought the petit four circle cutter instead of being stubborn and trying to make my own. Then I could have made more little mugs instead of just cutting the rest of the fudge into squares. Oh well, next time!

For the Home, Tutorials

DIY: Paper Mache Deer Head

A while ago I made a post about how to dress up a paper mache deer head to make it look like two tone faux mounted deer head. Unfortunately a lot of people were having trouble finding these elusive paper mache deer heads, so I started working on a tutorial on how to make your own from scratch. Finally I've finished it so I can share it with you all! Like with my turkey candles, I made a rough 3d model of a deer head and put it through a program to make it printable onto flat paper. Then all you have to do is cut it out, fold it up and glue or tape it together!

To get the template for this project, click here!

Here's what you need to make a paper mache deer head!

Print out the pattern onto cardstock, cut out and assemble according to the instructions.

My printer was running out of ink so the lines and numbers barely show up on camera, but it should print better for everyone else. Assuming you have printer ink!

I filled the head and neck with crumpled newspaper to help it keep it's shape.

Here it is all put together. If you like how the deer head looks at this point (low poly/faceted) then you can skip right to the paper mache steps, but if you want it to be more realistic, you can go on and sculpt some more details into the head.

To rough out the details, crumple up aluminum foil and use masking tape to hold it in place. I looked up a photo of the anatomy of a deer head to help me figure out where I needed to add the foil.

Here you can see the face almost done with the rough sculpt.

If you want even finer details you can use some air drying clay to sculpt that in.

When the air drying clay is completely dried, sand it smooth.

Paper mache time! Rip the paper into strips (instead of newspaper I used brown packing paper) and mix up some paper mache paste.

Dip the paper strips into the paste and run them between your fingers to remove the excess paste. Apply it to the head, overlapping the paper about a fourth of the way. Since you're not going to hollow it out like you would a pinata you only have to do 1 or 2 layers.

And here it is, done! Technically this is the end of the tutorial, since that's how you'd make a paper mache deer head, but I will show you how I decorated this one!

To finish this one off, I hot glued it to the wooden plaque that I stained a dark color.

Push the head down firmly to make sure it's glued down well.

And here it is, done!


Art

Self Portrait Project Update! #1

Here are the portraits I did for this week! (Well, the last 5 days, since I started last Thursday...)

Misc-

Self Portrait 2.19.15

2-19-15.jpg

A while ago I started a "self-portrait-a-day-for-a-year" project and I never finished it. I don't even think I hit 100! I think I didn't set enough ground rules for myself, so I just gave up on it. I decided I wanted to start again, but this time with some rules I actually have to stick to.

The Rules:

  • must be at least 8x8 inches
  • any medium
  • must work from a photo or mirror
  • 1 hour time limit

So really, it's not that many rules. It's enough to give me some guidance but also not too many where I feel constricted.

Here's the one for today, 2.19.15:

Self portrait for 2.19.15photoshop/mirror

After this week, I'm going to go back to posting the roundup of portraits for the week, starting this Monday, 2.23.15. I will, however, be posting them every day onto my tumblr, so if you can't wait then feel free to follow me there!