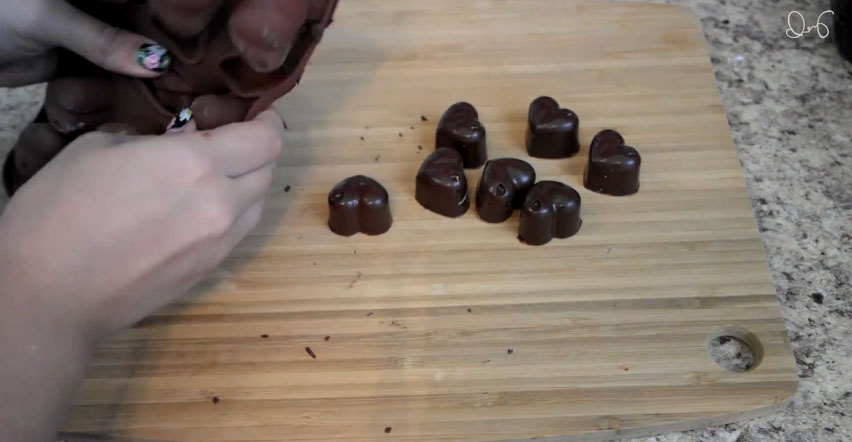
recipe

Food, Tutorials

Valentine's Day Chocolates!

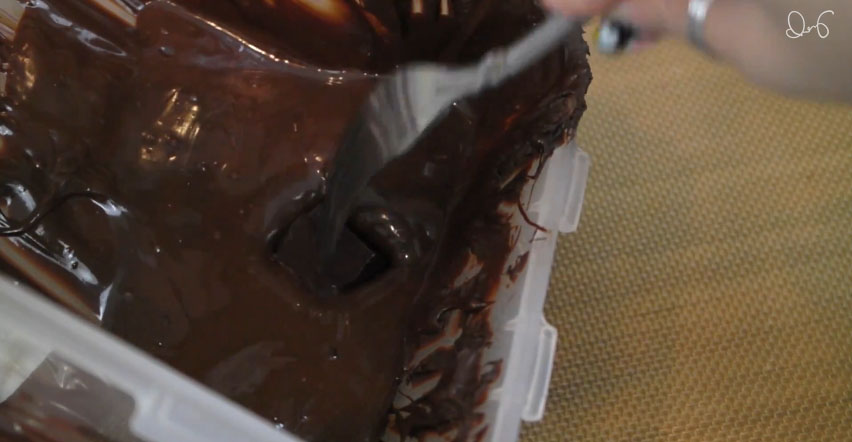
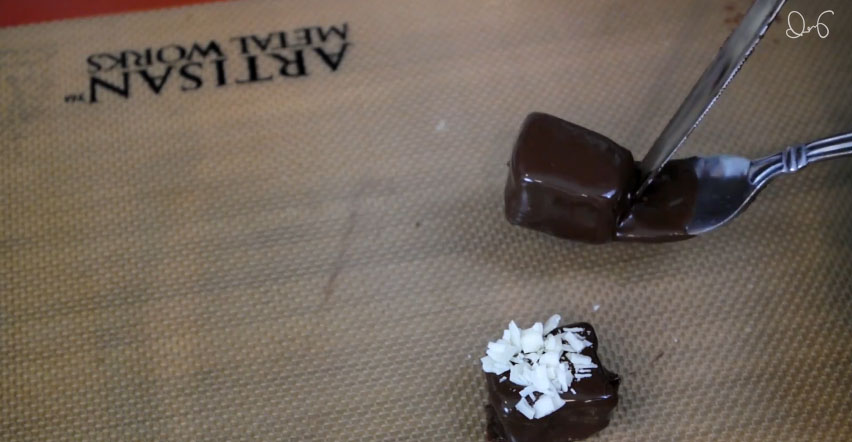
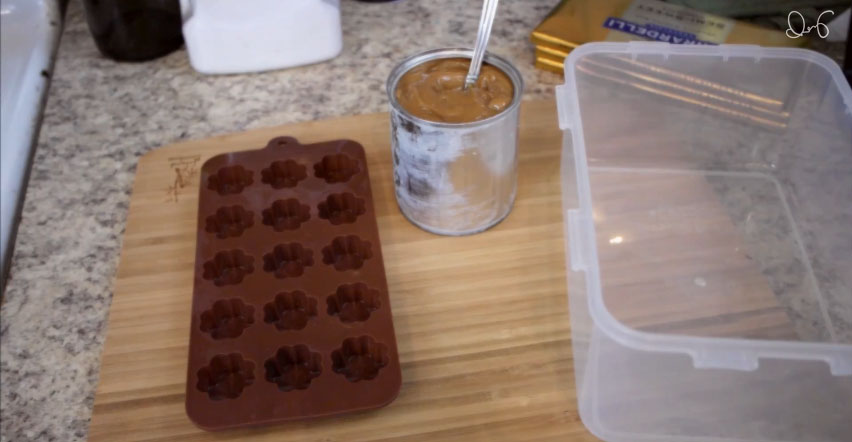
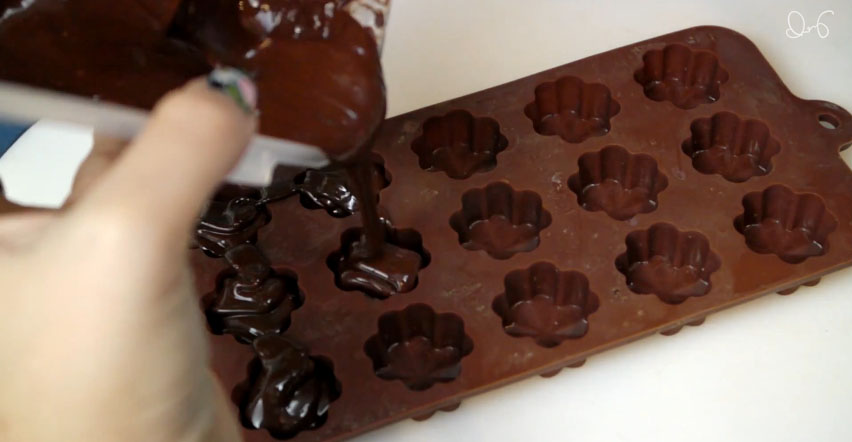
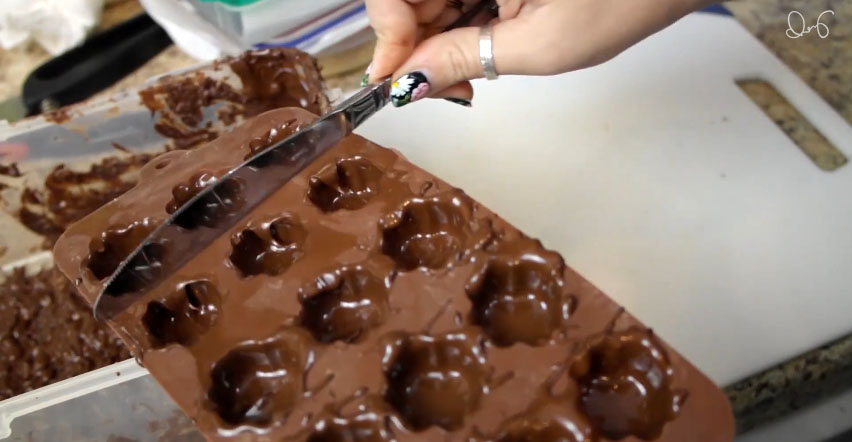
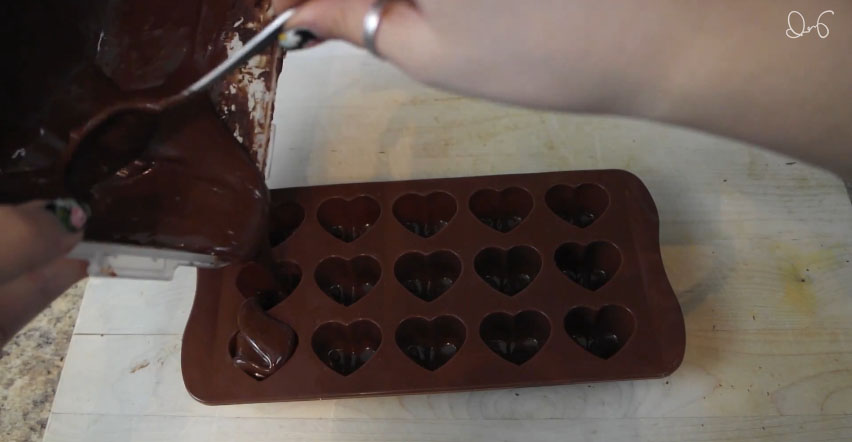
Valentine's day is coming up, and if you're like me, you'll want to hand make the gift for your Valentine. And if you really want to make them happy, you'll want to make them some edible gifts! Lucky for you I put together a video on how to make a few different chocolate candies for your special someone (or yourself)!

To learn how and why to temper chocolate, click here for a great tutorial.

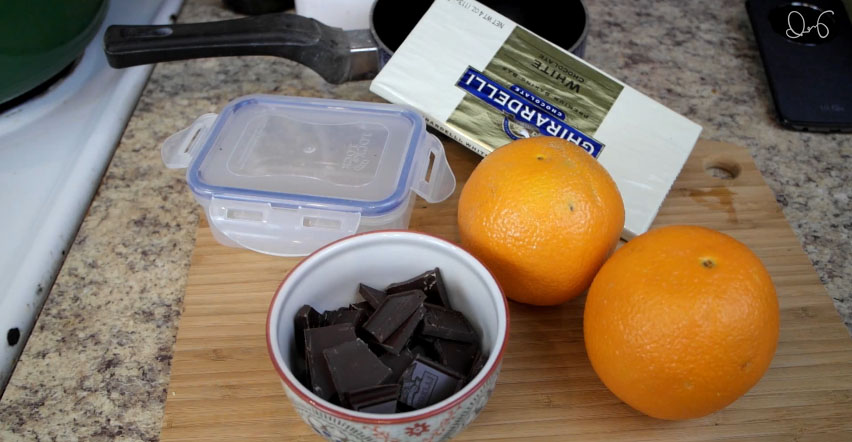
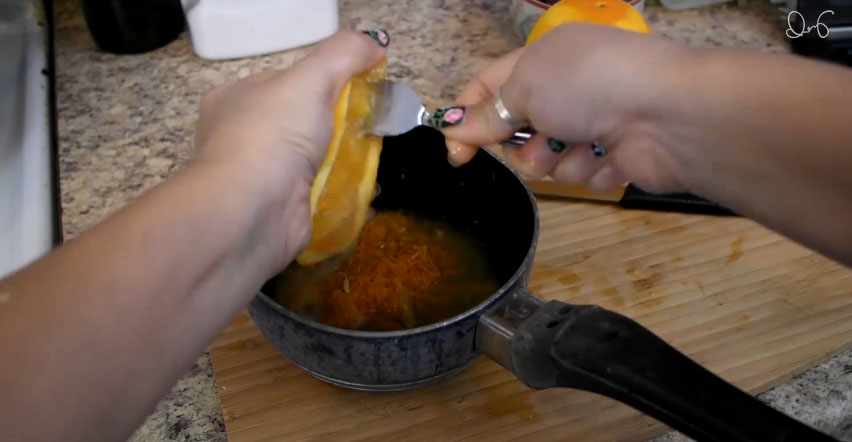
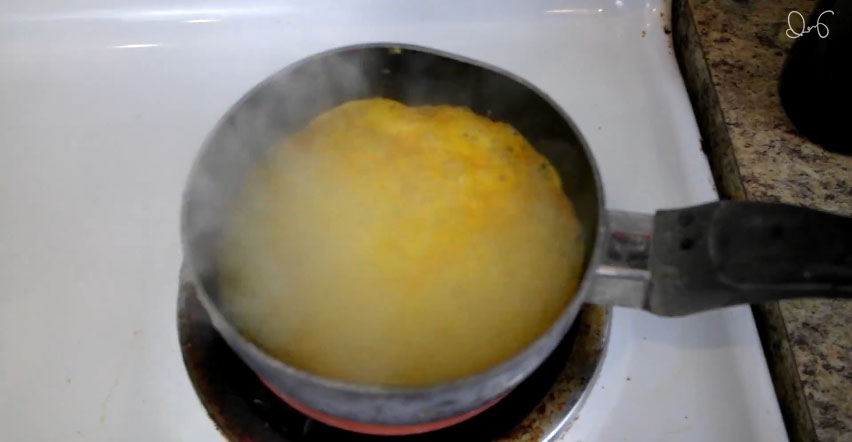
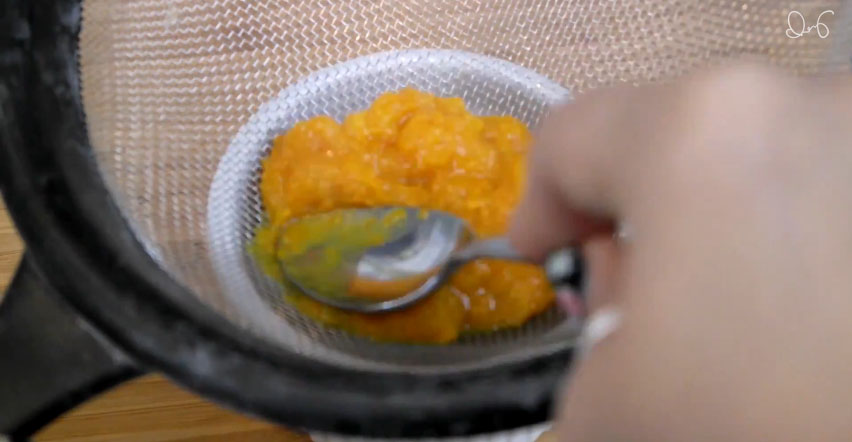
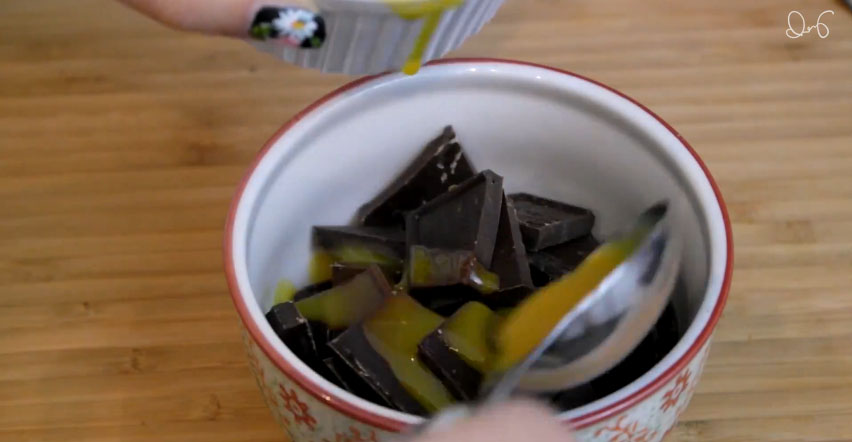
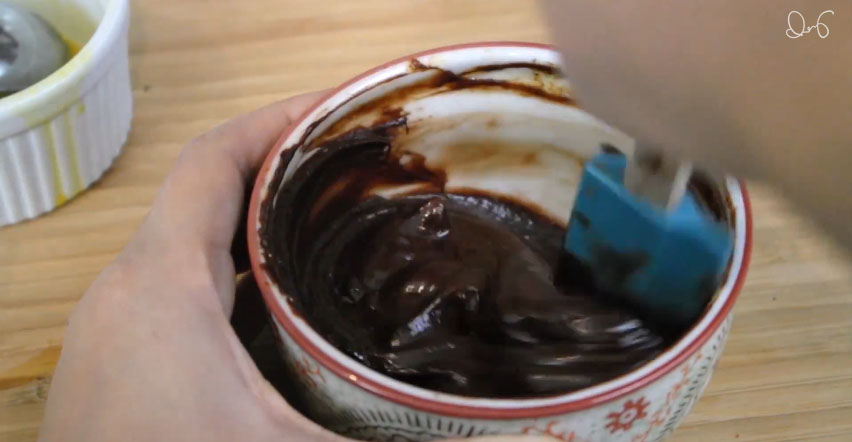
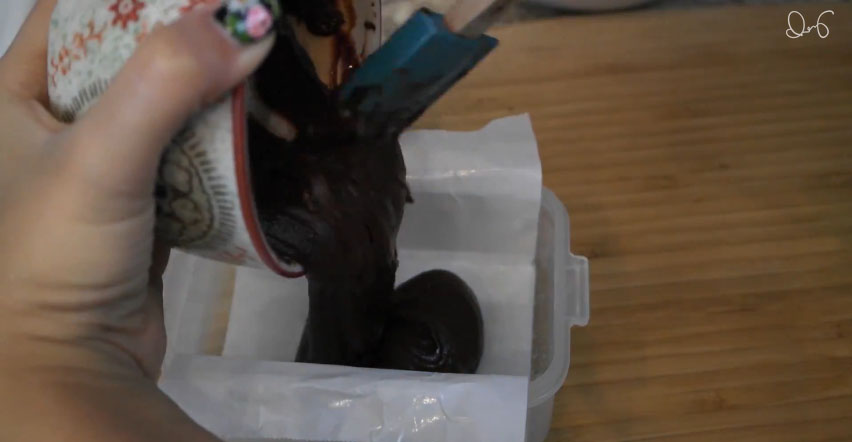
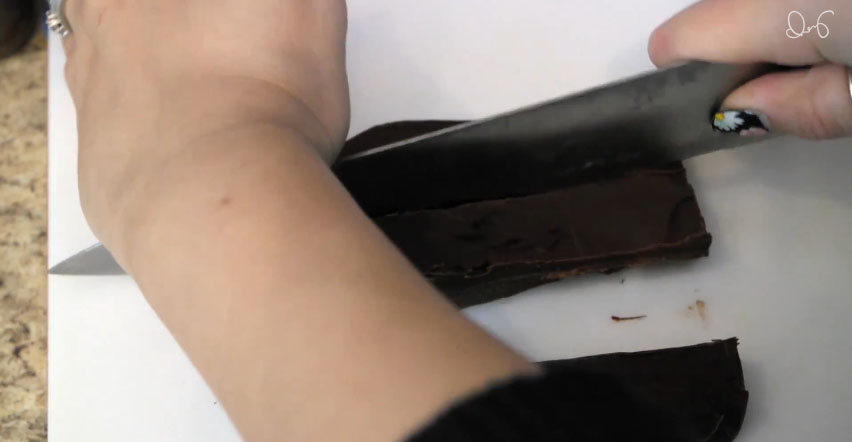
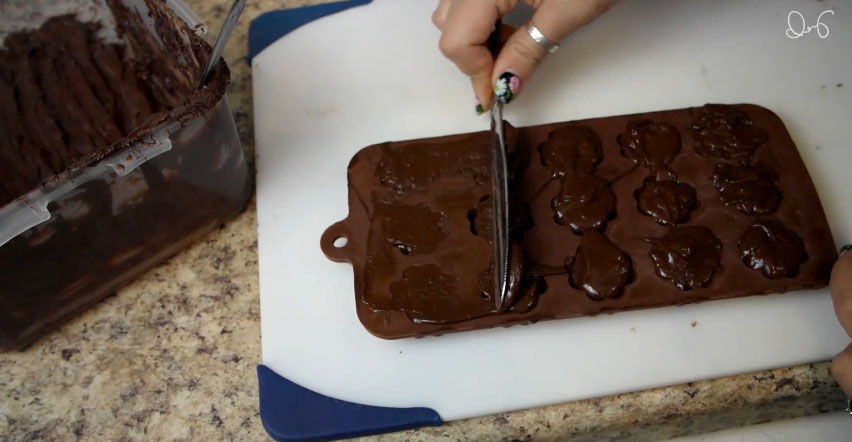
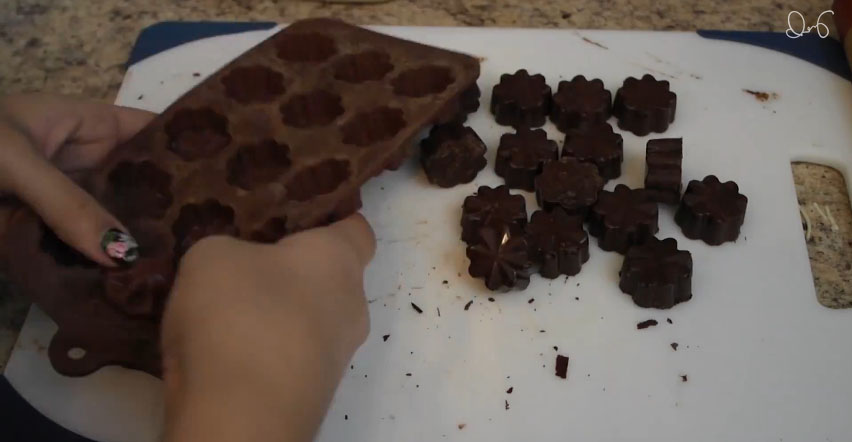
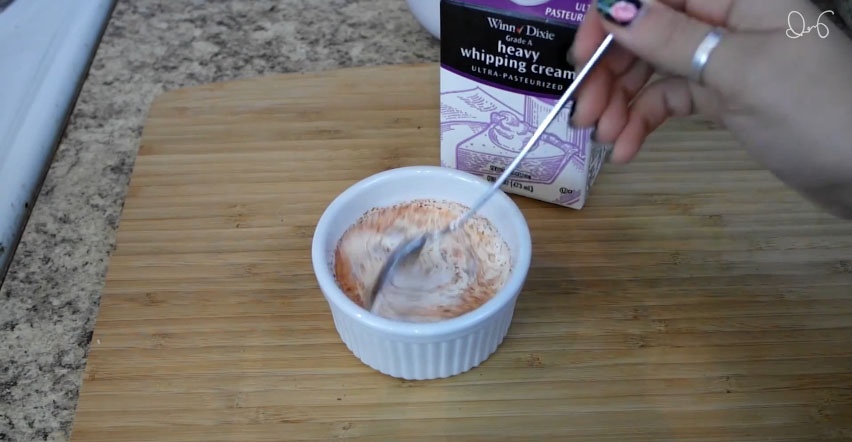
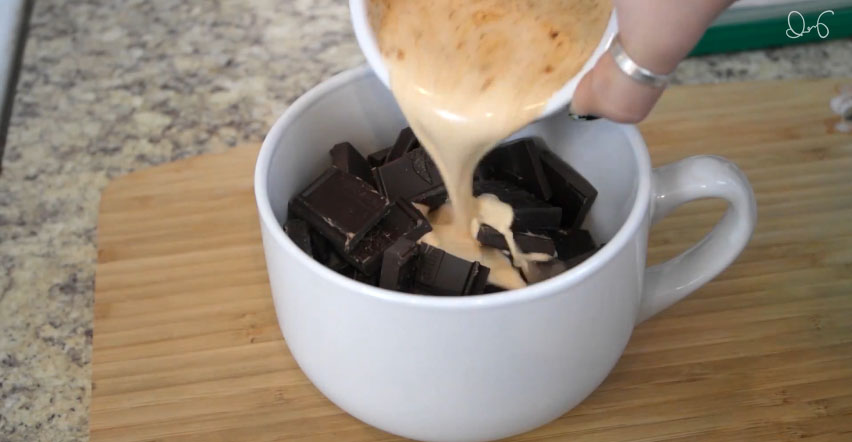
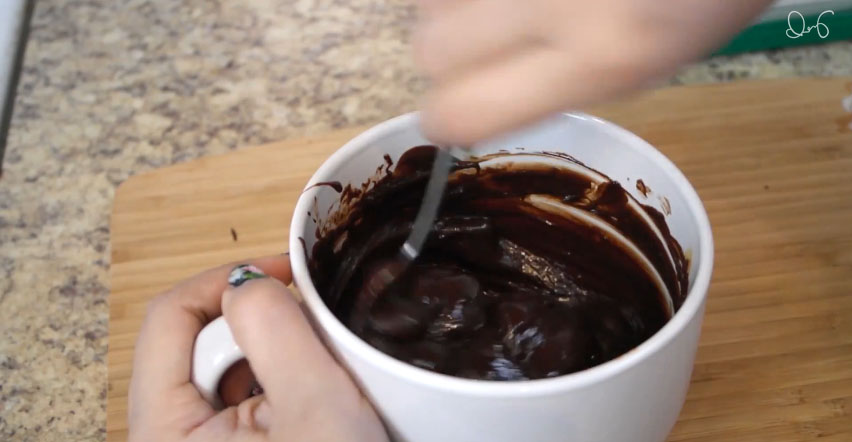
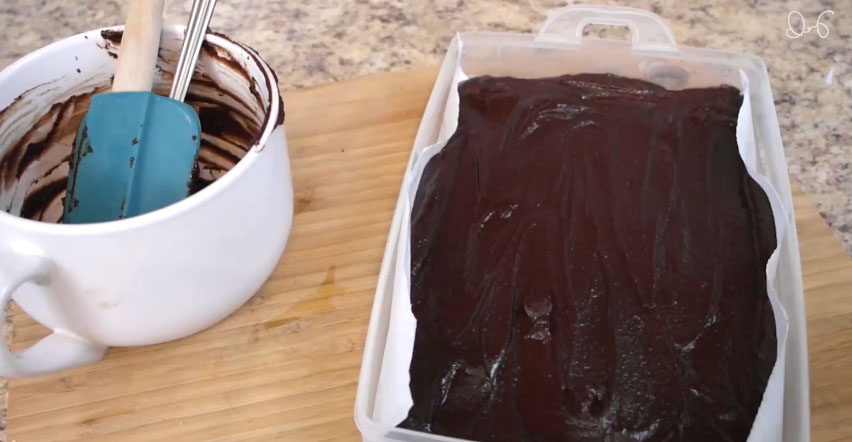
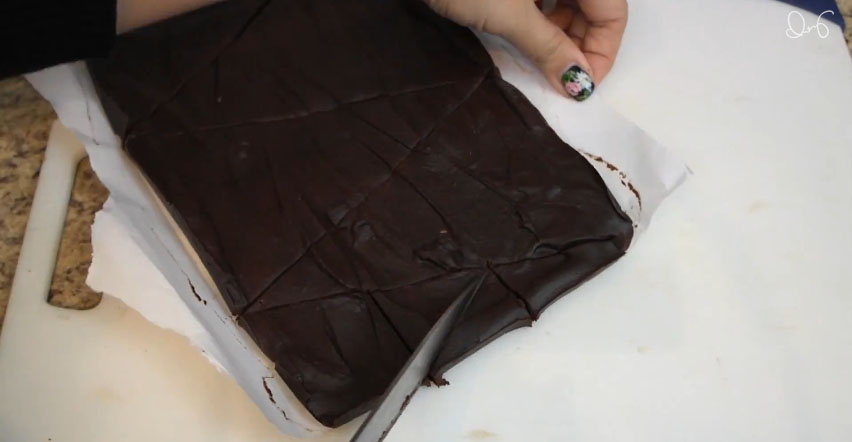
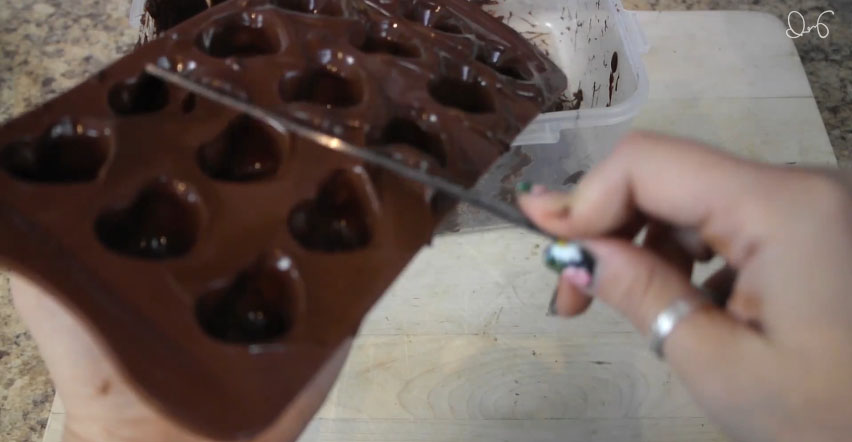
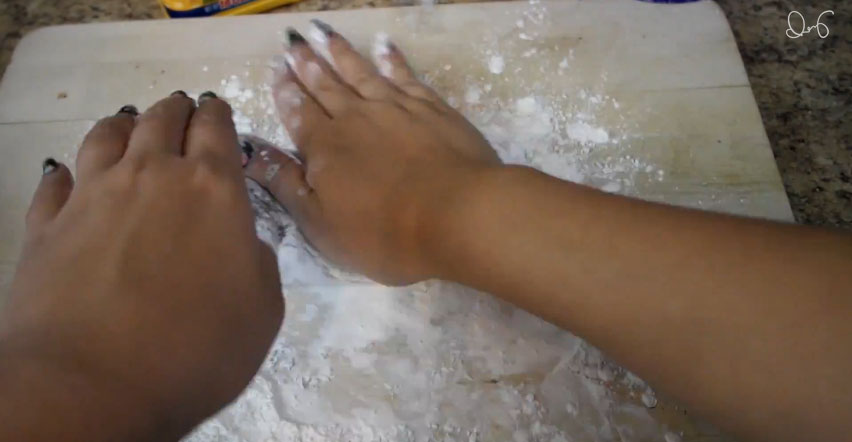
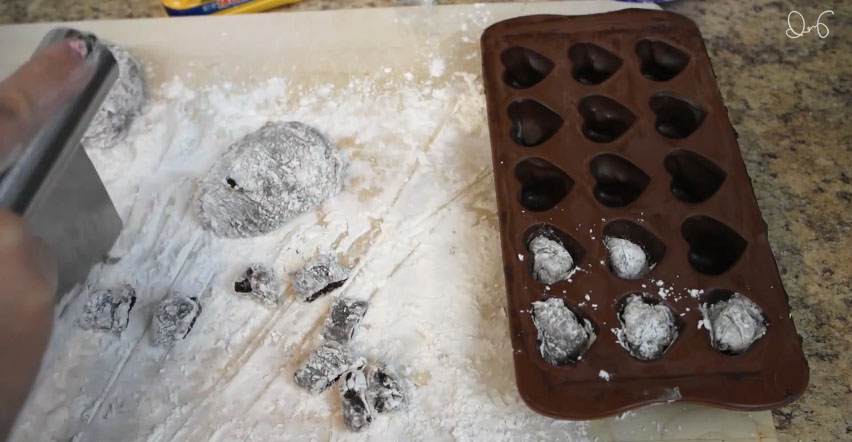
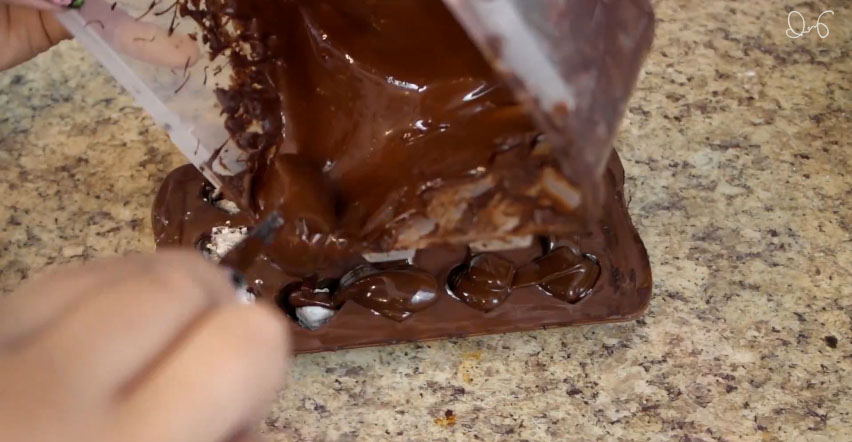
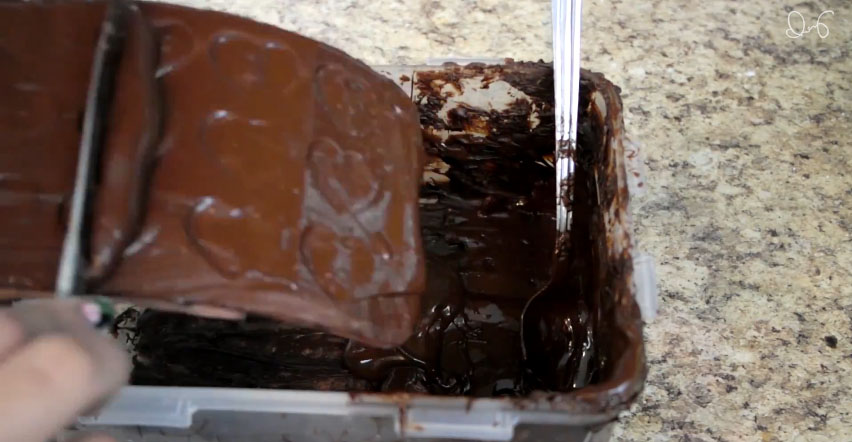
orange ganache filledHover over or click on the images to see the instructions.

This recipe is actually from Ann Reardon from How to Cook That. I took some liberties with how I decorated them though.

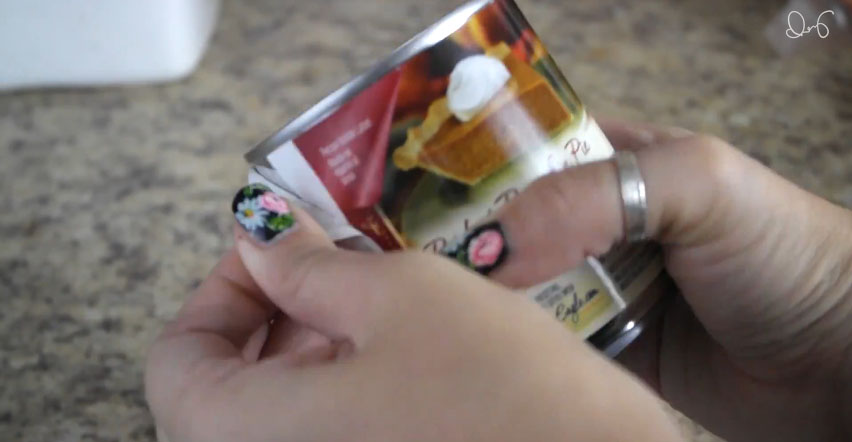
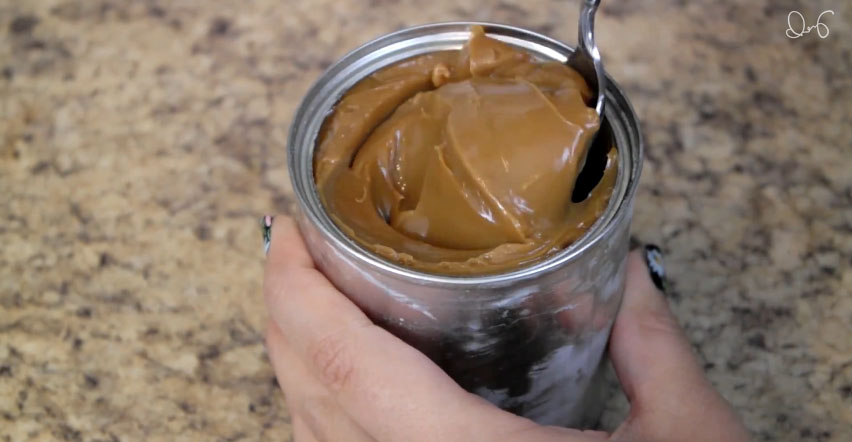
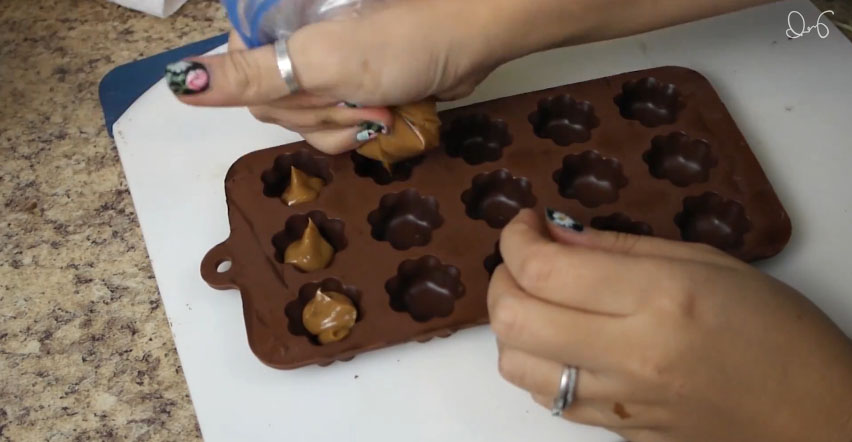
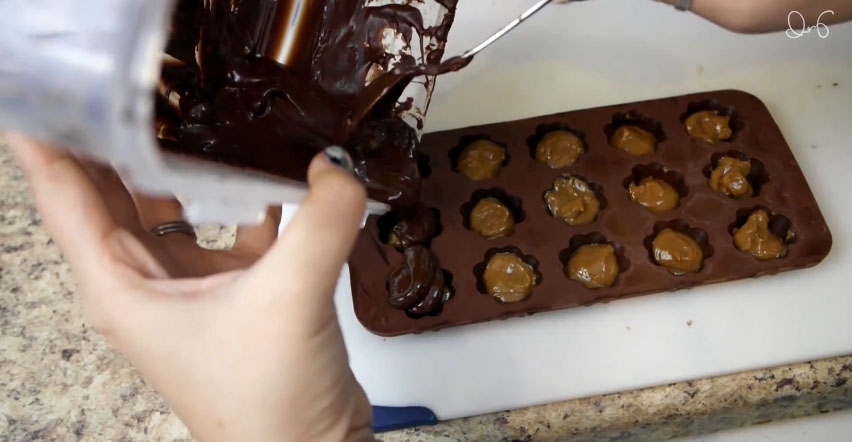
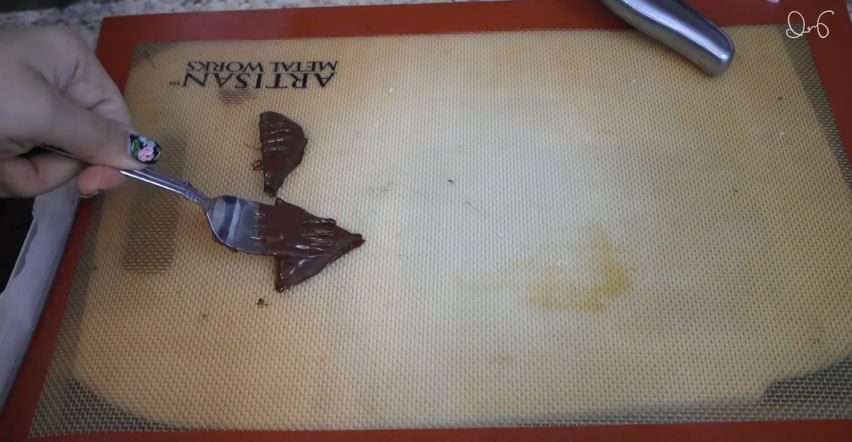
dulce de lecheHover over or click on the images to see the instructions.

If you like the molds I used, here's an affiliate link so you can pick up some of your own!

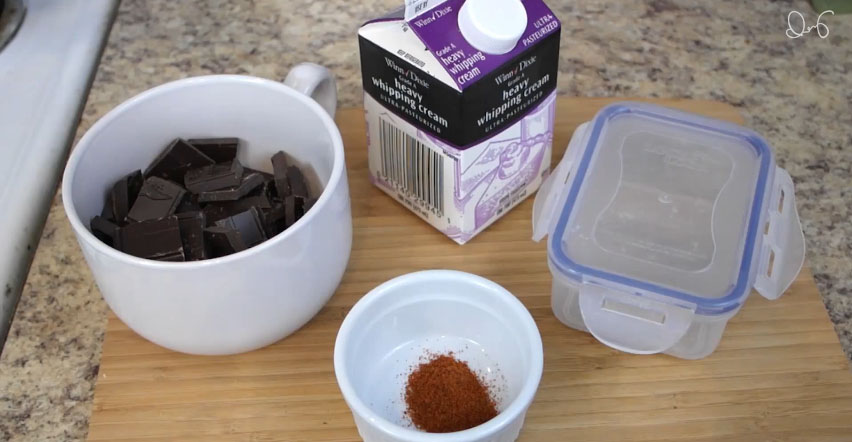
chili ganacheHover over or click on the images to see the instructions.

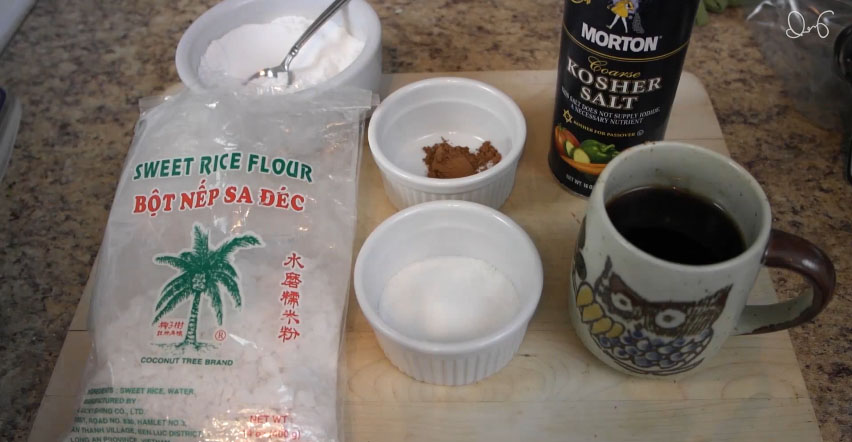
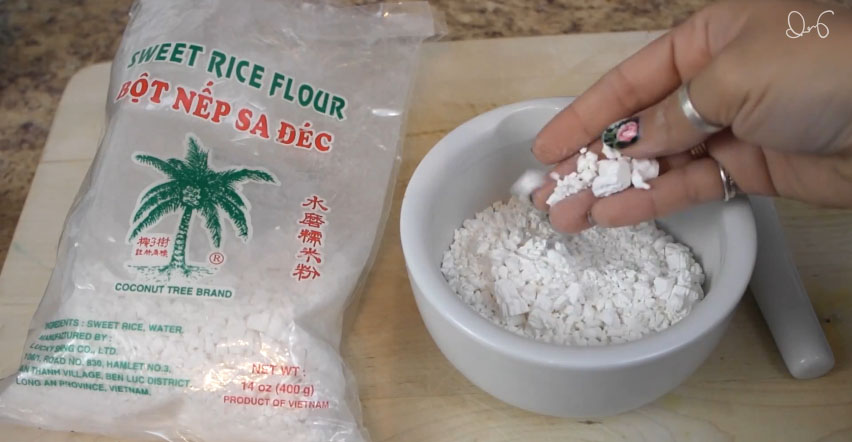
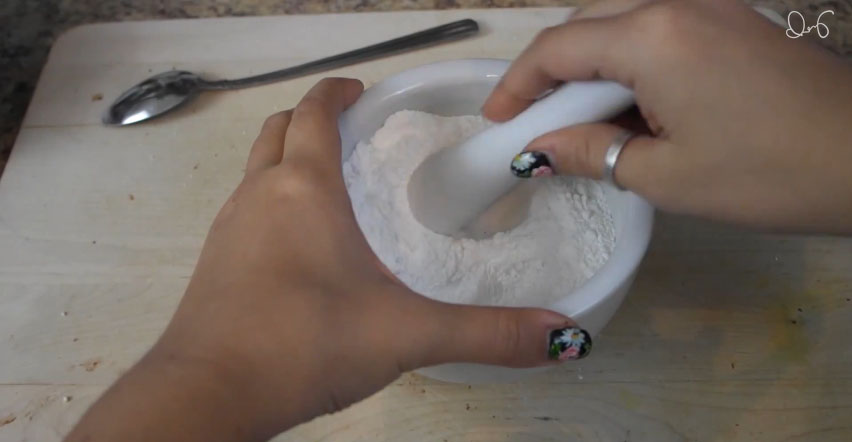
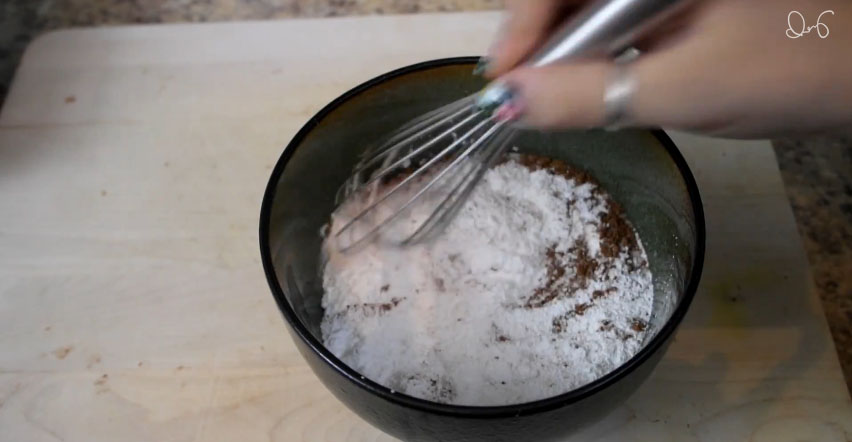
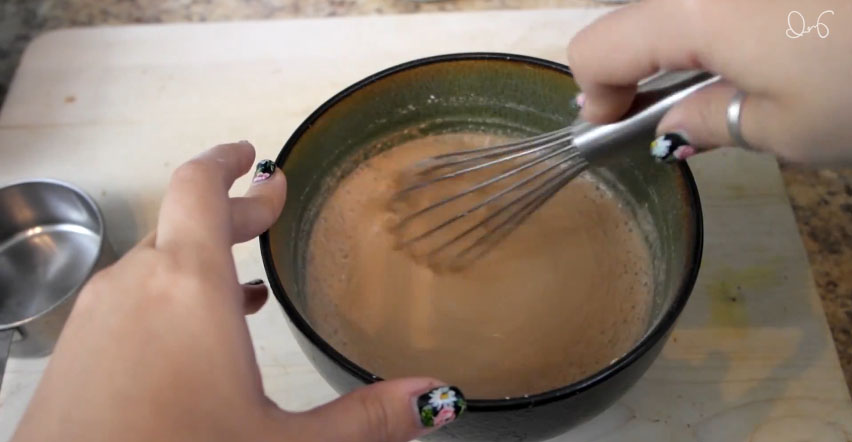
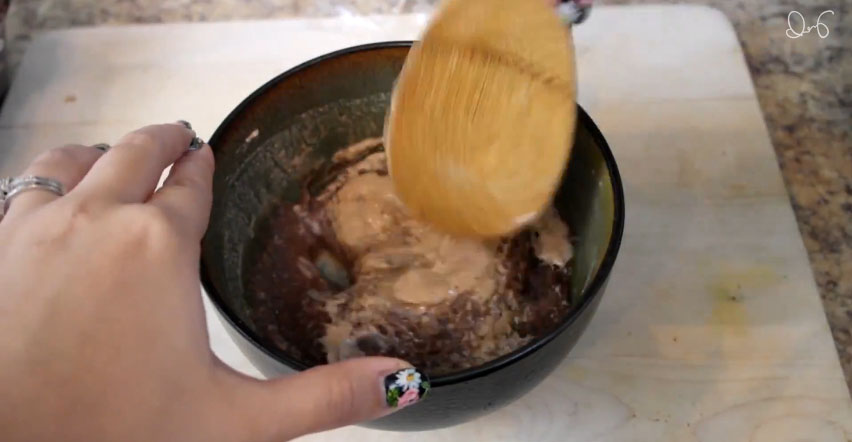
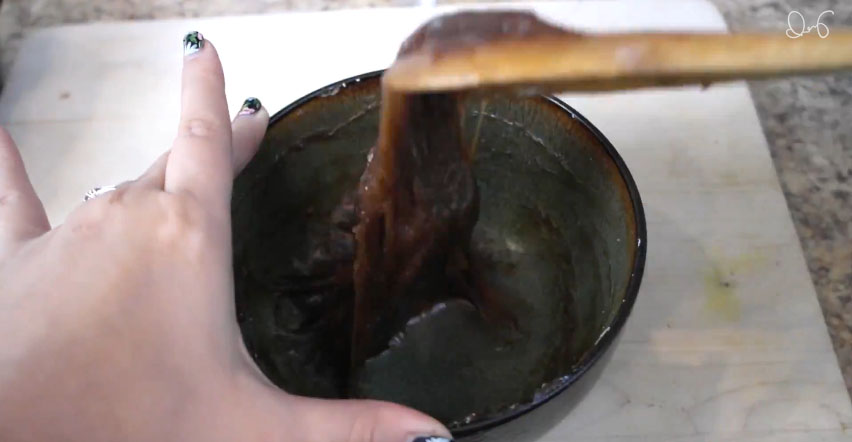
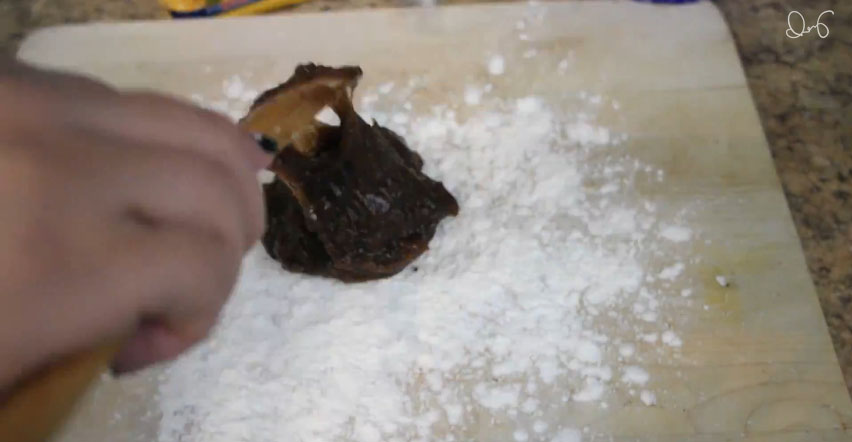
mochi filledHover over or click on the images to see the instructions.

You can give them to your sweetie however you like, but personally I think they look pretty nice in a cute little heart box!

Mmm!

So cute!

If you want to learn how to make some of your own heart boxes then stay tuned, next week I'll be posting a tutorial on how to make some of your own!


Kitchen, Tutorials

5 Thanksgiving Leftover Recipes

Happy Thanksgiving everyone! I hope the day is going splendidly and your bellies are stuffed. Since the upload day for my videos and blog fall on this particular holiday it would be kind of silly for me to do a recipe for Thanksgiving, but since most of you will be seeing this post after Thanksgiving I thought it would be a good idea to shoot a video/write up a post with a few recipes for your leftovers! I want to point out that since I made this video before Thanksgiving, instead of using a turkey I cooked a  while chicken instead. The recipes are still the same, just pretend I'm using turkey meat/bones instead of chicken! I didn't cook a turkey for two reasons: I couldn't find any whole ones at the grocery store when I was going to make this video and because these meals were made for just me and my husband, so even if I could find a turkey, I didn't want to cook all of that meat and then have it go bad since we couldn't possibly eat it all by ourselves.

Keep reading for the full ingredients and recipes!

01

  • 1 cupcranberry sauce
  • 1 red jalapeno finely diced
  • 1 red bellpepper finely diced
  • 1 tsp lemon juice

Throw the jalapeno, red bellpepper and lemon juice into a pot and heat over medium heat until they start to just soften. Stir in the cranberry sauce. Crank the heat to high and bring to a boil. Lower the heat to med-low and simmer for about 10 minutes or until thickened.*

*My cranberry sauce was quite loose, so I simmered mine for a little bit longer. And some people who have thicker sauce may need less time, but 10 minutes is a good general time.


02

  • 1 cup leftover mashed potato
  • 1 1/4 cup flour
  • 1 egg beaten
  • 1/2 teaspoon salt

Dump salt and 1 cup of flour onto a cutting board and make a well in the middle. Dump your leftover mashed potatoes on top and make a well with them also. Pour the beaten egg into the well and using a scraper start bringing in the sides of the flour and mashed potato into the middle to mix with the egg until it comes together like a dough. You could just mix everything together in a bowl, but it's more fun this way! Also, depending on your mashed potatoes you may need to add the additional flour. Just add a little bit at a time and knead it in until you have a dough that doesn't stick to your hands. Divide the dough into quarters and roll into long snakes and cut into 1 inch pieces. Gnocchi have lines in them that are typically created with a special paddle, but if you're a more casual gnocchi maker, you can get away with just using the back of a fork. What you want to do is place a piece of dough on the back of a fork, towards the base of the tines and using your thumb, roll the dough down. An alternate method is to just poke them in the middle to create a little dent. Place your finished gnocchi on a lightly floured baking sheet until you're ready to use them! If you're not going to use them that day, you could freeze them for later use.* To cook, bring a large pot of salted water to a boil and dump them in. Since they're fresh they won't take very long to cook, usually they take about 2 to 5 minutes. They'll float to the top of the pot when they're done. Use a slotted spoon to fish out the cooked gnocchi and place directly into your sauce. If you like a little bit of crispiness, you could also take them out of the water and put them into a saucepan with a bit of oil and saute until lightly golden. Then top with your sauce. Or you could also use them as the "noodles" in soup like I'll show you later in this post.

*To freeze, place in a single layer, try not to have them touching, and throw the whole sheet pan into the freezer. Once they're frozen you can throw them into a ziplock bag in order to save valuble freezer space. Once ready to use, let them defrost a bit on a baking sheet in a single layer and then cook like normal.

03

  • turkey bones
  • 1 onion
  • 2 large carrots
  • 2 or 3 celery stalks
  • 4 garlic cloves
  • 3 bay leaves
  • a few sprigs of rosemary
  • a few sprigs of thyme
  • water
  • salt to taste

After you've picked all of the meat off of the bones throw it into a pot. Fill with water. You'll want to use enough to cover the bones. Crank the heat to high. Roughly chop your veggies and chuck them into the pot. Toss in the herbs as well. Bring to a boil and then lower the heat to med/low and simmer for 6 to 8 hours. Place a collander over a bowl and pour the contents of your pot in. Discard the bones and veg and herbs. Add salt to taste.

04

  • bread
  • turkey meat
  • cranberry pepper jelly
  • lettuce
  • turkey jus or gravy

Build your sandwich! Spread a bit of the jus onto the bread. Alternatively you could skip this and just dip the whole sandwich in the jus while you eat it. Place the lettuce and spread the cranberry pepper jelly onto the other half of the bread. Throw the turkey on top of the lettuce, close the sandwich and there you go!

05

  • 1/4 cup olive oil*
  • 1 onion diced
  • 4 garlic cloves minced
  • 1/4 cup flour
  • 4 cups turkey broth
  • 1 large carrot diced
  • 1 celery stalk diced
  • 1 cup turkey chopped or shreaded
  • 1lb gnocchi (conveniently my homemade recipe makes roughly this much)
  • 1 can coconut milk
  • 1 sprig thyme
  • 1 teaspoon dried parsley
*1/4 cup might seem like a lot of olive oil, but you need it because we're going to be making a roux!

Heat olive oil in a large pot over medium/high heat. Throw in the onions and garlic and cook until the onions are translucent. Stir in the flour. Stir constantly for about 5 minutes. Stir in the turkey stock. Dump in the carrots, celery, turkey and herbs. Lower heat to med/low and simmer for about 20 minutes. Pour in the coconut milk and let simmer for 5 minutes. Fish out the bay leaf and any other herbs. Season the soup with salt and pepper to taste. Throw in the gnocchi and cook for about 5 minutes, or until the gnocchi starts to float to the top. Ladle into a bowl and enjoy!


I hope you all liked these recipes!

Food

Delicious Chicken Pot Pie

I love cooking and I experiment a lot in the kitchen, so I thought I'd start posting some of my recipes whenever they end up tasting good. I try to minimize what I waste in the kitchen, so when I read about celery leaves and how they're perfectly edible and actually taste pretty darn good, I was excited to try them out in a recipe.  Here is the recipe for some personal sized pot pies I made the other day where I utilized this usually ignored ingredient.

Mmm, yummy!

Pot pie filling: 1 pound skinless, boneless chicken breast halves - cubed 1 cup sliced carrots 1 cup frozen green peas 3/4 cup sliced celery 1/3 cup butter 1/3 cup chopped onion 1/3 cup all-purpose flour 1/2 tablespoon chopped celery leaves 1 teaspoon dried thyme leaves 2 whole bay leaves enough chicken broth to cover chicken (it should be at least if not more than 2 cups) 2/3 cup milk salt and pepper to taste

2 boxes of 2 (9 inch) unbaked pie crusts (you'll end up using only 3 of the crusts) 6 (5 inch) pie tins

Egg wash: 1 egg 2 tablespoons water

Directions:

Preheat oven to 425 degrees F (220 degrees C.)

In a saucepan, combine chicken, carrots, peas, celery, thyme and bay leaves. Add chicken broth to cover and boil for 15 minutes. Remove from heat, drain making sure to reserve the liquid, remove bay leaves and set aside.

In the saucepan over medium heat, cook onions in butter until soft and translucent. Stir in flour and celery leaves. Measure out 2 cups of the reserved liquid and slowly stir it in along with the milk. (If you don't have enough of the reserved liquid you can suppliment it with more chicken broth, and if you have some left over you can save it and use it the next time you need chicken broth!) Add salt and pepper to taste. Simmer over medium-low heat until thick. Mix in the drained chicken mixture.

Unroll pie crusts onto a cutting board and cut in half. Take one half, place over the pie pan and gently press into the pan. You might have to coax it a little bit, but it should work out. Cut off the excess, roll into a ball and roll it back out to create the top of the pie. Repeat for other pies. Fill each of them with the pot pie filling. Cover with top crust, fold over the edge of the crust and use a fork to seal the edges. Make several small slits in the top to allow steam to escape.

Whisk egg and water together. Brush the tops of the pies with the egg wash. Bake in the preheated oven for 20 to 25 minutes, or until pastry is golden brown. Cool for 10 minutes before serving.

Filled, eggwashed and ready to be baked!

Fresh out of the oven!

I ended up only making four of these pies and saving the extra filling because I only bought one box of pie crusts, which supplied me with two 9 inch sheets of dough; just enough for four pies. Whenever I decide on making the last two pies I'll probably try my hand at making my own dough.

Food, Tutorials

Adventures in Bread Making.

I love to bake and cook, but I've never tried to make bread before.. that is, until a few days ago.  Unfortunately my first loaf turned out wierd and half unbaked, but I've since then redeemed myself.  The kind of bread I chose for my first ever to bake is challah.  When it came to the egg wash and the topping I changed the recipe slightly.  I'll elaborate on that when I get there though.. for now, I'll talk you through the journey!


Ingredients:

2 teaspoons yeast

1/4 warm water

3 1/2 cups flour sifted

4 eggs (only three go in to the dough, the last is for the egg wash)

1/4 honey

1/4 oil

1 1/2 teaspoons salt


Mix the yeast with 1/4 cup of the flour and the warm water and let it sit for at least 20 minutes.  While you're waiting, mix together the three eggs, honey, oil and salt.  When the yeast mixture is all good and bubbly mix your honey mixture into that.  Then dump in the rest of the flour (3 1/4 cups should be left) and mix it all up by hand.  When it starts to come together, dump it out onto a floured surface and knead it.  The recipe I used said to need for 5 minutes maximum.  I averaged about 3 minutes.  After you're done kneading take your little dough ball and put it in a bowl, cover it with a damp cloth and put it somewhere warm.  When I do this, I usually set the oven at a low temp. while I'm making the dough, and then when I put it in I turn it off.  Anyway, after that is the fun part!  The braiding.  I searched around youtube for a good instructional video on how to braid challah, and I chose to do the 6 strand braid.  Here's how it looked after braiding:
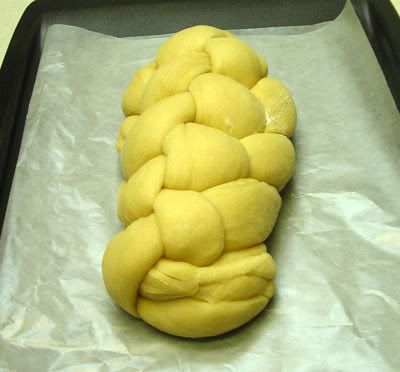
Pretty nice... except for that little area at the bottom, but whatever.  I figured I'd eat that end first.  So after you braid it all up, you get to have more fun waiting.  Another two hours.  Oh yes.  Cover it with a towel or plastic wrap and stick it back in that warm spot.  After two hours it should have doubled in size... but for me on my first attempt this did not happen.  It didn't even double in size after the first two hour wait.  Stupid yeast ended up being too old.  Oh well.  I'll show what it looked like when it didn't work and when it did, so you guys can kind of tell if you decide to try to make this.  Here's the stupid after the second two hour wait.. and how barely grew:
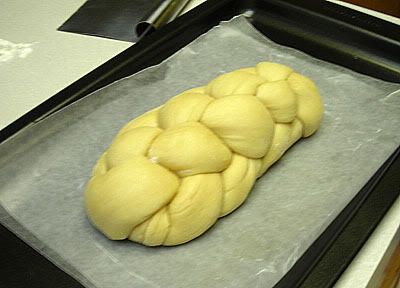
Stupid thing...


Anyway, I still tried to bake this thing.  Set your oven to 325 and get out that egg to prepare the egg wash.  Crack it in a bowl and mix it up and you've got your egg wash.  Brush it on carefully.. you don't want to push out any precious air.  Some places I've read that you're not supposed to put that much, but some places say to use a lot, so I'd just say go with what looks good to you!  That's what I do.  After the egg wash you top it.  Traditionally it's topped with sesame seeds, and sometimes raisins... but I wanted mine to be sweeter, so I topped it with cinnamon sugar... yeah, I cheated.. but it's delicious.   


Now throw it into the oven!!  Bake at 325 degrees for 35 to 40 minutes.  The recipe I used said to stick a pie pan full of ice cubes in there with the bread to keep the conditions humid inside the oven, but to take it out for the last 5 minutes of baking, to let the crust really get brown and harden.  Here's what I pulled out of the oven after 35 minutes...
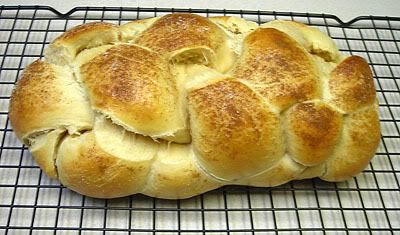
Eww.  It looks wierd.  It ended up being so dense because it didn't rise.. that the inside was still dough.  It was pretty gross.  I still ate the butt ends though.  Yum.


On to the second try!


I got newer yeast and tried again the next day.  I meant to take a picture right after I braided it and before I let it rise for a good comparison shot, but unfortunately I forgot... I have a good shot of it after rising though!

This is with the egg wash and the cinnamon sugar.  My mom said it reminded her of chicken.  My braiding is pretty shotty for this loaf... this is a picture of the pretty side.. the other side is wierd and uneven.  I was preoccupied with the season finale of Lost.  You can compare the last loaf with this one... I used the exact same sheet pan to cook the bread, and you can see just how much bigger this one got.


But of course, something had to go wrong(actually, it's not too bad, it just makes it not as pretty as I hoped it'd turn out).. the oven decided to bake unevenly so the pretty side of the challah is a lot lighter than the ugly side.  The ugly side got as dark as challah's supposed to, so I didn't want to keep it in longer.  Well, that and because I'm impatient and I wanted to eat some.  Here it is:
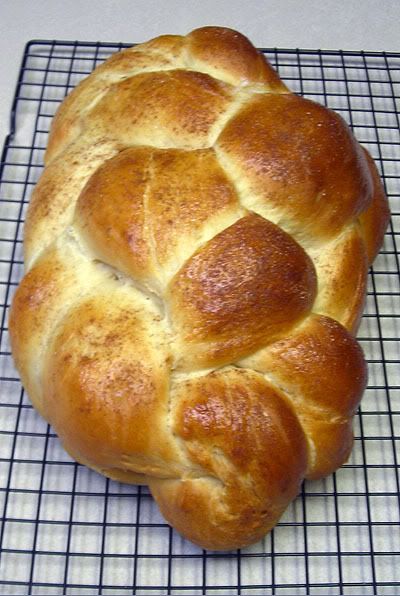
There we go.. Looks MUCH better! 

Here is a picture of its insides:
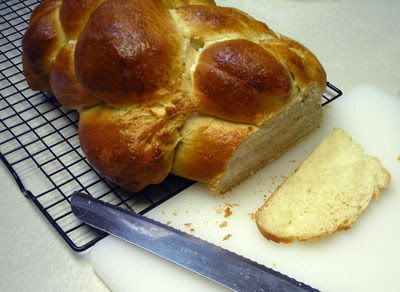
Mm, so yummy.
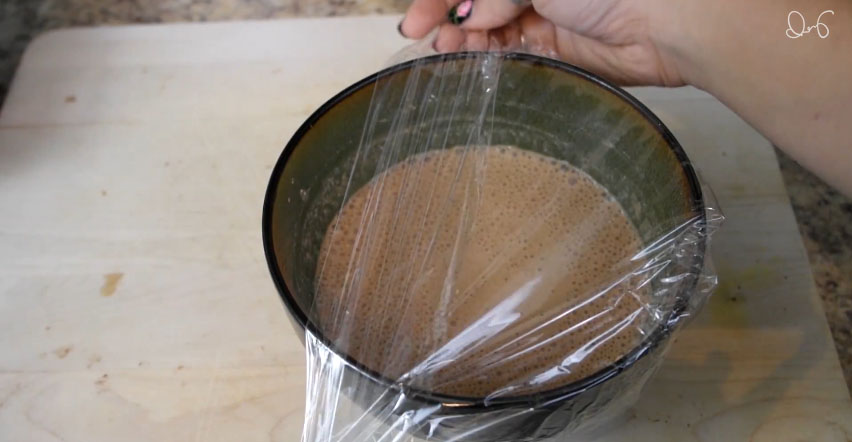
 

I've heard that this bread is great for making french toast with because it's already sort of sweet because of the honey.  I'm totally going to make some sometime.  It's also good just by itself. Mmmmm.