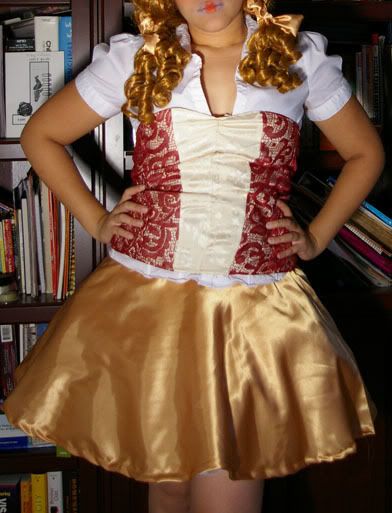
Six years ago I posted a Halloween costume I made that featured a working wind up key. Four years ago I posted a tutorial on how to make said key and around Halloween it's almost always my top visited post. My husband has been wanting me to make some tutorials in video format, so I thought what better tutorial than this! So lo and behold, here's the video!
Here's a quick little photo recap of the video:
 Supplies. Not pictured are some pliers and a screwdriver that I used to take the toy apart.
 The sacrifice. Poor guy didn't see it coming.
 This toy was nice because it was held together by just two screws. After unscrewing I just pulled the mechanism out. This is all we need from him!
In the original tutorial I used pliers to break off the wind up toy grip but this time my dowel(aka the piece of bamboo I had lying around) already had a hole in it and it was the perfect size with the grip still attached, so I just kept it on.
 Mark the center point of the belt, cut a teeny tiny hole and stick the wind up mechanism through. You want to tack it down with a small dab of hot glue, taking care not to glue the moving parts.
Oh yes, the belt. That's how we will be securing the key to our bodies! I had this black elastic belt that I never wore anymore so I just used that.
 To hide the white boxy mechanism cut a piece of matching fabric (I used fleece) and attach it on the belt. You can either sew it on or hot glue it.
 Making the key pattern out of form core board. I traced a glass and then free handed the rest of it.
 So in the previous tutorial I said to use a strong glue, namely a two part epoxy, since people will be cranking that thing all night. However, I have since tested it out and using a high temperature hot glue gun works just as well. You can still use a stronger glue of course, but hot glue does work.
 For painting I did two coats of black as a base and then finished with a single coat of an antique copper.
Do not use spray paint! If you've made your key out of foam core board the chemicals in spray paint will react with the foam and eat it away. Craft paint is the way to go here.
 You'll just want to put a bit of hot glue into the hole of the dowel. I had a pre-existing hole, but normally you would have had to CAREFULLY drill a small hole on the end of the key.
 And here it is on the back of my costume!
So I hope you guys enjoyed the video. Is that something I should do more often? Let me know! It's pretty weird to sit there and talk to the camera, but it turned out alright I think.


