Sorry for the lack of posts recently, school is wrapping up so I've been busy with random papers, projects, etc. Hopefully soon I can start to post on a regular schedule rather than so randomly. Anyway, I finally had a little time to craft, so I decided to make paper. Exciting!
Here are some pictures of my journey:
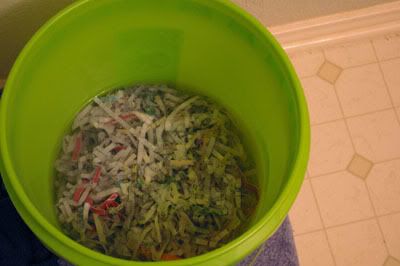
I took our paper scraps out of the shredder so I didn't have to rip up each piece of paper. I also soaked them for a few days... I meant to just soak them for 24 hours, but I got busy and I couldn't make paper for a while, so I had no choice but to let it sit there.
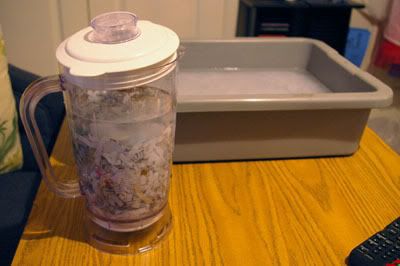
Fill the blender about halfway up with the paper mixture and then fill it up with warm water a little bit more than the paper. Blend. Pour into a tub that is already halfway filled with water.
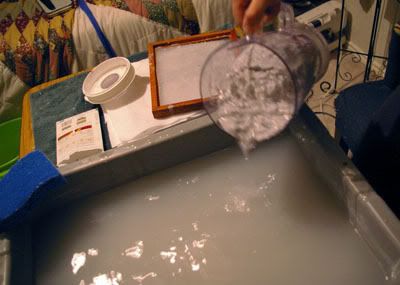
Mmm, yummy!
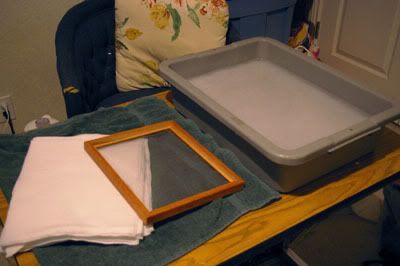
Here's what you need now.. your tub of paper-water, a few pieces of felt, a sponge, a screen and a piece of plastic that fits in the screen. I just made my screen with an old frame and metal window screen.
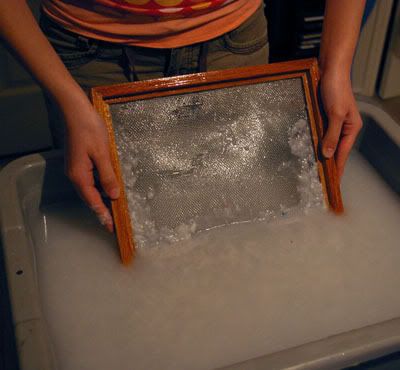
Put the screen in at an angle.. kind of like you're going to scoop up the paper-water mixture.
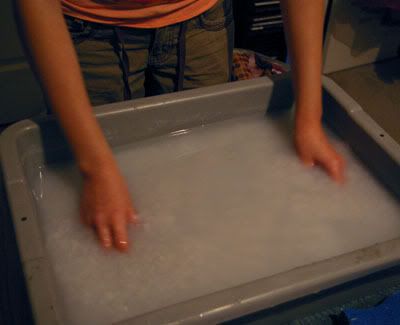
Straighten out.
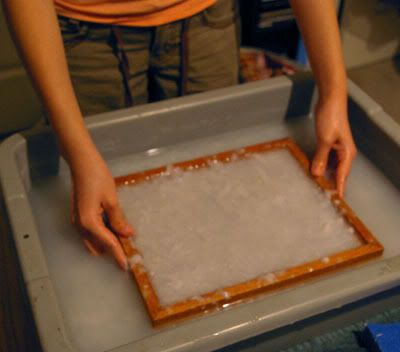
Pull the frame up slowly and as even as possible. Let the excess water drip out and put your plastic on top of the screen.
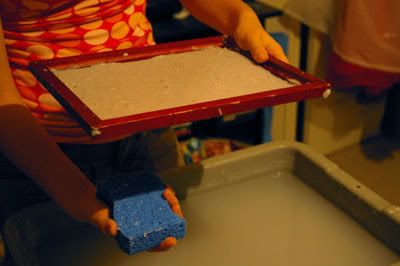
This part you would need two people.. You would really have someone holding the frame, and the second person putting one hand on top of the screen and pushing the sponge against it from the bottom to push the water out. Every few pushes you'll have to wring the sponge out.
Peel the plastic away from the paper. If it sticks at all then the paper has too much water in it still and you'll need to keep pushing it out. If it doesn't stick, and you get the plastic off the paper, flip it out onto one of the pieces of felt.
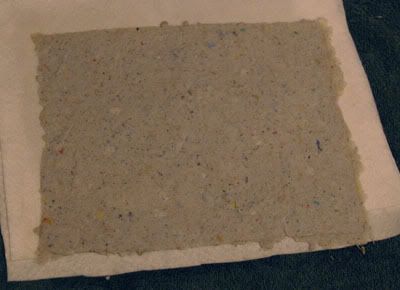
Like so. Put another piece of felt over this one.
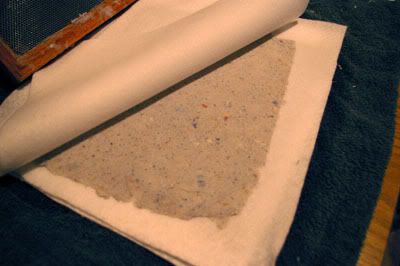
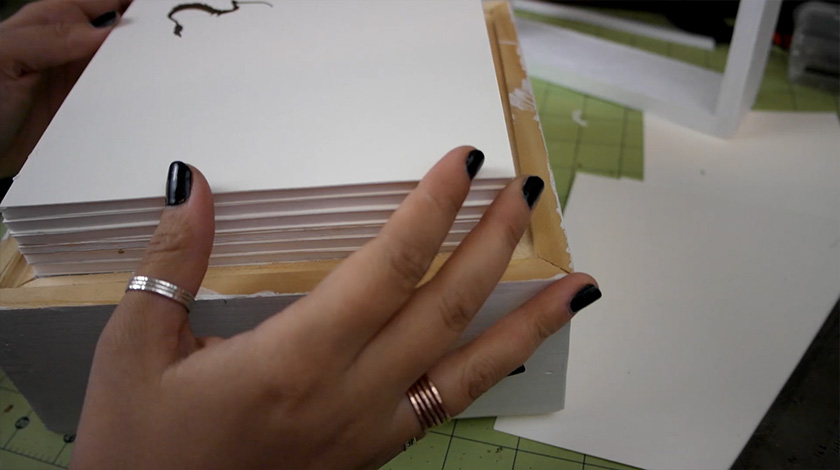
Repeat and repeat and repeat until you're all out of paper pulp! I believe I got about 20 sheets from this batch. I put pressure on the stack of paper to get the extra moisture out. A lot of places recommend hanging up each piece with clothes pins at this point.. but I didn't only because I don't have any clothes pins :(
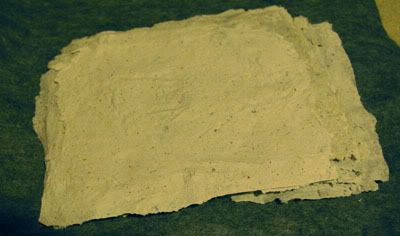
A stack of paper! ..wow, this picture is kinda green.
I'm planning on making a book out of some of these pieces of paper.. They just take forever to dry if you can't hang them! Making paper is pretty fun, you can experiment with different colors of paper, different consistencies, etc. Mine has a few random flecks of color and text dispersed throughout the paper, but I didn't really mean for it to happen.. I figured that after soaking for forever the paper would be broken down enough that it would be mostly gray. I'm happy with the result though.. it was a happy accident. :)


