decor

For the Home, Other, Tutorials

DIY Faux Plant Desk Decor

This week I'll be showing you how to make some cute faux plant desk decorations. I decided to make these because my sister got her first internship and she needs decorations for desk at work! First I'll start off with the grass. I thought it could make a pretty neat looking pen/pencil holder. I wanted it to be long, so I'm going to cut the grass chunk in half.

-fake plants -scissors -sand -styrofoam -hot glue gun -pots -balsa wood -xacto knife -saw -paints/finish -ModPodge

First I'll start off with the grass. I thought it could make a pretty neat looking pen/pencil holder. I wanted it to be long, so I'm going to cut the grass chunk in half.

Now onto the succulent plants. I decided to make a little trio.

And now they're done!


Art, For the Home, Tutorials

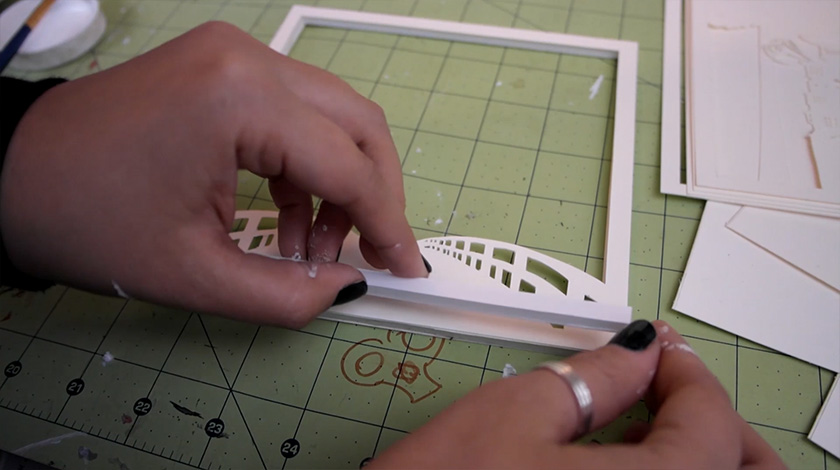
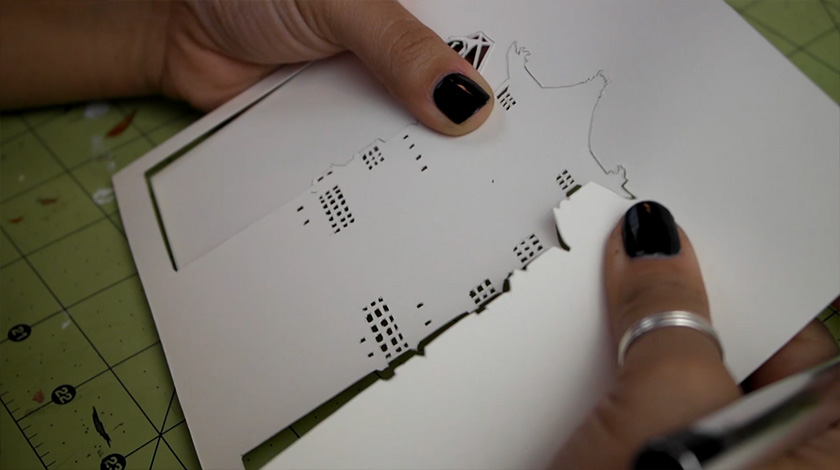
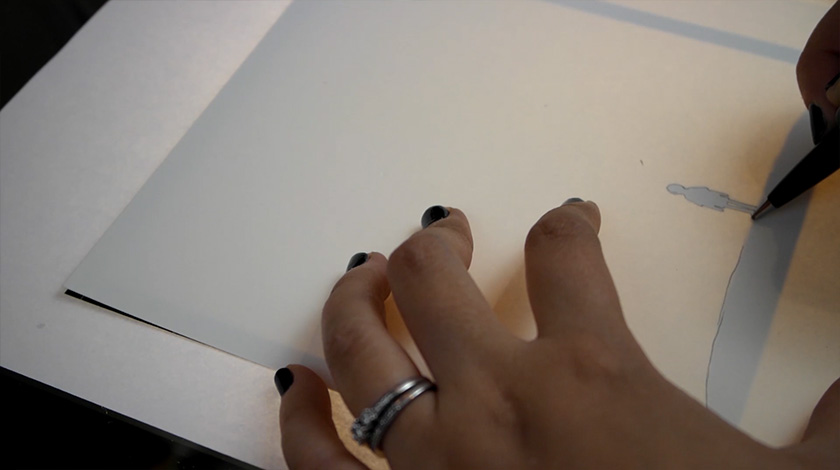
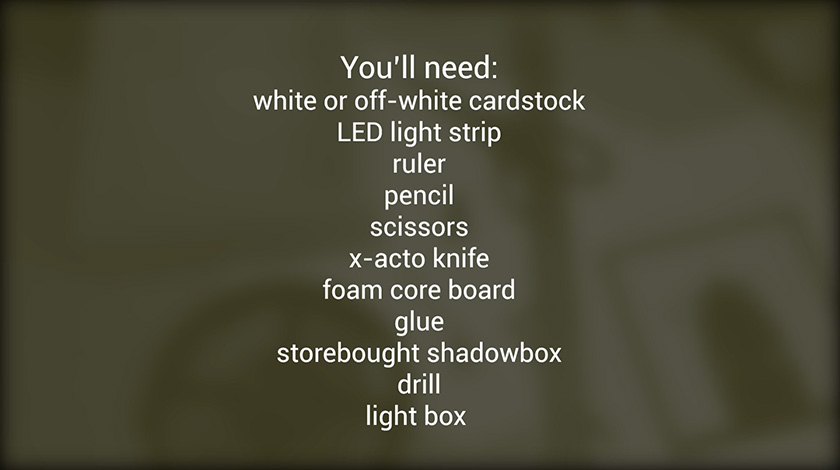
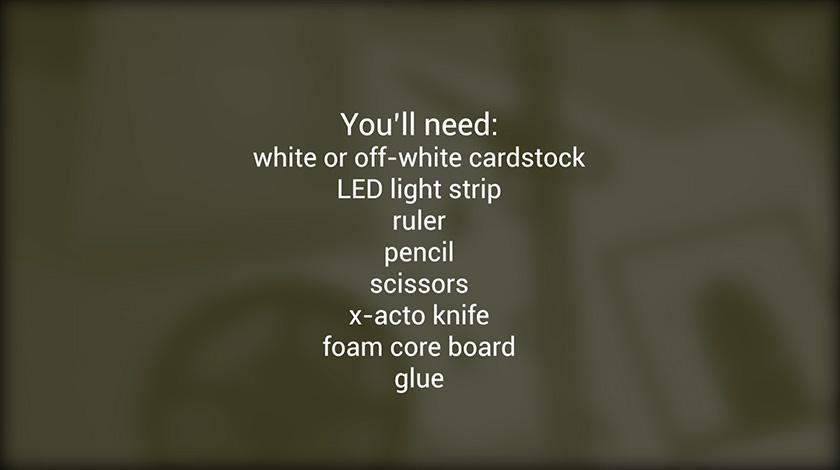
DIY Paper-cut Light Box

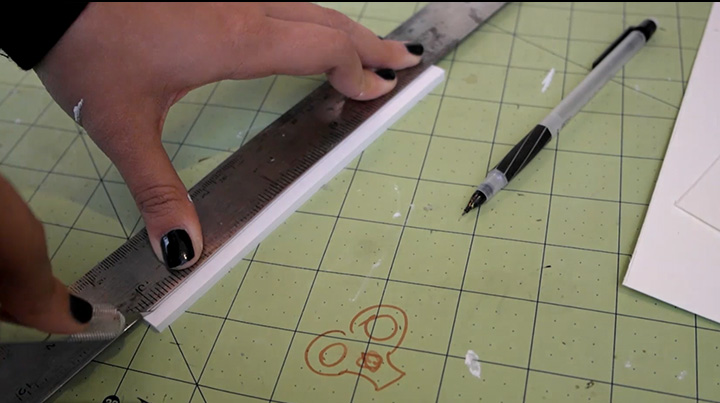
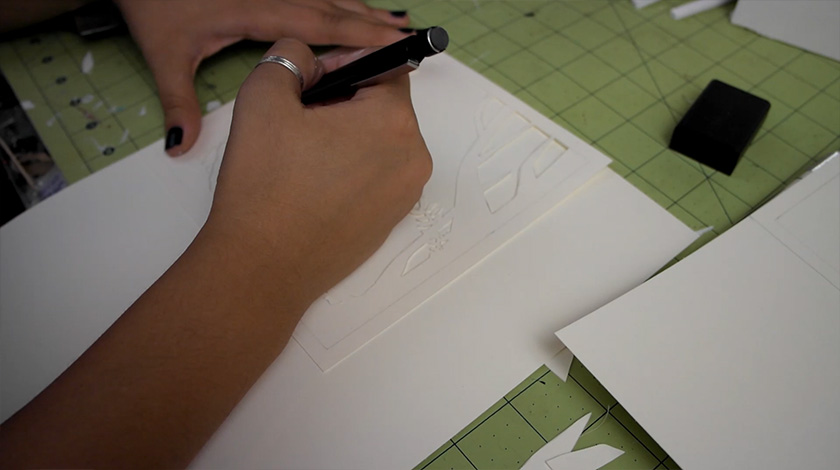
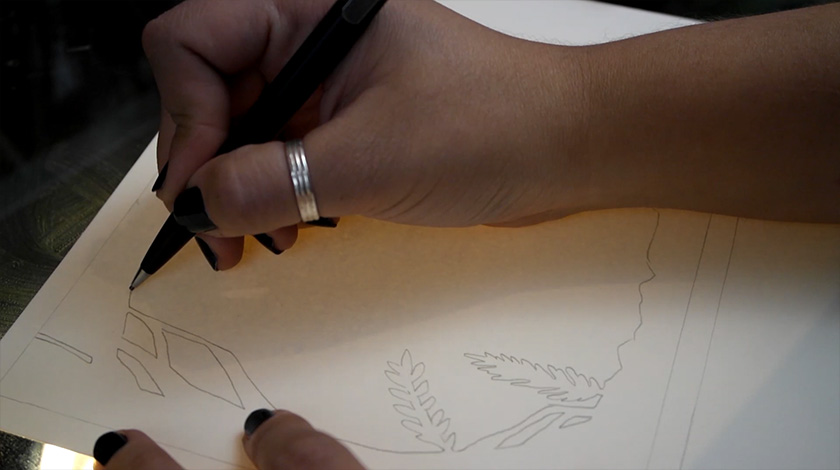
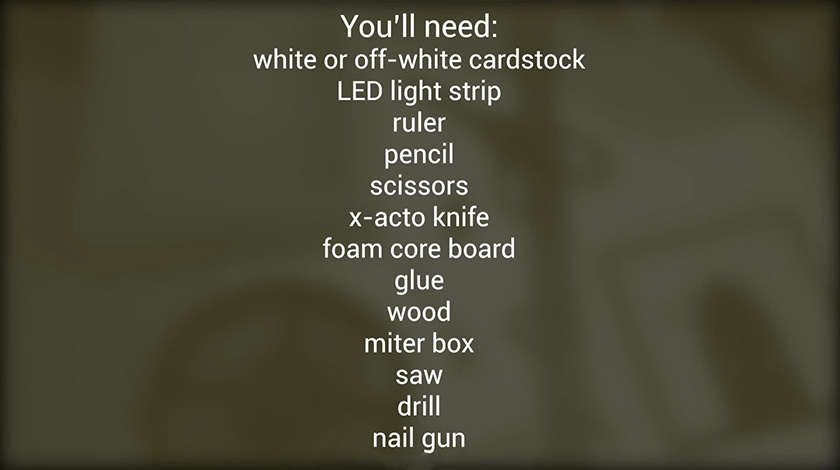
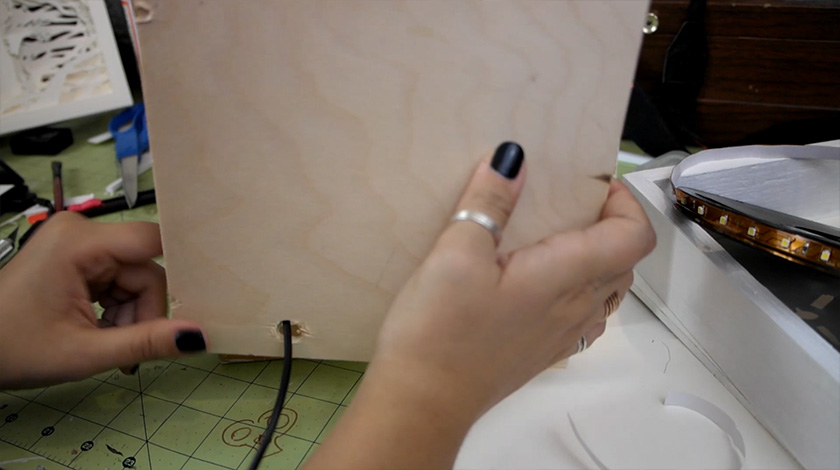
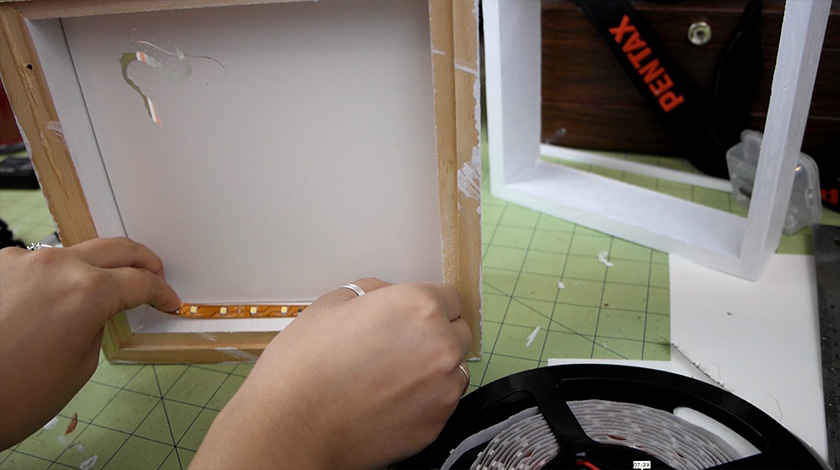
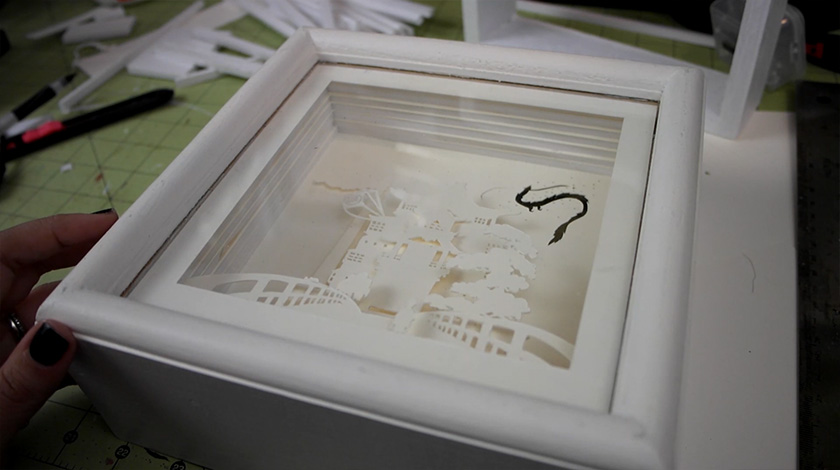
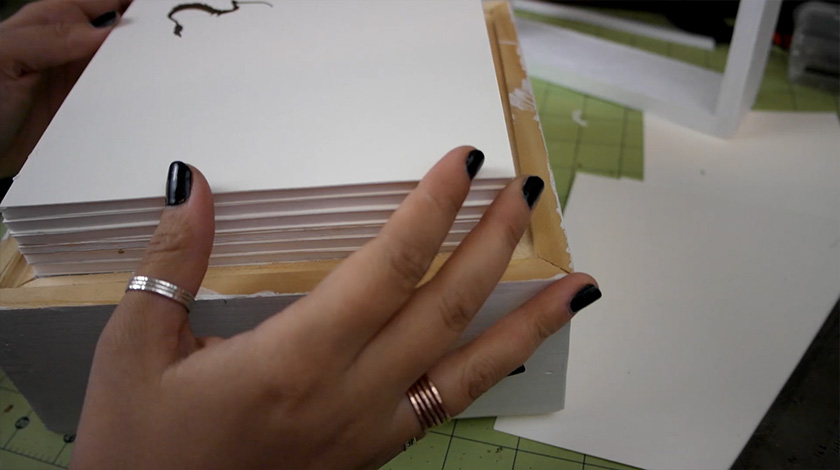
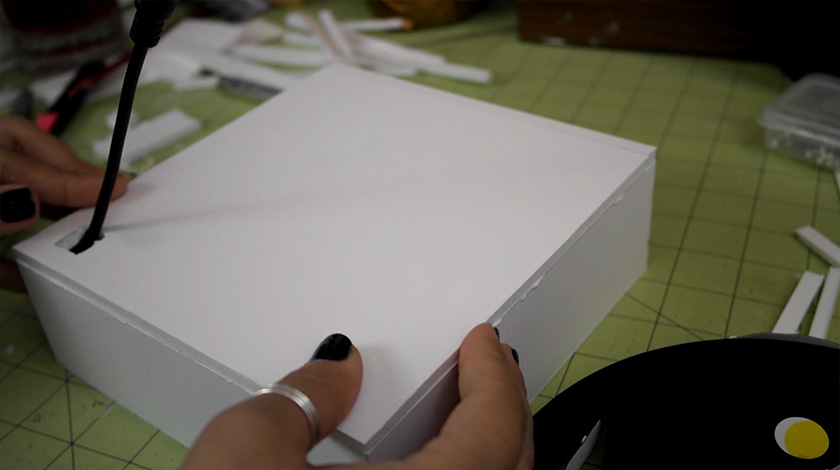
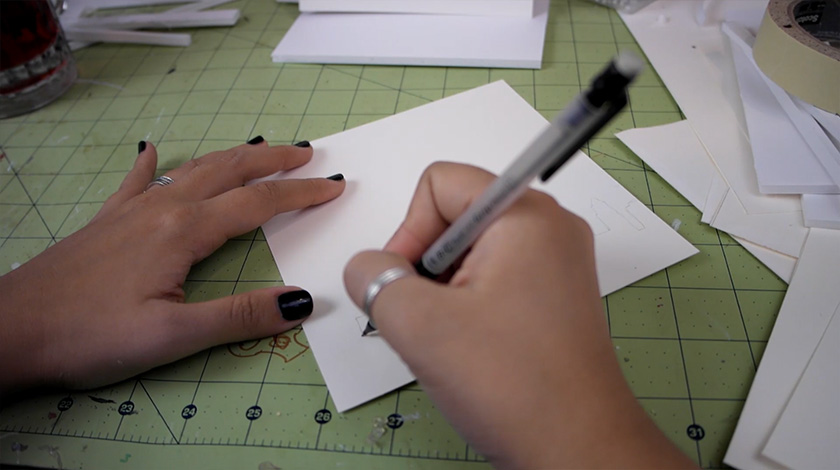
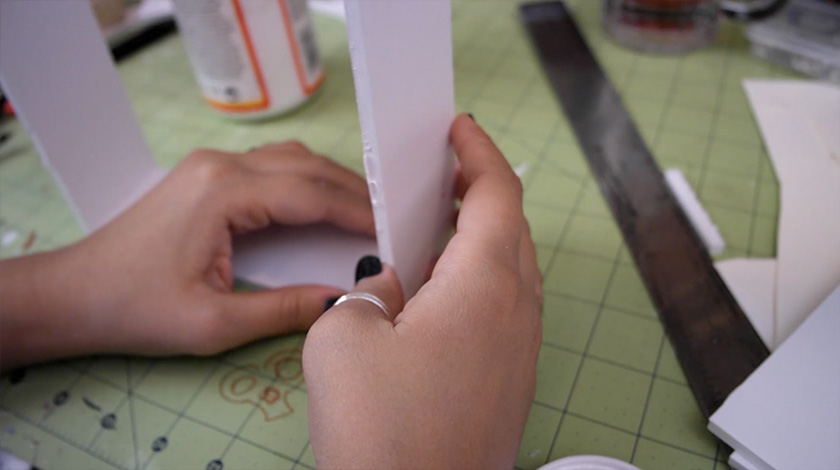
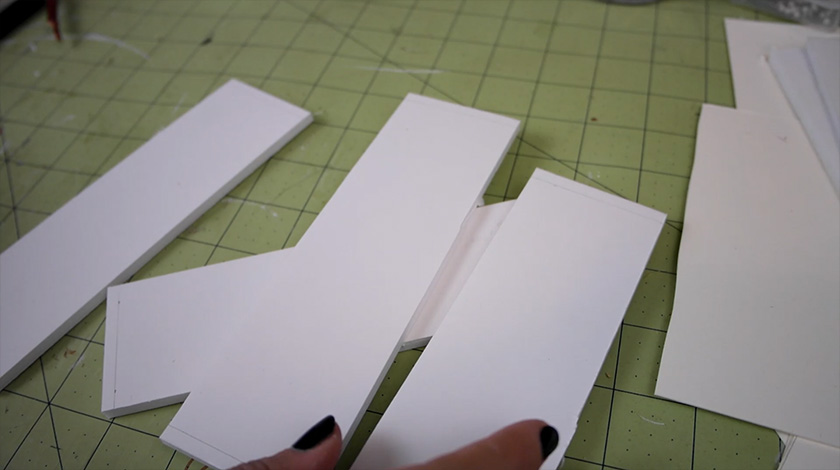
I recently saw some awesome artwork by these artists Hari and Deepti and I was very inspired to create some of my own. I threw together three tutorials; one is advanced, one is intermediate and one is easy. Check out the video below, or continue on after the "read more" tag, to figure out how to make your own!

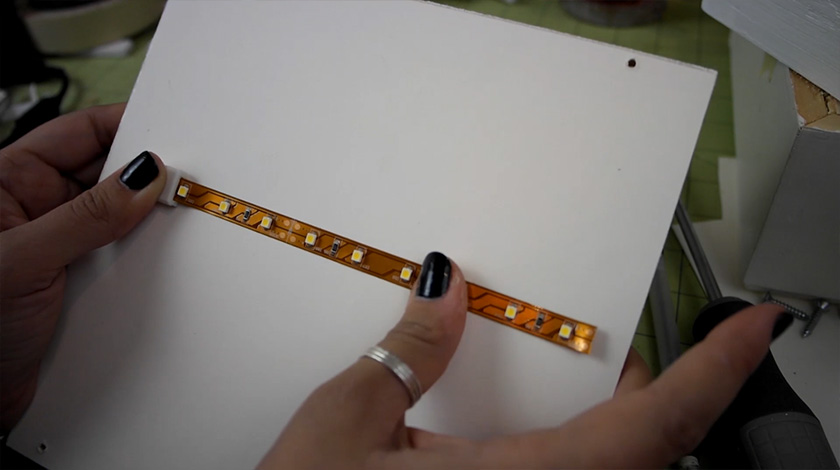
A quick note about the lights I used in these light boxes. These things are great; you can cut them to size and they're self adhesive. Perfect for any project requiring a little bit of lighting. If you want to buy some for your own projects here are some affiliate links for the lights, extra connector things and power cords. If you don't feel like buying these things you can probably just use some Christmas lights, but the downside to those is that you'd only have a tiny bit of the lights inside the box, and then you'd have a long tail of lights hanging out of it. Unless you build a big box to accommodate a whole string of lights. Which would be awesome.

Advanced:

Advanced!


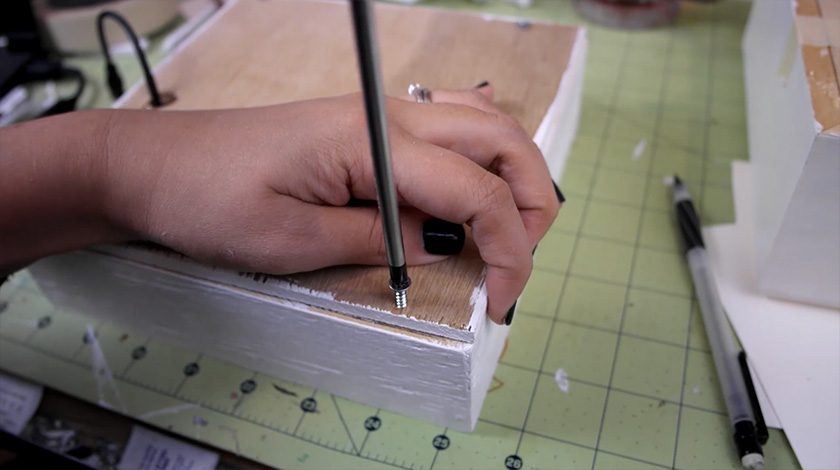
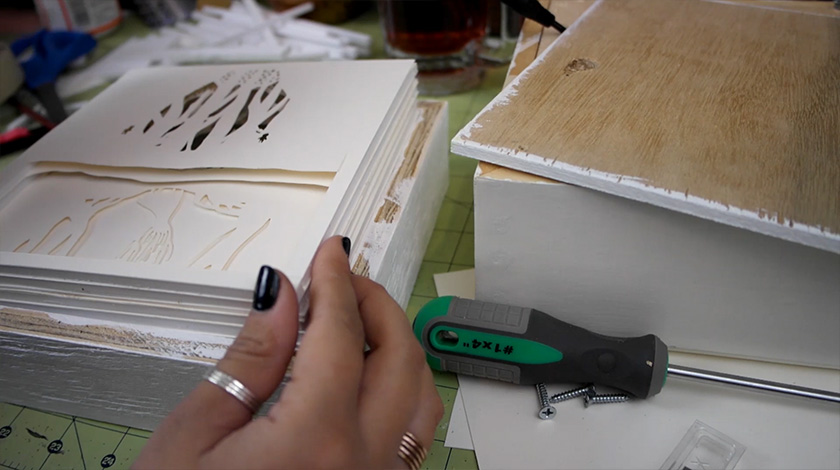
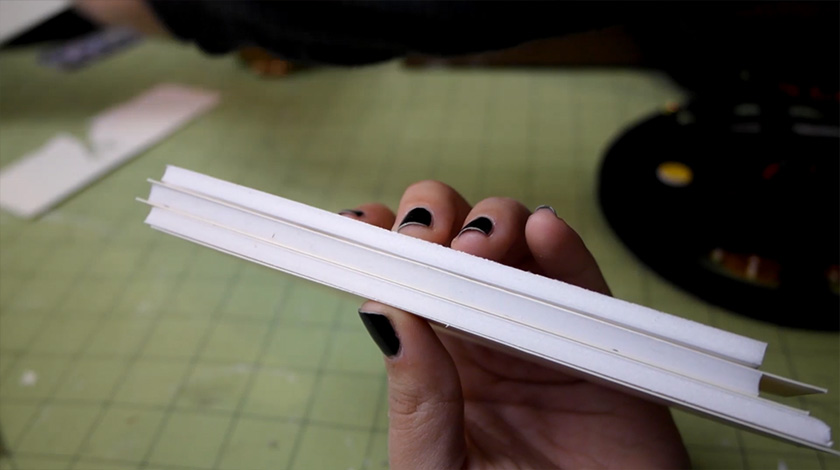
Mouse over or click on the images for instructions:

Intermediate:

Intermediate!


Click here to download the template for this one.

Mouse over or click on the images for instructions:

Easy:

Easy

Mouse over or click on the images for instructions:

Finished!

So there we go! Three different light boxes, three different levels of difficulty. I hope you all enjoyed these things, I'm pretty happy with how they turned out, and I'm already planning a few more to make!

For the Home, Tutorials

DIY Noren Curtains

14.jpg

I live in a shotgun style home, where we have no hallways and it's  basically just series of rooms, back to back. Some shotgun homes have doors to separate the rooms, but some, like mine, only have doorways. No doors. I've grown accustomed to the openness of being able to see basically all of the rooms if you look through a doorway, but I did also somewhat miss having a bit of separation between each room. My solution to this was to whip up a few sheer noren curtains. So of course, I'm going to be sharing with you this easy sewing project!

suppliesSupplies

01First, you'll need to measure the width of your door and then how long you want the curtains to fall.

002Divide the width by half. Add 1/2 of an inch to each side. Add 4 inches on top and 2 inches on bottom. Cut out these two measurements from your fabric.

03Put the fabric together, right sides together, mark down 8 inches, 1/2 of an inch in. (Note: My measurements are twice as big because after cutting the fabric, I realized I didn't have to finish the outer edges of the curtains because they were the selvage edges. So instead of trimming 1 inch off every piece of fabric (I made 3 all together) I just made the seams twice as large on the inside.

Sew along the line and then fold open.

04Fold 1/4 of an inch and iron that down. Then fold another 1/4 of an inch, iron again and pin. I skipped all of the ironing parts on the first one I  made, which was a huge mistake. For the other two I ironed after each fold and it made the job so much easier. So do as I say, not as I do.

05Sew the seam down along the edge. This will encase the raw edge of the fabric in the seam, making them look nice and neat! Repeat this process on the outer edges of the curtain. Fold 1/4 inch, iron, fold 1/4 inch, iron, pin, sew.

06For the top, fold down 1/4 inch, iron, fold down 2 inches, iron, pin, sew.

07For the bottom, fold down 1/4 inch, iron, fold down 1 inch, iron, pin, sew. Repeat on the other flap.

And you're done!

08Now from here you can either leave them plain or you can decorate! I was already thinking about decorating them, but after I put up this plain one to see how it looked, I decided I was definitely going to decorate them. They just didn't do it for me in their plain state. It probably didn't help that this particular curtain looks horrible because the tension of my sewing machine was off so it puckered the seams really bad.

But anyway, to decoration!

09For this one I drew an ensō circle. It's supposed to "express a moment when the mind is free to let the body create." I thought it would be perfect to put up in one of the doorways to our office/studio/wood shop. 10For this one I just painted some pretty standard bamboo.

11

And for this one I painted the whole curtain, sans a circle in the middle, with a dark greyish blue. After that dried I painted the circle with liquid gold leaf.

And here they are all hung up! 12 13 14

I hope you all enjoyed this project! I'm glad I didn't give up after I hung that first plain one. I almost did. But I think they look so much better after painting on them.

What do you all think?

Tutorials

Geometric Turkey Candles

Thanksgiving is a week away and now is the perfect time to start getting your table decor together. Especially if you're like me and plan on DIYing most, if not all of it. Recently I've seen some tutorials on how to make geometric candles and I really liked that look, so I decided to create my own design for a geometric turkey that you could display by itself (along with the food of course) or you could pair it with the other geometric type of candles for an interesting tablescape.

Keep reading for a quick video summary!

01Supplies! You can find the pattern HERE. I recommend printing onto cardstock since it's more rigid, but printer paper will still work. It just won't look as sharp as one with a cardstock mold.

02Use scissors and/or an xacto knife to cut out the pattern.

03Flip your blade over and, using the blunt side, trace over the dotted lines to crease, or score, the lines. This will help you to cleanly fold them.

04Fold along the lines using this guide.

05Apply glue to a tab.

06And glue to the corresponding number. You want to glue the tabs to the outside of the pattern. Since we're filling them up with wax, if you glue the tabs inside, you'll get an indentation from the tab in your candle.

After you finish gluing the whole thing up take your glue and  dab some on to the corners to close up any holes.

07Take some acrylic paint and paint a thick layer all over the turkey. Repeat 2 o r 3 times. This is to ensure there will be no leaks. I did 2 layers on this one and had no leaks. Let dry.

08Take the tube shape and glue the tabs onto the matching triangle tabs on the chest of the turkey like so. After I did this I noticed a few iffy spots on my turkey so I just dabbed on a bit more glue to those areas. Theoretically you could have just done a few layers of glue rather than paint initially, but with paint you can easily see if you have missed any areas.

09Mark a hole on the back of the turkey and poke a hole.

10Stick your wick in and pull through so an inch or two is sticking out of the top and bottom.

11Apply some water soluble glue(Elmers) around the base of the wick. You want to make sure it's water soluble so that if, after you removed the mold, there is glue still on the wick, you can just easily clean it off under running water.

12Melt your wax in a double boiler. I'm using an old coffee can that's sitting in about an inch or so of simmering water. I'm also using crayons to color the wax. For this specific candle I attempted an ombre and totally failed at it. I explain it more in the video, but that is why the candle ended up having some weird horizontal stripes in it.

13Pour your hot wax in the mold and let cool slowly. I had another mishap at this stage. Since I was trying to do the ombre effect and I'm impatient, I threw the mold with the hot wax into the freezer between layers in an attempt to speed things up. My resulting candle has cracks all in it and I believe that the freezer step is what caused that. The two prototypes I made before this one were both cooled on the counter overnight and didn't have any cracks like this one did.

14After you let the wax harden, cut the excess wick off the bottom and then remove the mold. If you made a cardstock mold you will probably have to use your xacto knife to get it started.

15When removing the mold from around the wick just pull up carefully. Like I mentioned earlier, if there is still some glue attached to the wick just clean it off under running water. Trim the wick down to about half an inch to an inch.

16And here it is with my first two prototypes! (The new guy is in the back) You can see the cracks in the new one. The smaller prototype has a line halfway through it because I didn't melt enough wax initially so it had started to harden by the time the second batch of wax melted.

17Here they are all lit up! You can see the slight design chance I did in the tail between the first two prototypes and the newest turkey.

Aside from the ombre fail and the unfortunate cracks in this last turkey, I really do love how they turned out and I'm definitely going to throw these guys on my Thanksgiving table this year!


Tutorials

Paper Mache Halloween Decor

Hey guys! Today I'm going to show you how make some nice Halloween decorations with paper mache. I found some small paper mache skulls at my local craft store, and yeah, they're not too pricey, but once I saw them I knew I wanted to make some on my own. I figured I could put a bit more personality into them, and I think I succeeded. I made two types of skulls; one that's a bit cartoony looking and the other a tad more realistic. I also made a little jack-o-lantern as well. This tutorial is best viewed in video format, however I'll provide some video stills with captions after the video!

01Le supplies

02Blow up your balloons; you'll want to fill them up only halfway. For the cartoony type of skull, tape around the bottom third of the balloon. Don't worry about being precise. Once you tape it up  you can squish the balloon around a bit to alter the shape of the balloon until it's just right.

03For the realistic type of skull, take some cardstock and tape it to the balloon like so. This is only going to be temporary so we can draw the face on with the correct proportions.

04Roughly sketch a skull face onto the cardstock. Carefully remove the tape and cut the shape out.

05Tape it back on. Yeah,  you could probably just draw the skull face without taping it onto the balloon, but where's the fun in that? The best part is riding that fine line between almost popping the balloon and not.

06For the jack-o-lantern, wrap a balloon with three rubber bands equally spaced apart, like so.

07Draw on the face of the cartoony skull. Sure it's about to get completely covered with paper mache, but you need to sketch the whole face to see where the jawline will be. That's where we're going to stop layering on the paper  mache.

08So much paper. You can use newsprint or any similarly weighted paper. I'm using brown packing paper. Tear the strips rather than cutting them, as a torn edge blends more easily.

09Glue mixture. Two parts glue, one part water.

10If so inclined, don your gloves.

11Dip a strip into the glue, wipe off the excess glue and place on balloon. Repeat x1000. But really, do about 2  or 3 layers of paper, let dry, and repeat until it feels thick enough. Mine ended up being about 7 or 8 layers I believe. Although, I wish I had done more layers on the jack-o-lantern, because, as you will soon see, after I cut the face out it wasn't very strong and it started drooping.

Anyway, once you layer enough, let it dry overnight.

12Before you pop the balloon, gently squish it down around the edge of the hardened paper shell. This should help prevent any distortions on the edge that may arise after popping the balloon.

13Snip a small hole in the balloon and let it deflate.

You re-drew the face back onto the skull right? Oh, well if not, do so now.

14Cut out the eyes, nose and mouth with the help of an xacto knife and scissors. And here he is!

15Here's a realistic-y skull. I decided to do an opened mouth one by cutting the bottom jaw and taping it on separately.

16And here's the little jack-o-lantern dude and his droopy face! When I paper mache-d him, I covered the whole thing except for about 1/8in around the knot of the balloon. That's where I popped the balloon. After I popped it, I rolled up some glue saturated paper and stuck it in the hole to create a little stem for the pumpkin. I pulled out the balloon and rubber bands after I cut the face out.

lantern2

And here they are! All done!-- Well, almost anyway. I'll be posting the fully decorated pieces on Saturday the 25th, so stay tuned!