homemade

Clothes, Tutorials

DIY: Studded Shoes

FeaturedImage.jpg

A while ago I saw some Jeffery Campbell skulltini flats, which are basically simple flats completely encrusted with skull studs. I thought they were super cute and I wanted them, but of course I ended up talking myself into making some of my own. So today I'll be showing you how to make some, too!

You'll need: a pair of shoes a marker scissors some studs - I'm doing skull shaped ones, but you can do whatever you like! a rivet setter with small anvil (I got these in a set of rapid rivets I bought a long time ago.) Optional: a bigger anvil

Use a marker to mark where you want the studs.

Use your scissors to carefully poke a hole at each mark

Stick the stud through the hole...

... and stick the backing on.

Position the anvil, concave side up, inside the shoe, right under the stud and position the rivet setter, concave side facing down, on top.

Give the rivet setter  few good whacks with your hammer.

Here you can see the concave sides on the anvil and rivet setter.

If you happen to have a bigger anvil, like this, you can use it in conjunction with the small anvil and rivet setter to help you set the studs. It's not completely necessary, but if you have one it's nice to  use.

Repeat until you've covered the whole shoe.

Yay, done!

I absolutely love how these turned out!

Here are some affiliate links for some of the stuff in this project:

The flats

Skull studs

Anvil and rivet setter

Misc-, Tutorials

DIY: Paper Clay Projects

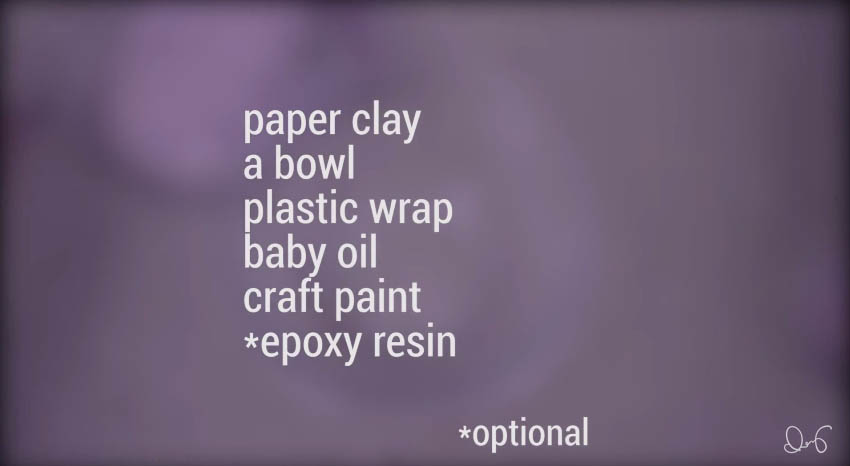
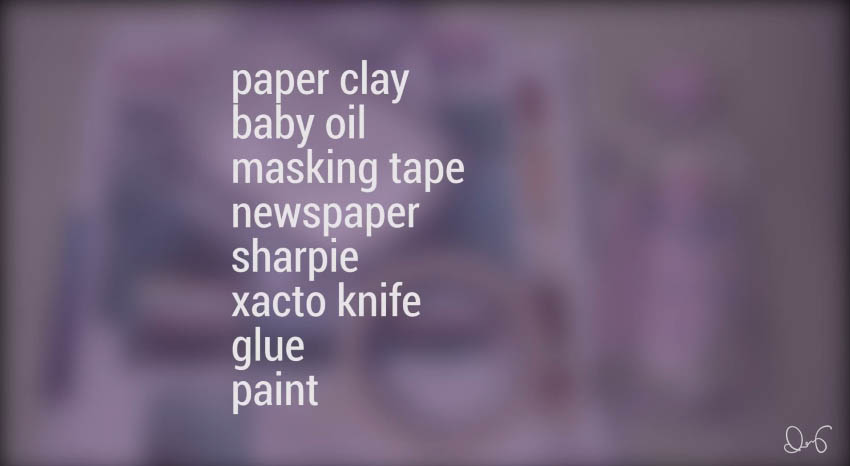
I showed you guys how to make paper clay two weeks ago, so this week I decided to show you a few different projects you can do with this clay! A shallow dish that you can use as a jewelry holder, coin holder, etc. and a lidded vessel that I ended up decorating to look like Totoro (of course you can decorate yours however you'd like!) Shallow dish:

Lidded vessel:

And there we go! I love how these turned out. Unfortunately I'm all out of paper clay now, but I'm itching to make more so I can make some more projects!

Food, Tutorials

Boozy Beer Mug Fudge

Saint Patrick's day is next week so I came up with a recipe for some boozy fudge that you can decorate to look like cute little mugs of beer. These would be great as a St. Patrick's day party snack. There is alcohol in this fudge, so it's adults only, sorry kids! Supplies

Green icing is optional.

A normal cookie cutter probably wouldn't work for this fudge, because they'd be too short to cut all the way through the fudge, but a petit four cutter would be perfect. Here's an affiliate link where you can get your own circular petit four cutter(make sure to select the circle).

Here's how to make the fudge!

Guiness fudge

Irish cream fudge

Once the fudge has set for at least 2 hours, it should be ready to be cut up!

Remove fudge from the fridge and use your circle cutter to cut cylinders from the fudge. My crappy handmade circle cutter couldn't deal with this fudge and broke after three cuts, so I ended up just cutting  the rest into squares.

Cut the top loops off of a pretzel like so.

Squish the cut pretzel into the fudge cylinder. Repeat for all of the fudge.

For some St. Paddy's flair, pipe a little four leaf clover on the little mugs.

All done! Here are two of the mugs with all of the extra fudge I cut into squares.

I think these turned out so cute. They look like little mugs of a dark stout with a nice, thick head. Oh, and they taste pretty great too!

I wish I had bought the petit four circle cutter instead of being stubborn and trying to make my own. Then I could have made more little mugs instead of just cutting the rest of the fudge into squares. Oh well, next time!

For the Home, Tutorials

DIY Noren Curtains

14.jpg

I live in a shotgun style home, where we have no hallways and it's  basically just series of rooms, back to back. Some shotgun homes have doors to separate the rooms, but some, like mine, only have doorways. No doors. I've grown accustomed to the openness of being able to see basically all of the rooms if you look through a doorway, but I did also somewhat miss having a bit of separation between each room. My solution to this was to whip up a few sheer noren curtains. So of course, I'm going to be sharing with you this easy sewing project!

suppliesSupplies

01First, you'll need to measure the width of your door and then how long you want the curtains to fall.

002Divide the width by half. Add 1/2 of an inch to each side. Add 4 inches on top and 2 inches on bottom. Cut out these two measurements from your fabric.

03Put the fabric together, right sides together, mark down 8 inches, 1/2 of an inch in. (Note: My measurements are twice as big because after cutting the fabric, I realized I didn't have to finish the outer edges of the curtains because they were the selvage edges. So instead of trimming 1 inch off every piece of fabric (I made 3 all together) I just made the seams twice as large on the inside.

Sew along the line and then fold open.

04Fold 1/4 of an inch and iron that down. Then fold another 1/4 of an inch, iron again and pin. I skipped all of the ironing parts on the first one I  made, which was a huge mistake. For the other two I ironed after each fold and it made the job so much easier. So do as I say, not as I do.

05Sew the seam down along the edge. This will encase the raw edge of the fabric in the seam, making them look nice and neat! Repeat this process on the outer edges of the curtain. Fold 1/4 inch, iron, fold 1/4 inch, iron, pin, sew.

06For the top, fold down 1/4 inch, iron, fold down 2 inches, iron, pin, sew.

07For the bottom, fold down 1/4 inch, iron, fold down 1 inch, iron, pin, sew. Repeat on the other flap.

And you're done!

08Now from here you can either leave them plain or you can decorate! I was already thinking about decorating them, but after I put up this plain one to see how it looked, I decided I was definitely going to decorate them. They just didn't do it for me in their plain state. It probably didn't help that this particular curtain looks horrible because the tension of my sewing machine was off so it puckered the seams really bad.

But anyway, to decoration!

09For this one I drew an ensō circle. It's supposed to "express a moment when the mind is free to let the body create." I thought it would be perfect to put up in one of the doorways to our office/studio/wood shop. 10For this one I just painted some pretty standard bamboo.

11

And for this one I painted the whole curtain, sans a circle in the middle, with a dark greyish blue. After that dried I painted the circle with liquid gold leaf.

And here they are all hung up! 12 13 14

I hope you all enjoyed this project! I'm glad I didn't give up after I hung that first plain one. I almost did. But I think they look so much better after painting on them.

What do you all think?

Clothes, Tutorials

3 Easy Beanie Mods

I love beanies. Like shoes and scarves, I feel like you can never have too many. Since it's finally starting to get cold where I live, I thought I'd put together a few ways to spruce up some simple, plain beanies.

A summary of the video will follow!

Beanie 1

For the first beanie I embellished it with two pom poms to give it a sort of teddy bear ear-esque look. Hover over the images or click on them to see instructions!


Beanie 2

This second beanie mod is inspired by Korean fashion. One of my guilty pleasures is Kpop music, and I feel like I was always seeing the idols wearing cute beanies with really long bunny ear like bumps on top. I decided I needed to own something similar. And here it is! Hover over the images or click on them to see instructions!


Beanie 3

This last beanie mod isn't reminiscent of any kind of animals like the last two were. This one is simply if you wanted to add a little edge to the thing. Hover over the images or click on them to see instructions!

And those are the beanie modifications I wanted to share with you all! I hope you all liked them. I'm super excited to add these guys to my beanie rotation now!

For the Home, Other

Homemade Cat Tree

feature21.jpg

Oh hey, it's been a while. I made this a while ago, but surprise surprise, I'm just now getting around to posting it. :) I've been wanting to make a cat tree for a while but I had been very wishy washy about actually getting off my butt and doing it. However, after I saw a picture of one made with tree branches that looked super cool, I finally got the fire under my butt to go and make one(and to force the fiance to help!)

SAMSUNG CSC

Gremlin is spoiled.

CTH0007 Deluxe Seedling small

This one is the tree that inspired me. I loved that it was made to look like an actual tree. However, it cost like $700. So of course immediately i thought, "Psh, I can make that." And you get to see just how I did.

IMG_20130717_125119

I was lucky enough to get inspired right after they cleared the empty lot next to my house, so there were plenty of decent sized tree branches for me to sort through. Here are the winners.

IMG_20130719_132305

Then I had to trim the branches to size. I love my pull saw!

IMG_20130720_154727

Here are all the pieces ready to be put together. Unfortunately I didn't get any pictures of me making the carpeted components. Basically I made a base and a platform out of plywood and covered it with carpet. (Remnant carpet, ftw!) For the half cylinder platform I took a concrete tube mold, cut it to size and then in half. I hot glued the halves together to help make it stronger and then glued the carpet on.

IMG_20130720_155714

Here's where my fiance had to step in to help. After eyeballing where I wanted the main branch to be, I carefully tipped the branch and base over so he could drill through the base and into the branch from the bottom. We ended up screwing in a pretty decently sized screw to hold it in place and then reinforced it with smaller (but still pretty substantial) screws. My cat is a big boy.IMG_20130720_165030

And just a few screws later!

But really, we didn't get any pictures of us assembling the rest of it sadly. This part was all pretty much just trial and error. We'd place something and see how the other components would fit in and we adjusted the pieces until it was to our liking. Basically we just attached the shorter stumpy branch onto the base just like the first one and then screwed the platform onto it and into the tall branch. The carpet hides the copious amounts of screws we used to keep that thing in place.

I positioned the thin branch on the platform so that it helped support the top platform and we screwed all those in too. I then took the drill and drilled a few random holes into the branches and stuck some fake leaf branches in them. Initially I was going to hot glue them in place, but the drill bit I used made a hole that they fit so snugly into that I didn't feel the need for the glue. If Gremlin ends up pulling any of them out then I can just glue them back in later.

IMG_20130720_165431

I wrapped the short stubby branch with sisal for a nice scratching area. Which he has yet to touch even still. IMG_20130720_170656

So since my cat is a big burly man-cat, I decided to make his tree pretty with flowers. I hot glued those suckers on and prayed he wouldn't see them as toys and rip them off. (Which is totally what happened. Oh cats.)

IMG_20130720_171531And here it is finished! Complete with the I'm-too-excited-about-how-this-turned-out-and-I'm-going-to-take-a-picture-before-I-even-clean-up mess everywhere.

IMG_20130720_172750

The tree fit perfectly nestled into the corner of our bedroom. Later, I ended up fluffing out the leaves so they didn't look so... flat. IMG_20130720_173425

Gremlin is unimpressed.

IMG_20130720_180128

And then a short while later I passed by and saw this! I think he likes it!IMG_20130720_210914He enjoys the top too :)

It took about 2 to 3 days of working on it off and on, it's about 5 feet tall and it cost under $100 to make. I love it!