Nails, Tutorials

DIY Nail Decals

This week I'll be showing you all how to make your own custom nail decals. I know this isn't a super unique tutorial, but I figured I'd still make it because it's something that I enjoy doing, and maybe someone will learn something new from my tutorial. You never know, someone might stumble upon this post and it's the first time they've seen this technique! Or they could be like me and before doing a specific technique, they research the crap out of it, looking at multiple tutorials so they can pick and choose which techniques to use to fit their needs. The list of supplies for this project


Step 1I eyeballed the size and shape of my nails and drew them out onto a piece of paper. If you do the same, you can draw your design inside of the nail like I did for two of these nails.

I wanted to paint a floral pattern on the rest of them, so on the right you can see some little  sketches I did to use as a reference. You could totally just pull up a reference from online, or a book, etc.


Step 2Cut the paper so it can fit inside of the bag and stick it inside.


Here are the steps I did for this specific floral design.


Step 4Once the design was dry, I coated each one with some top coat.


Here are some more examples of different decals you can make.


Step 5Remove the decals with your tweezers and, if needed, trim them to size. With mine I painted over the lines I sketched out so I had to trim quite a bit to fit them to my nails.


Step 6Paint your nails with your base coat, and then one coat of your background color, if you're using one. Let those dry completely, and then apply a layer of top coat, or as in my case, another layer of the background color.


Step 7Let it dry for about a minute or until it's tacky and then stick the decal on.


Step 8Gently pat/smooth it down. Repeat for all of your nails.


Step 9Finally apply another coat of topcoat, making sure to hit all the edges to seal them up.


Finished!And here they are all finished!


I hope you enjoyed this weeks tutorial! Stay tuned next week for more~


Holidays, Tutorials

DIY Valentine Heart Boxes

fi2.jpg

Today I'm going to show you how to make a cute heart shaped box that would be perfect for Valentine's day! You can fill them with love notes, jewelry, chocolates, or any thing else that will make your Valentine feel loved.

suppliesSupplies~ Click HERE for the template!

01Spray the template with spray adhesive and stick to your foam core board. The template is two pages. On the second page trim it up a bit, up to the dotted line- this makes it easier to line it up with the first page.

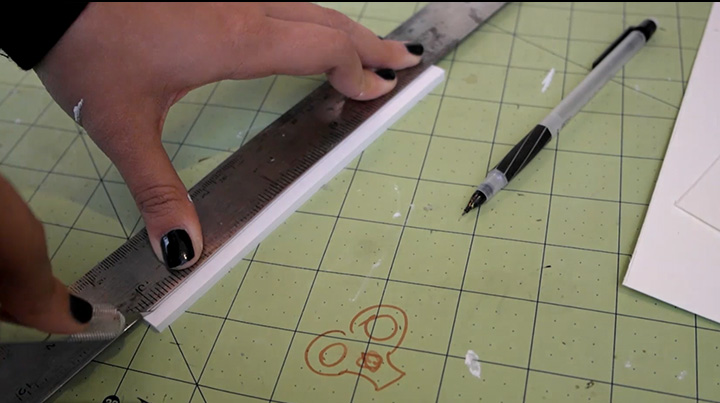
02Using a sharp xacto knife, cut out the pieces.

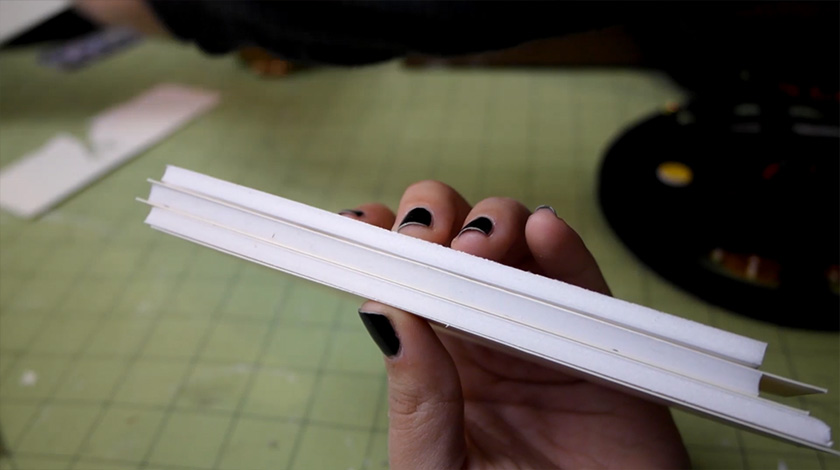
03On the dotted lines you're going to only cut through one layer of paper and the inner foam core. This makes it so you can make the curves in the walls of the box.

04Take one of the wall pieces, fold it in half, and starting at the bottom of the heart piece with the inner heart, hot glue the wall piece on. Use the inner heart to help line up the walls. You can give the boxes some lip according to how you position the walls. In the one I'm making for this tutorial, I was going for a small lip, so I glued straight onto the line. I have two other examples: one where I glued the wall right along the edge, giving no lip, and one where I glued along the inside of the wall, giving a slightly larger lip.

05Since I wanted you to be able to customize how large of a lip you'd want, the walls will be slightly longer than what you need. Just trim them up with an xacto knife when you get to the top part.

06Here's the trick to making the box fit together really well. Take the second wall, fold it in half, curl each end inwards and place inside of the other side of the box.

07Again, you'll have to trim the walls a little bit.

08One side cut, one more to go.

09Now that you have it cut to size, carefully glue the wall together, taking care not to accidentally glue it to the other half.

10Pull the inner heart wall up about 1/4 of an inch. It should stay up on its own, but if it keeps falling,  you can just use some scrap pieces of foam core to hold it up. Apply hot glue along the top of the inner wall.

11Take the second heart piece and press on to the glue, lining it up with the heart from the other side.

12At this point you can take it out of the first half and then press the wall down more to make sure it's secure.

13Now for decoration! You really can decorate these however you'd like, but I do suggest at least painting them with a base color first. I chose red.

14For the walls I measured how tall they were and cut some decorative paper strips to that size.

15And then I simply just glued them down with mod podge.

16I also put glitter on the edges because they were pretty rough looking. My xacto knife wasn't very sharp so it kind of tore up the foam and it looked really bad. Always use sharp knives!

17Here's the version with a larger lip. I covered the the top face with decorative paper, applied glitter to the edges and used ribbon to cover the walls. This one was my least favorite, but that's mostly because I was really impatient when I glued down the ribbon so it doesn't look that good.

18And here's the one with no lip. It's my absolute favorite one. I'm considering putting it up to display it even after Valentine's day, that's how much I like how it turned out. For the decoration on this one I started with a few layers of red paint for the base coat. I stuck on some masking tape and drew a design on top of that. Once I had a design I liked, I used my xacto knife to cut the tape. It's okay if you cut a little into the first layer of the foam core. As long as it's not cut like that all over, you shouldn't have a problem. I removed the tape but kept tape on the areas where I still wanted the base coat to come through. Then I sprayed it with spray adhesive and dumped a bunch of glitter on it. I removed the masking tape, and then to give it a nice shine and to keep the glitter from shedding, I sprayed on a nice layer of clear acrylic sealer. I let it dry and ta da~

19Here they are all done, filled with goodies! To make the pillow for the jewelry one I simply traced the inner heart side onto some felt, cut it out, hot glued along the edges leaving a one inch hole, flipped it inside out, stuffed it, and sealed it closed with more hot glue. Then I cut a small length of ribbon and hot glued that onto the middle. Of course, you could sew it instead of hot gluing, as that would look much nicer, but I was going for speed with my heart pillow.

Again, if you want to see how to make those delicious chocolates then click here!

I hope you liked this weeks tutorial, stay tuned for more next Thursday!

Food, Tutorials

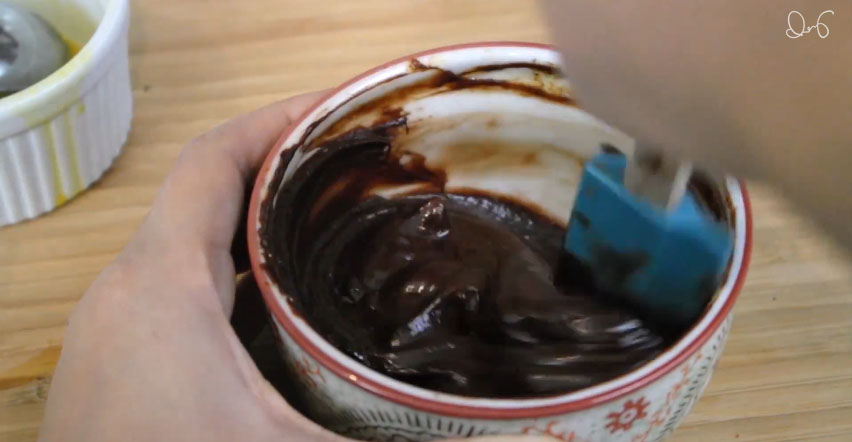
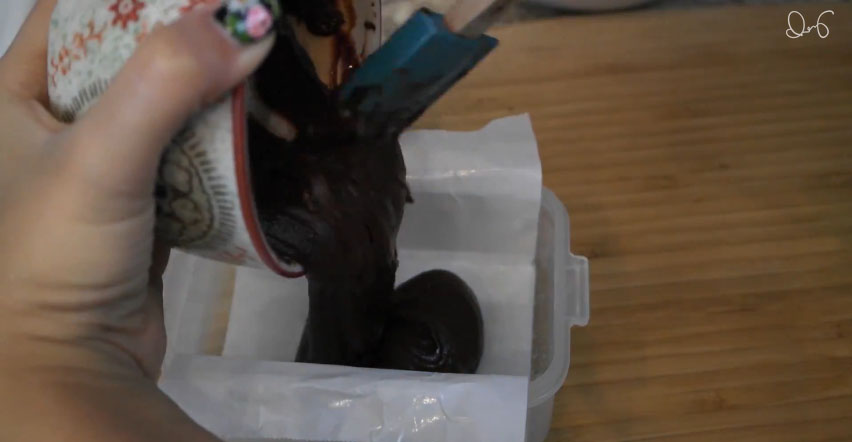
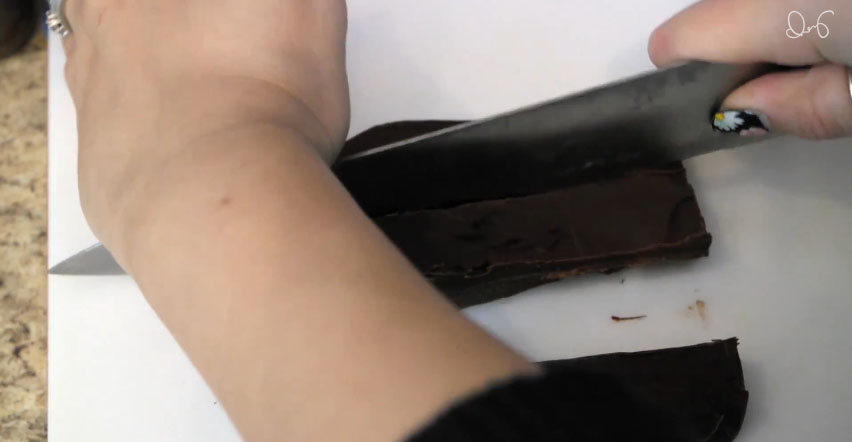
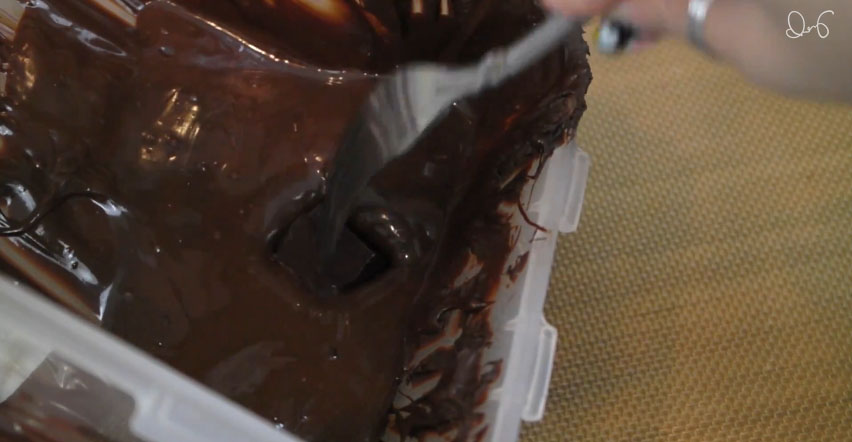
Valentine's Day Chocolates!

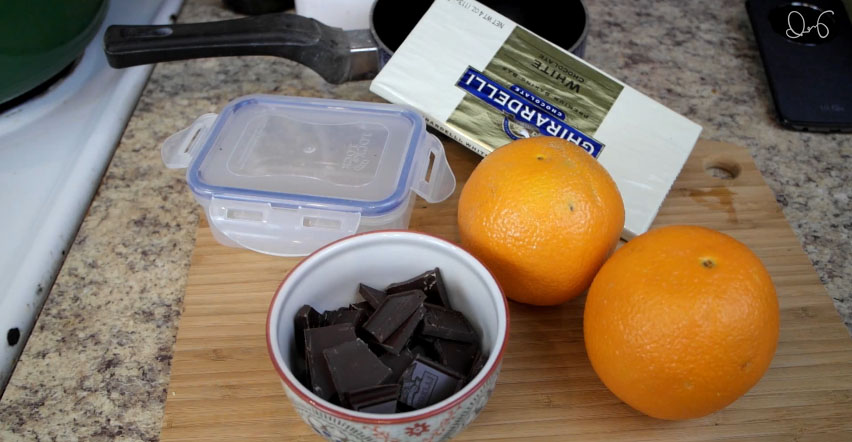
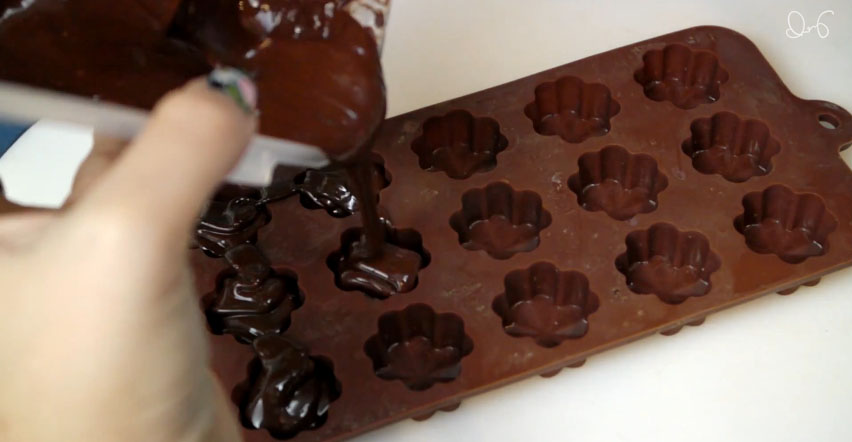
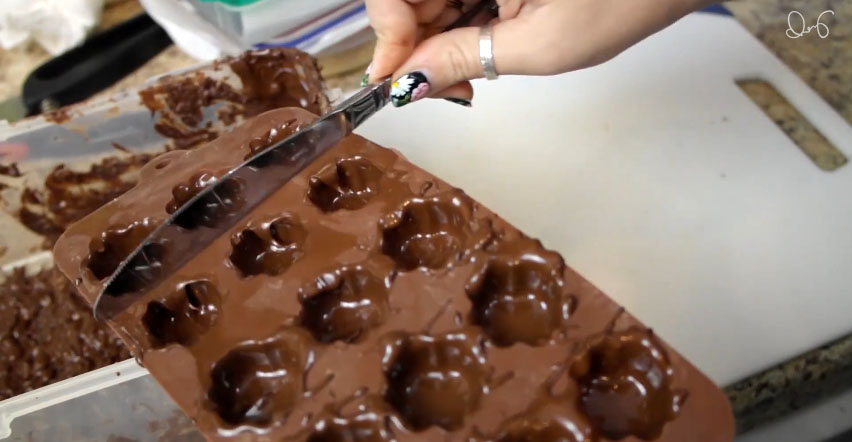
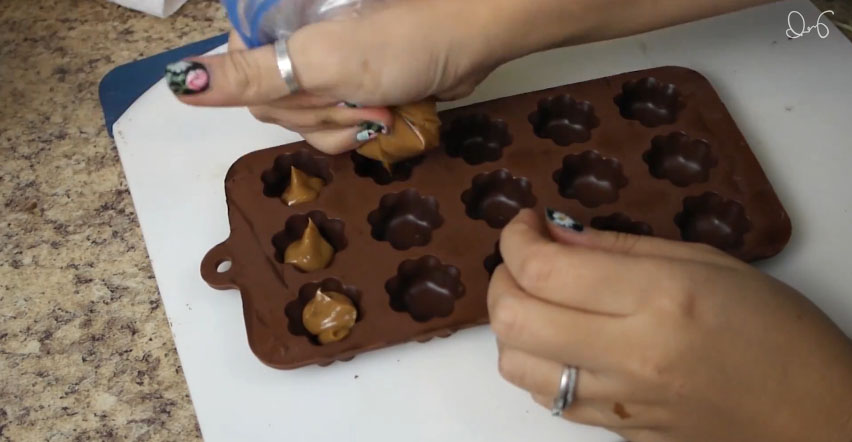
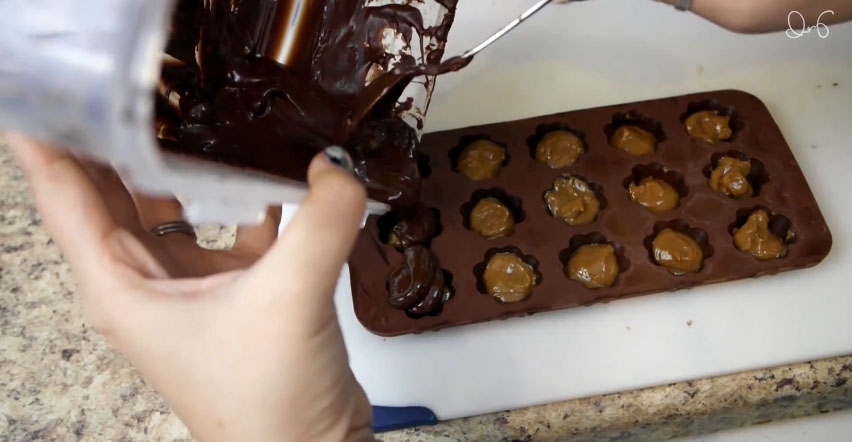
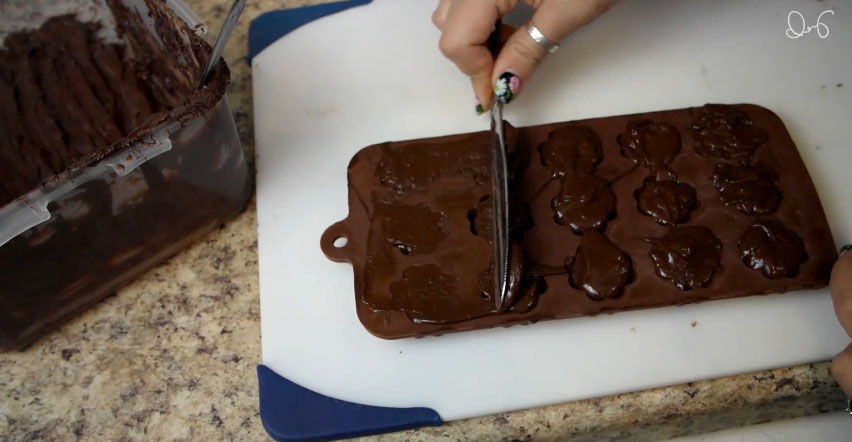
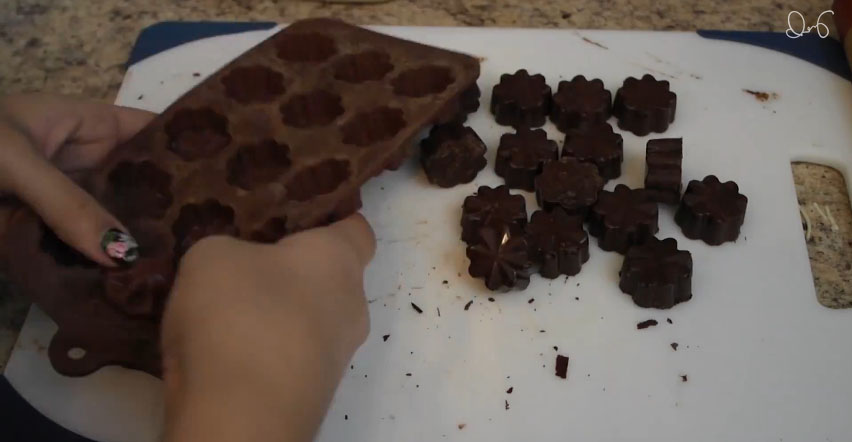
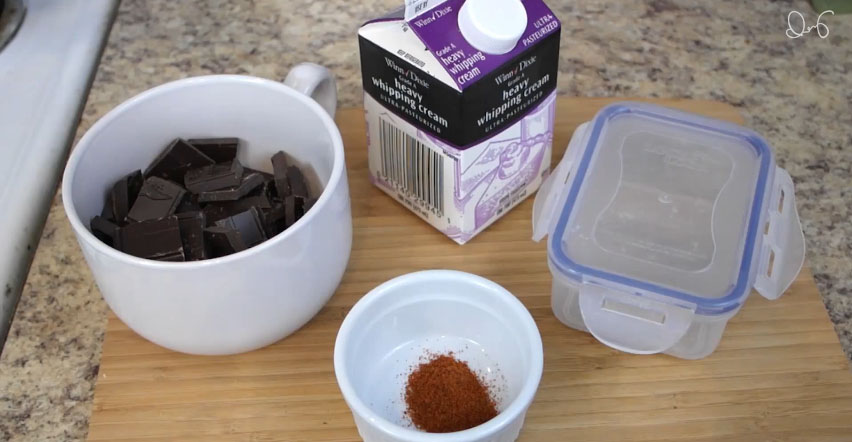
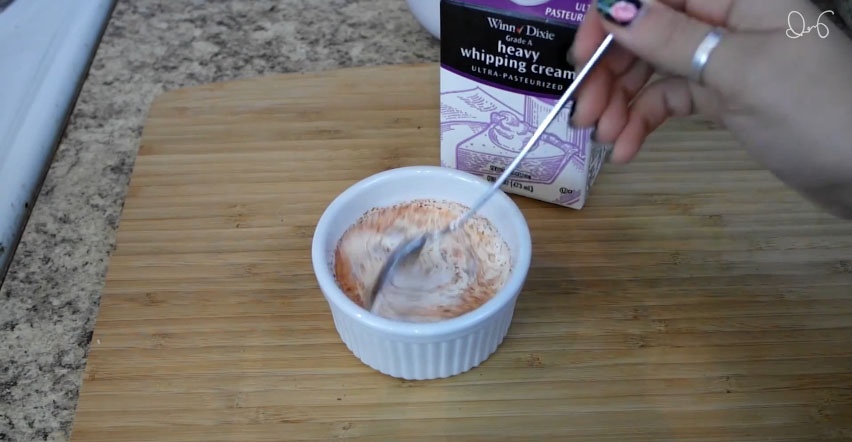
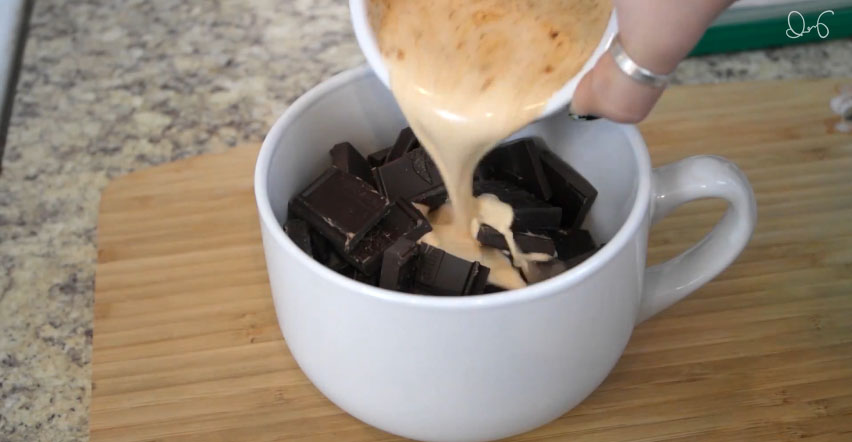
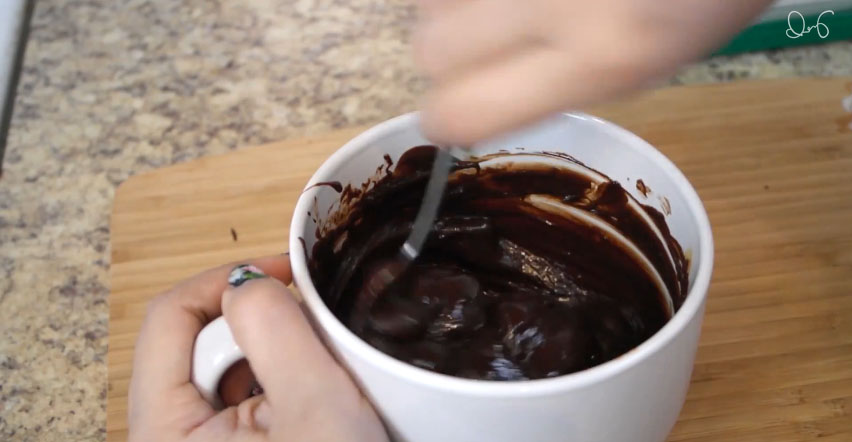
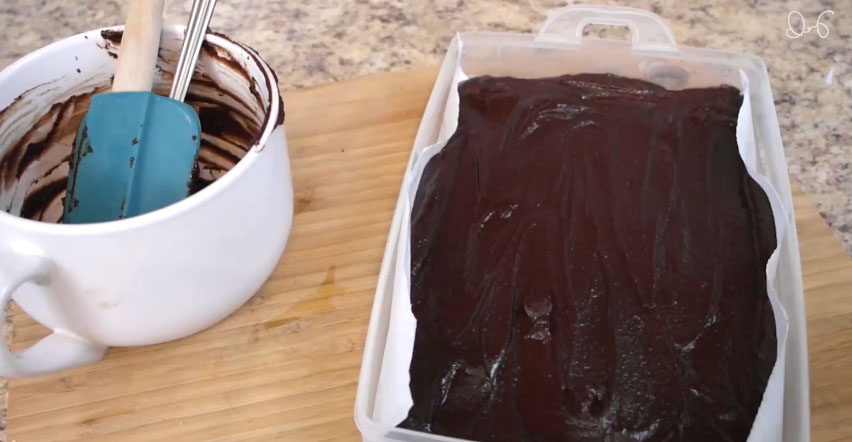
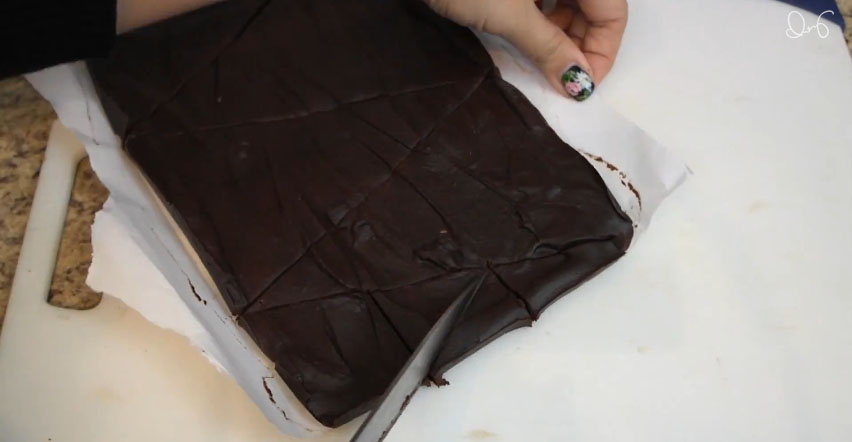
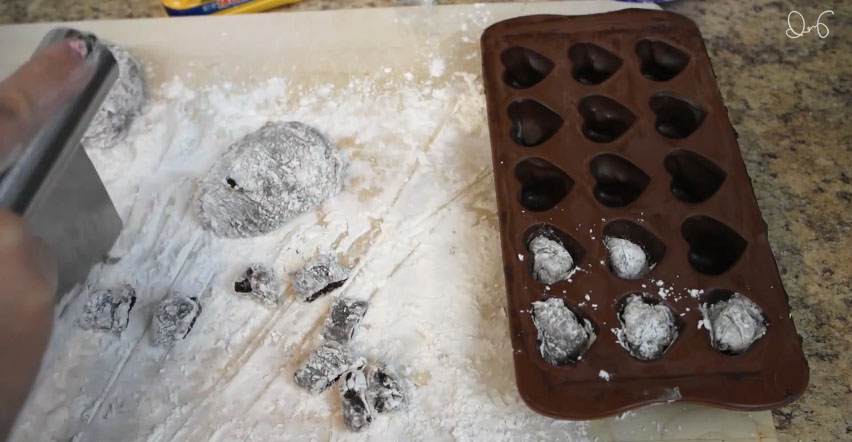
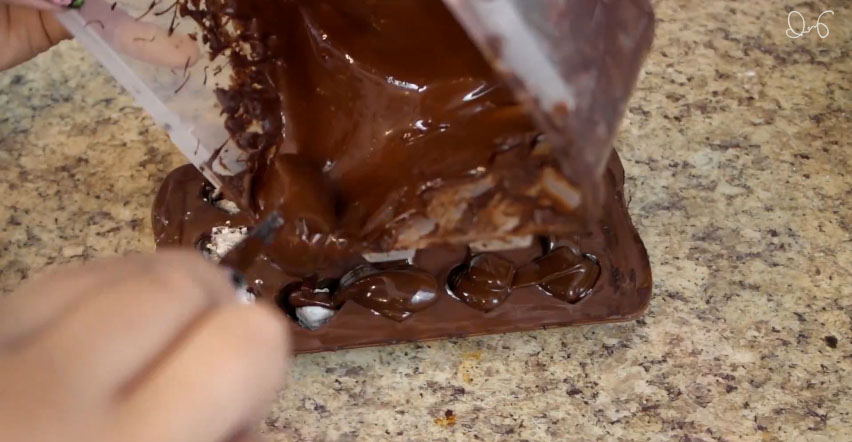
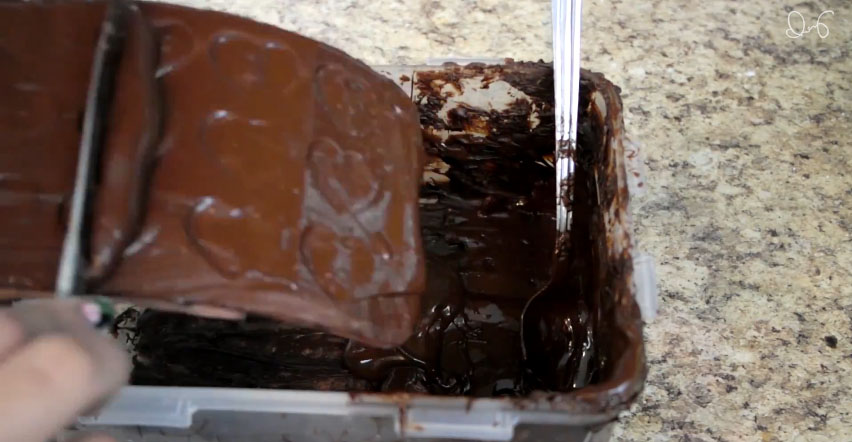
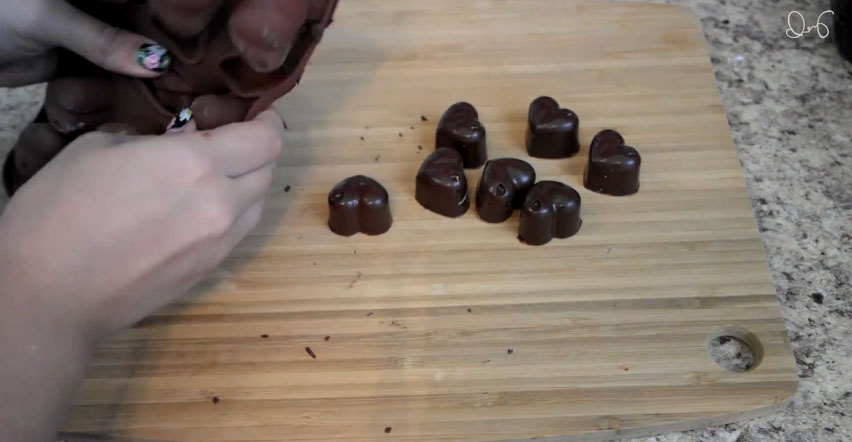
Valentine's day is coming up, and if you're like me, you'll want to hand make the gift for your Valentine. And if you really want to make them happy, you'll want to make them some edible gifts! Lucky for you I put together a video on how to make a few different chocolate candies for your special someone (or yourself)!

To learn how and why to temper chocolate, click here for a great tutorial.

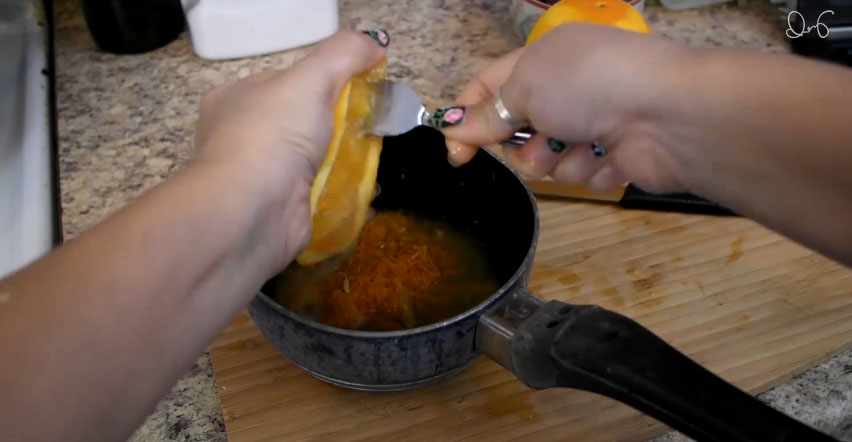
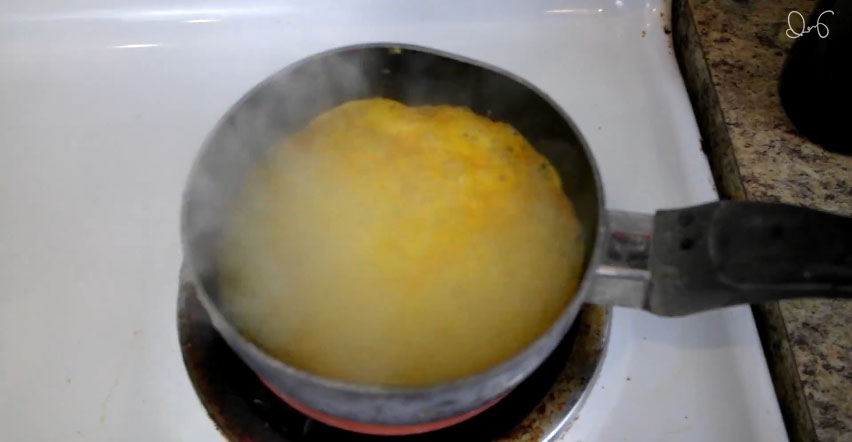
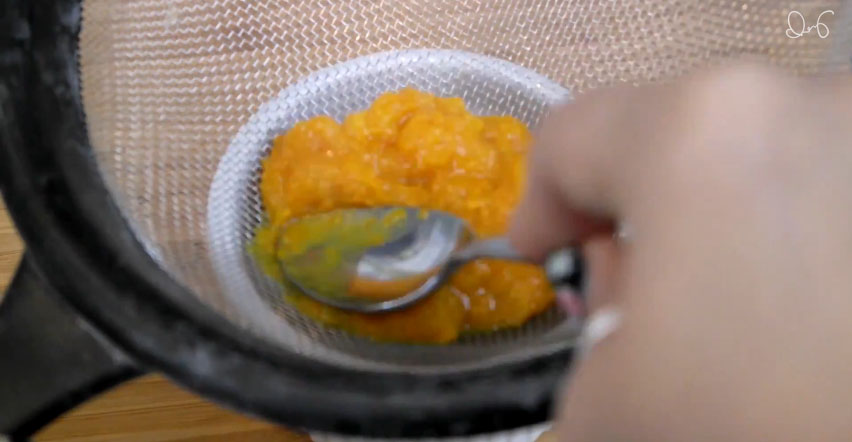
orange ganache filledHover over or click on the images to see the instructions.

This recipe is actually from Ann Reardon from How to Cook That. I took some liberties with how I decorated them though.

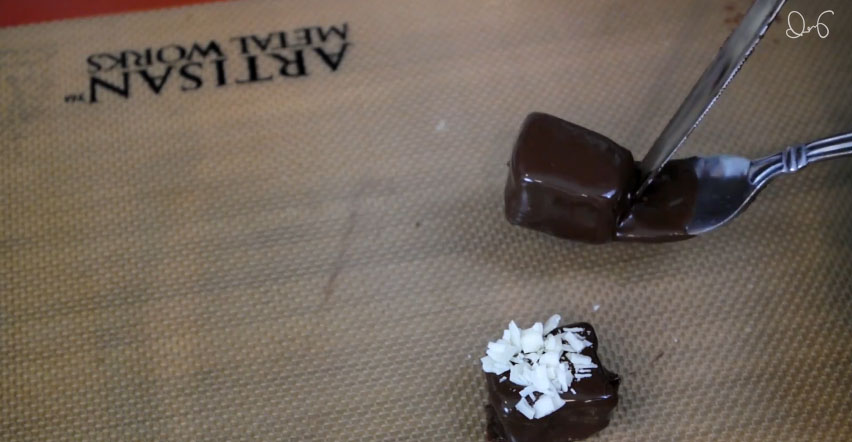
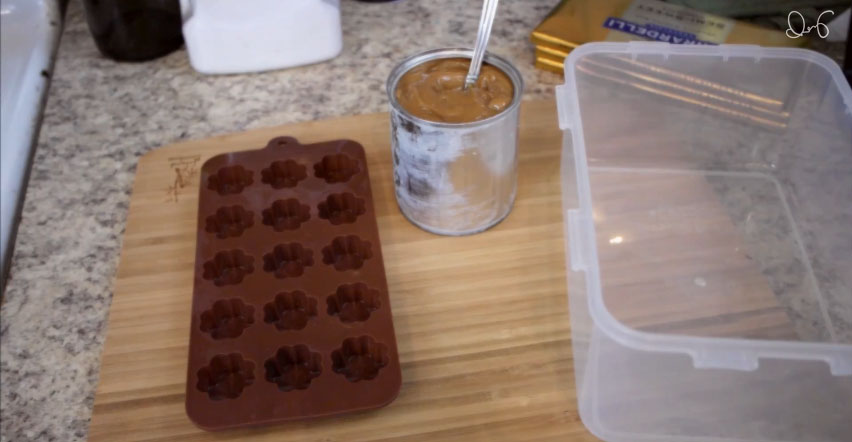
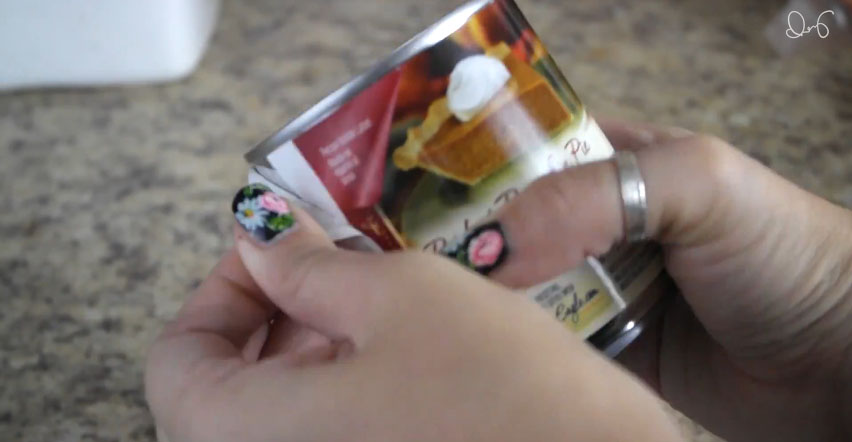
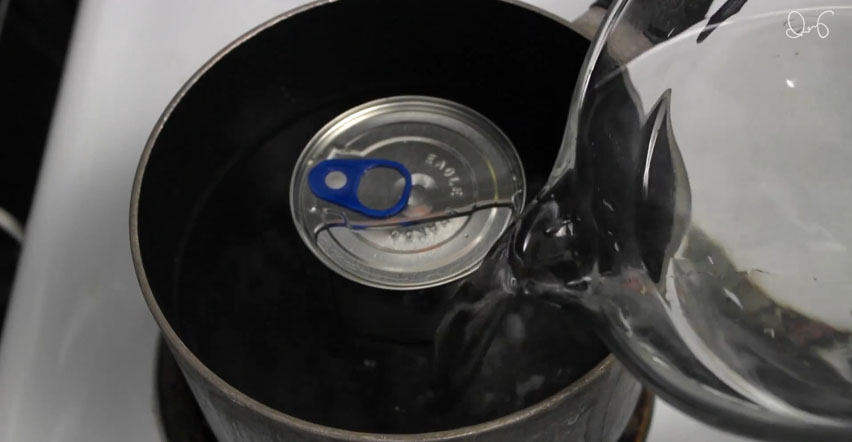
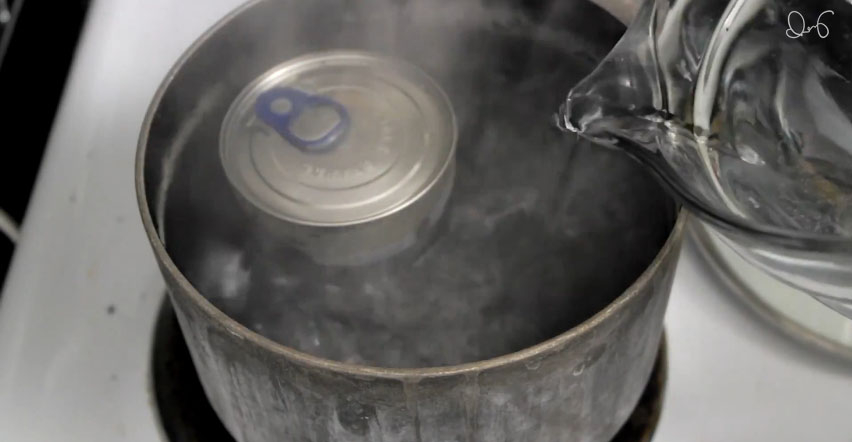
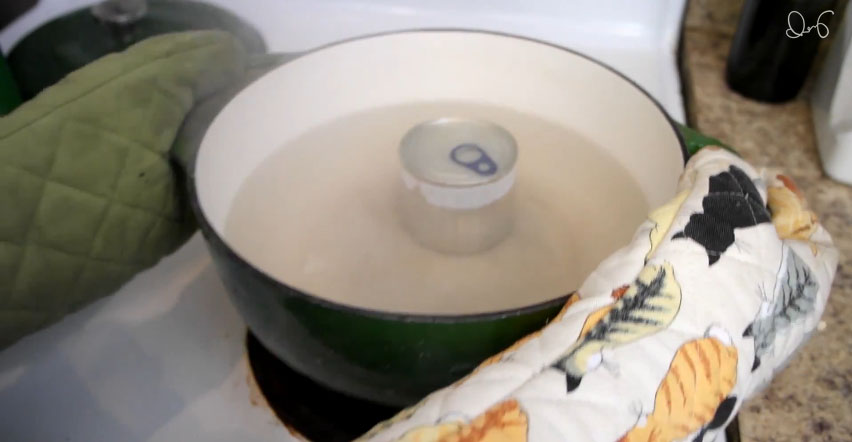
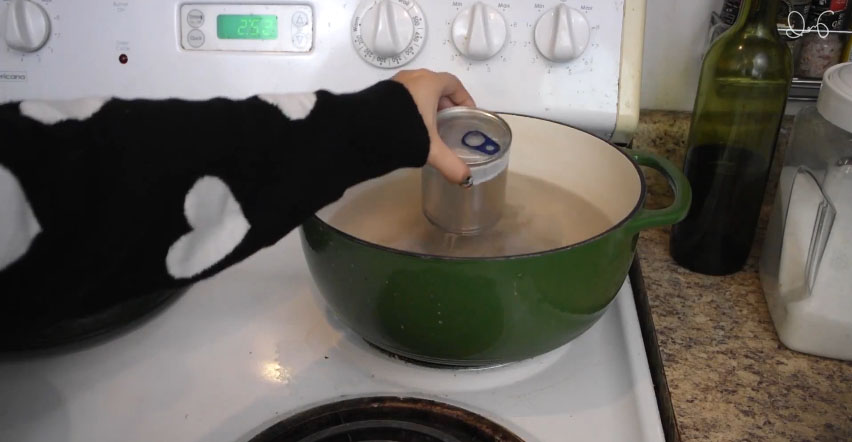
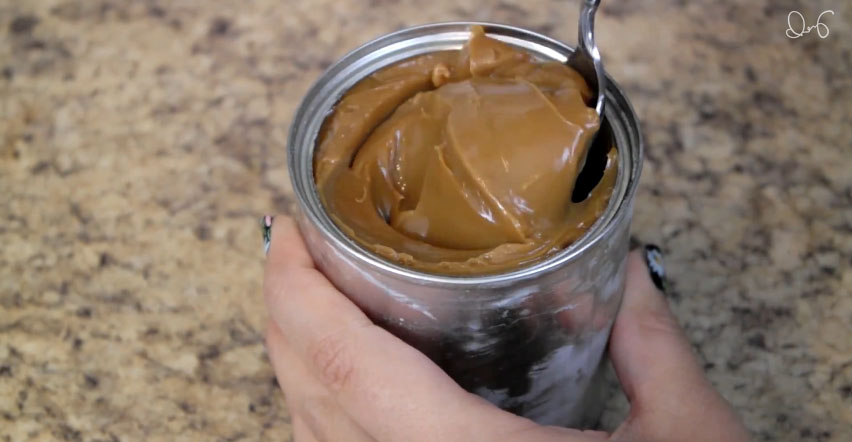
dulce de lecheHover over or click on the images to see the instructions.

If you like the molds I used, here's an affiliate link so you can pick up some of your own!

chili ganacheHover over or click on the images to see the instructions.

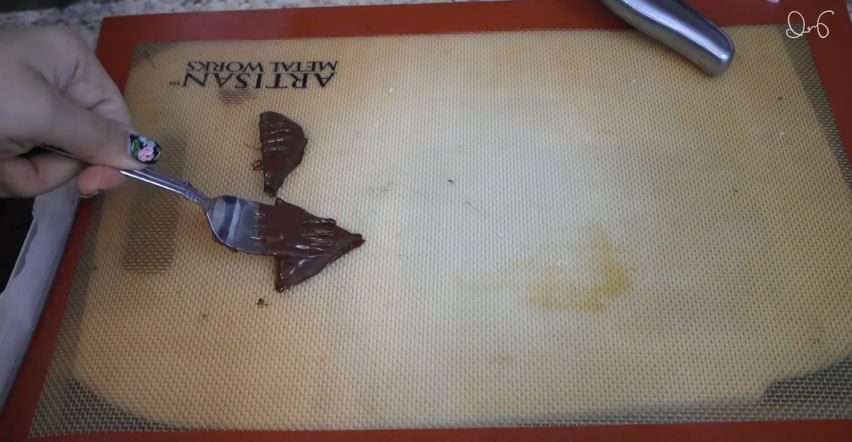
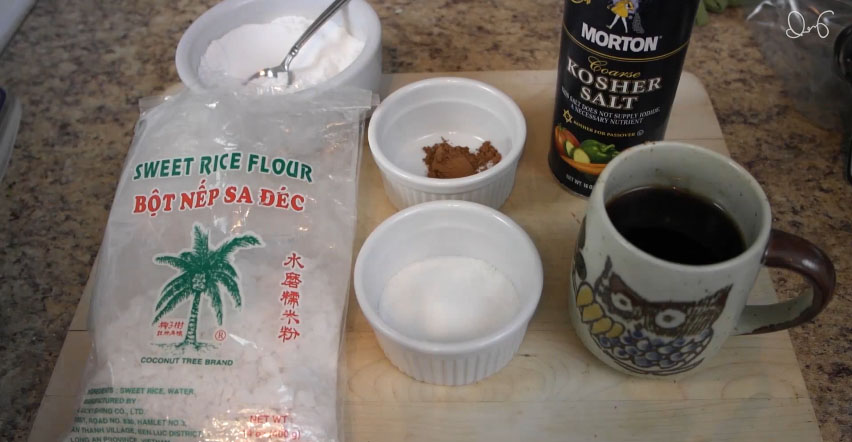
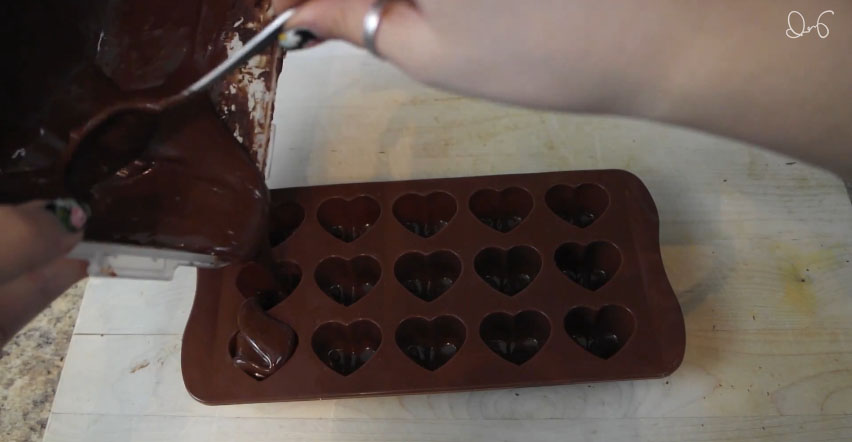
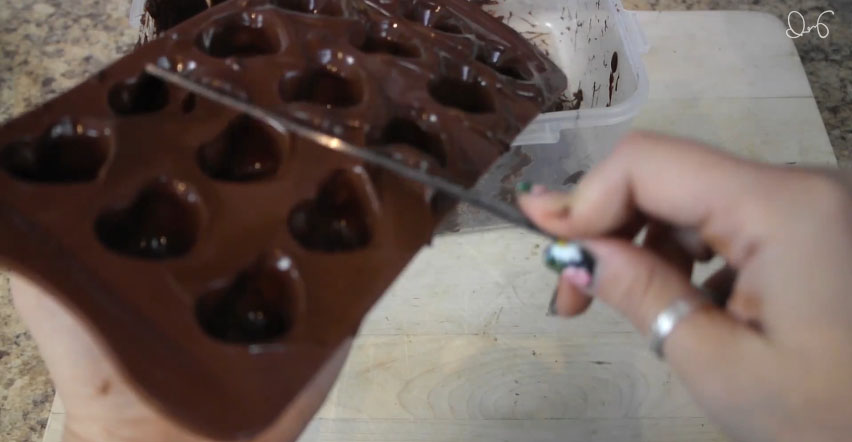
mochi filledHover over or click on the images to see the instructions.

You can give them to your sweetie however you like, but personally I think they look pretty nice in a cute little heart box!

Mmm!

So cute!

If you want to learn how to make some of your own heart boxes then stay tuned, next week I'll be posting a tutorial on how to make some of your own!


Clothes, Tutorials

DIY Simple High Heel Shoe Repair

171.jpg

Look at this face. hobbes02

Meet Hobbes, the destroyer of shoes. Actually, I should give him a little credit because he has only ruined one pair of shoes, however they happened to be one of my most favorite pairs.Thankfully he didn't do too much damage to them, so instead of throwing them away I decided to try to fix them.

In this tutorial I'm basically just explaining what I did for this specific pair of shoes so hopefully this tutorial can be helpful if anyone else has similar damage to some shoes.

suppliesSupplies.02First, I had to finish what Hobbes started. I removed the rest of the material from the chewed up heel, and then removed the corresponding material on the other shoe.03I rolled the heel on the scrap leather to eyeball how much I'd need to cover it and cut the excess off.04In small sections I glued the scrap leather on the heel and kept it taut as I worked my way up.05 06 07When I got up to the top of the heel and underside of the shoe I cut a notch into the leather so I could stretch it to wrap around the heel.08I applied the glue and then laid down one side of the leather.09Then, using the grove in the middle of the heel, cut the excess off with an xacto knife. 10And then I repeated for the other side.11He popped off the heel tip while he was enjoying my shoe as a chew toy, but thankfully there was almost no damage to it, so I just folded over the extra leather, applied glue and stuck the heel tip back on. Then I applied a good bit of pressure for a few minutes while the glue cured.12On the other side, since I wanted them to look the same, I had to pop off the heel tip and then I repeated the last few steps to glue it back on with the scrap leather sandwiched in between.13He made sure to damage just enough of the back of the shoe to where I felt like it needed to be covered as well, so I did that and added a little design element where the leather folded down towards the outside of the shoe. 14Then I cut the excess off, forming a little cap on the back.15I did it a bit messy though and the edge looked really rough, so I ended up cutting a thin strip of leather to cover that ragged edge.16And I repeated on all the edges, to make everything cohesive.17And here they are, complete!

I'm pretty happy with how they turned out. What do you all think?

For the Home

DIY Felt Cat Cave

27.jpg

A little while ago I was browsing the internet and I happened upon these neat, sculptural felt cat "caves" and I thought they were really interesting and I immediately wanted to make one myself. I've never done this technique before - wet felting with loose wool roving - I've only ever done knit things and then felting them in the washing machine... so this was an interesting experience. This video is sort of a tutorial, but more of a "watch me make this and I talk you through what I did." Because of this, there are probably mistakes in there so if you see anything that I'm doing wrong, please let me know so I can correct anything! Also, check out these two older projects where I spoil my cat some more: Cat Shelves Cat Tree

suppliesSupplies! The cardboard is cut to 25 inches in diameter. It can be anywhere between 20 to 25, but my cat is a big guy so I went with the larger one. Please note that the amount of wool shown is only half of what I used.

01I put down a piece of bubble wrap, bubbles up, put down the cardboard and attempted to take thin chunks of wool and placed them around the edge of the cardboard, hanging over halfway, and then I placed the inner pieces horizontally.

02I covered everything with tulle...

03...sprinkled all over with the hot soapy water...

04gently rubbed over the tulle with the olive oil soap...

05And in a circular motion, I rubbed all over the wool until it began to felt together.

06I removed the tulle and then I covered with another bubble wrap layer, bubble side down. Then in one swift movement I flipped everything over.

08With soapy  wet hands I flipped the wool that was sticking out from the edge over back onto the cardboard.

09Then I repeated step 1-6. So now there's one layer on each side of the cardboard.

10Now I placed wool around the edges like before, but instead of placing the chunks down horizontally, I went vertically. I then repeated the steps 2-6 again. And then repeated this again on the other side! So now there are two layers on each side.

11I placed the wool around the edges like before, but for the inside I went back like the beginning and placing the chunks horizontally. Then steps 2-6 were repeated yet again. Flipped the piece over and repeated everything again. Now there are three layers on each side!

12This layer looks a bit crazy, but it's because I ran out of enough solid colored wool so I attempted to do an abstract rock sort of design. Don't worry, I ended up flipping it inside out so the black layer would be the outer layer. Anyway, I did these chunks of wool over the edges again and vertically aligned. For the most part. And then repeated this on the other side. HOWEVER, for that last side I did not put the wool chunks lining the edge; I only did the vertical pieces in the middle.

13I placed the sheet of bubble wrap onto the wool and squirted some of the soapy water on top. Then I proceeded to rub in a circular motion all over for about 5 minutes. The soapy water helps your hand to just glide around on the plastic without getting caught. I flipped over and repeated. And then I did that two more times.

14Then I rolled everything up on my PVC pipe and secured it tightly. Then I got to rolling. I rolled this thing for about a minute or two, then I unrolled it, rotated the piece a quarter, rolled back up and rolled for another 1 to 2 minutes. Then I repeated this process two more times. So I ended up turning the piece a total of four times. I flipped the felt over, rolled it up and repeated all of this on the other side. When the cardboard  started to buckle, it was time for me to cut the hole.

15I cut the hole. I meant to cut it more on the edge but I got excited to move onto the next step that I just cut a circle without thinking about it. Since I cut the hole small, however, I was able to salvage it. I soaped up my hands and used the hot soapy water to rub around the cut edge to help felt it better.

16Then I reached inside and carefully pulled the cardboard, which was now sopping wet, out.

17I rolled everything back up onto the PVC pipe and got rolling. I just repeated the rolling process I described earlier.

18However, before I flipped it over to roll the other side, I made the executive decision to flip it inside out right then.

19Then I resumed rolling.20Now it was time to shape this thing and get it to shrink a bit. I used a small metal bowl on the inside to help shape the edges. I just rubbed on it through the outside with a handful of wet, soapy bubble wrap. When it was  the right shape (or really, when I was  over it and wanted to go to the next step)  I brought it to the sink and rinsed the water out, alternating between hot and cold water.

21I made a water/vinegar bath with two gallons of water  and 1/2 cup of white vinegar and I soaked the cave for 15 minutes. After that time, I rinsed it out again and squeezed out some of the water in the sink22Then I brought it back to the table and rolled it up with a towel and the PVC pipe to squeeze out even more water.

23I put it on some cooling racks to help dry it out and stuffed it with towels to help keep its shape while drying.

24Once dry I cut the hole to a bigger size. I think the cut edge looks pretty cool because you can see all the layers. Also, I didn't need to felt it like I did earlier because the felt is much tighter and interlocked now, so it holds itself together.

25Here's the finished piece, sitting on top of a piece of cardboard that has a circle drawn on it to show how big the cardboard circle I started with was. Pretty crazy! It shrunk about 8 inches.

26Like with the shelves, I had to use a little bit of cat nip to show him that this new weird blob thing is actually pretty cool and he should check it out.

27It seemed to work.

I hope you all liked this little walk through tutorial thing! I'm okay with how it came out. I don't think I'd try making another one really soon, but I can see myself wanting to try again in a few months or so. It serves its purpose, though, and doesn't look hideous or anything, so I'm happy!

Art, For the Home, Tutorials

DIY Paper-cut Light Box

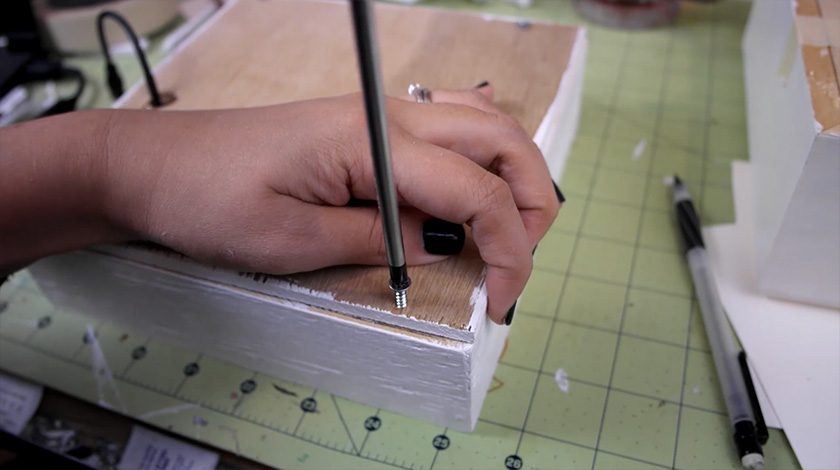
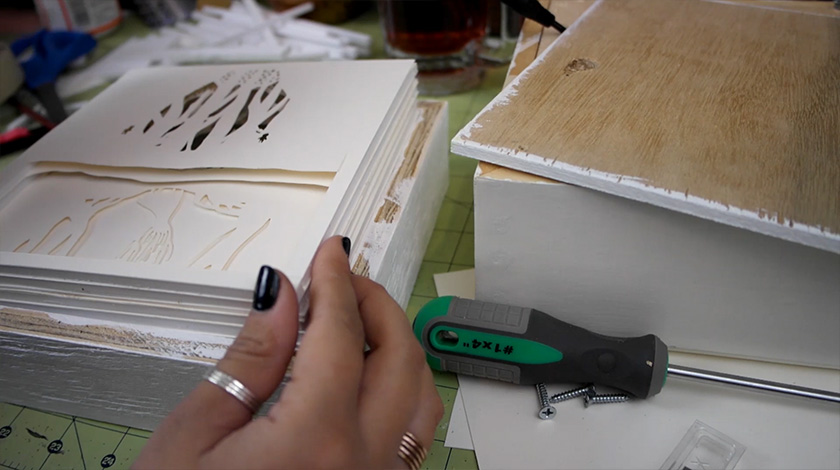
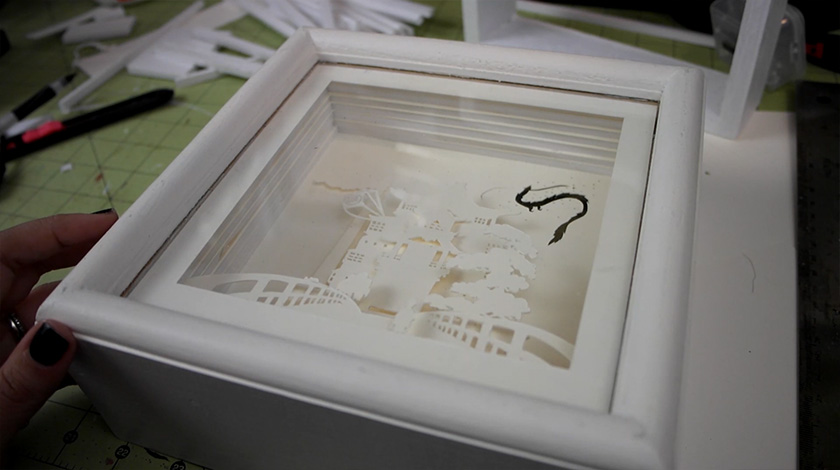
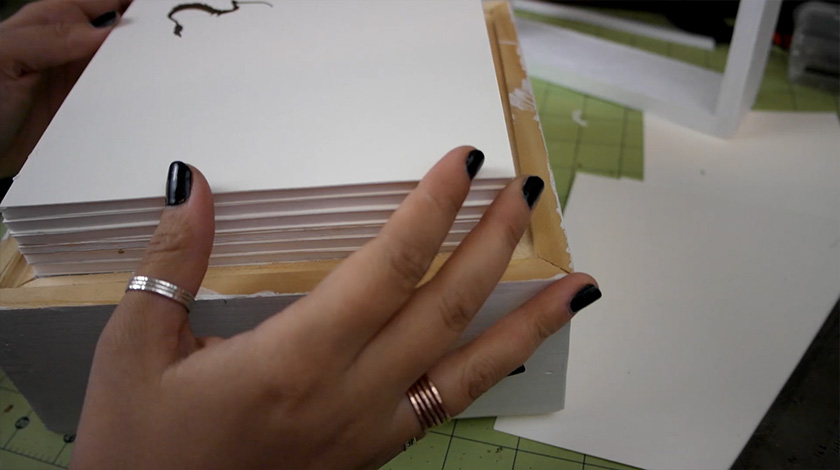
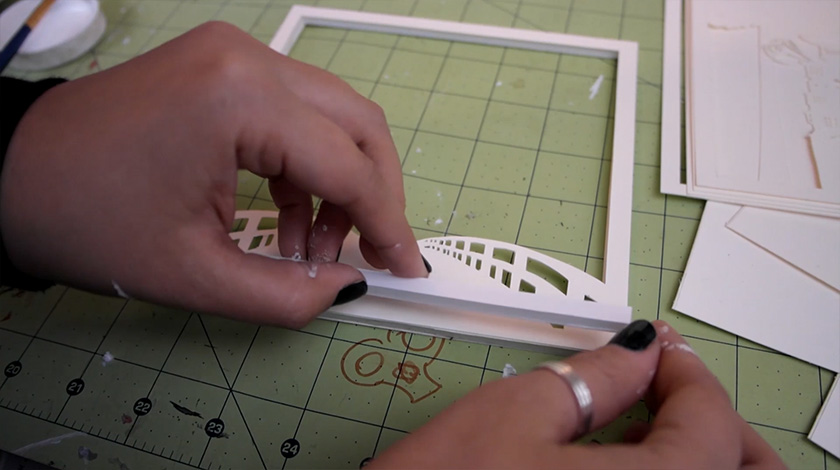
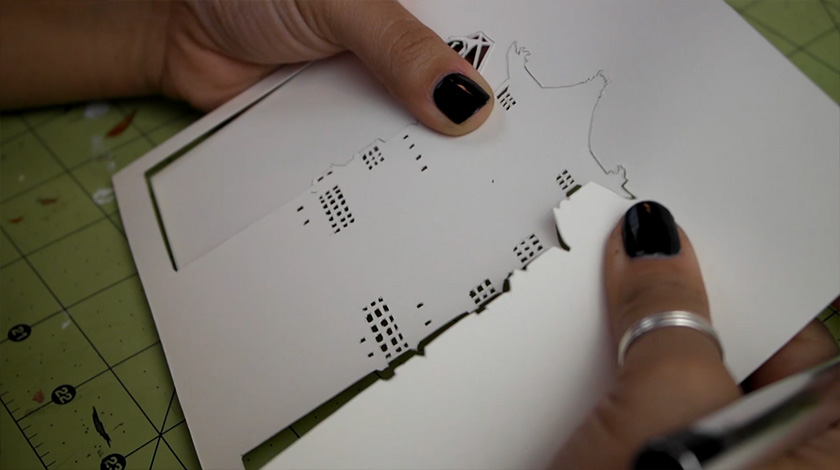
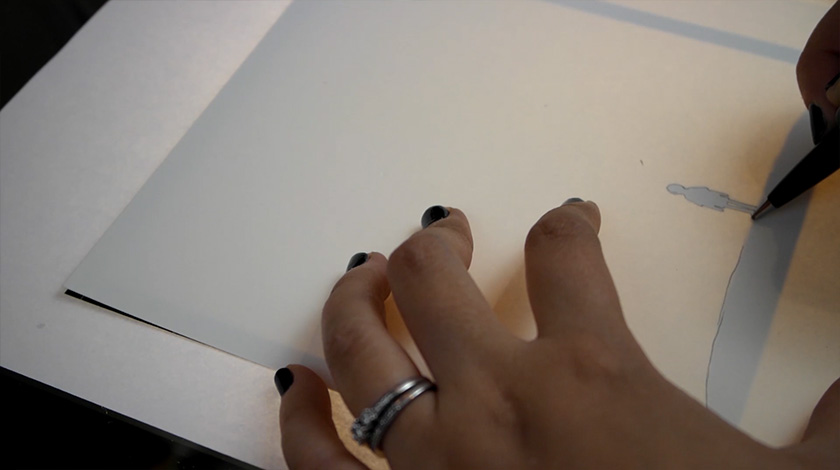
I recently saw some awesome artwork by these artists Hari and Deepti and I was very inspired to create some of my own. I threw together three tutorials; one is advanced, one is intermediate and one is easy. Check out the video below, or continue on after the "read more" tag, to figure out how to make your own!

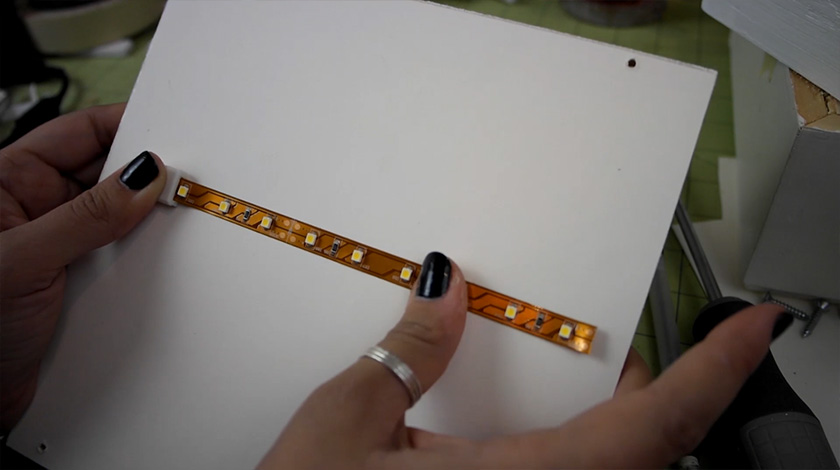
A quick note about the lights I used in these light boxes. These things are great; you can cut them to size and they're self adhesive. Perfect for any project requiring a little bit of lighting. If you want to buy some for your own projects here are some affiliate links for the lights, extra connector things and power cords. If you don't feel like buying these things you can probably just use some Christmas lights, but the downside to those is that you'd only have a tiny bit of the lights inside the box, and then you'd have a long tail of lights hanging out of it. Unless you build a big box to accommodate a whole string of lights. Which would be awesome.

Advanced:

Advanced!


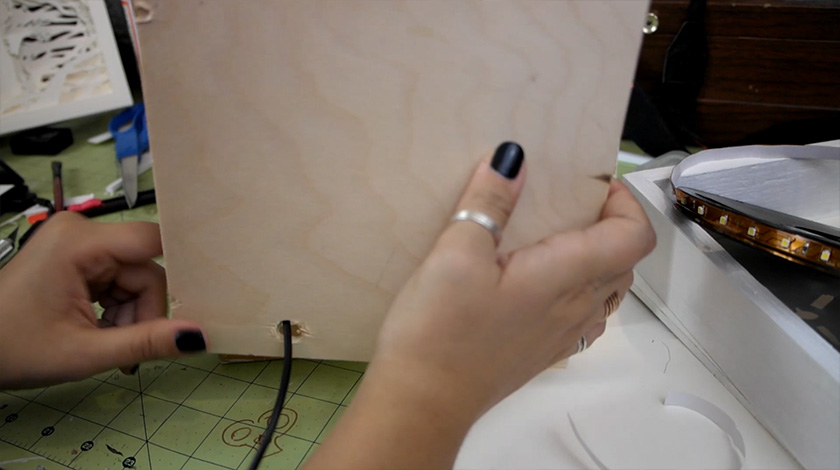
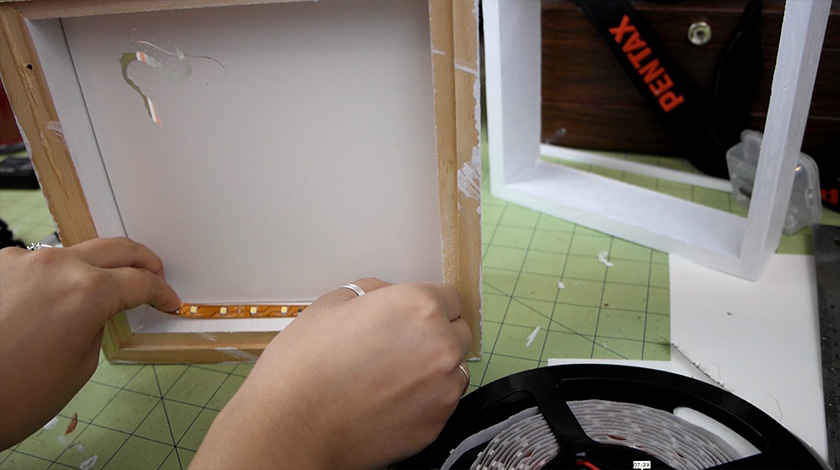
Mouse over or click on the images for instructions:

Intermediate:

Intermediate!


Click here to download the template for this one.

Mouse over or click on the images for instructions:

Easy:

Easy

Mouse over or click on the images for instructions:

Finished!

So there we go! Three different light boxes, three different levels of difficulty. I hope you all enjoyed these things, I'm pretty happy with how they turned out, and I'm already planning a few more to make!

For the Home, Tutorials

DIY Noren Curtains

14.jpg

I live in a shotgun style home, where we have no hallways and it's  basically just series of rooms, back to back. Some shotgun homes have doors to separate the rooms, but some, like mine, only have doorways. No doors. I've grown accustomed to the openness of being able to see basically all of the rooms if you look through a doorway, but I did also somewhat miss having a bit of separation between each room. My solution to this was to whip up a few sheer noren curtains. So of course, I'm going to be sharing with you this easy sewing project!

suppliesSupplies

01First, you'll need to measure the width of your door and then how long you want the curtains to fall.

002Divide the width by half. Add 1/2 of an inch to each side. Add 4 inches on top and 2 inches on bottom. Cut out these two measurements from your fabric.

03Put the fabric together, right sides together, mark down 8 inches, 1/2 of an inch in. (Note: My measurements are twice as big because after cutting the fabric, I realized I didn't have to finish the outer edges of the curtains because they were the selvage edges. So instead of trimming 1 inch off every piece of fabric (I made 3 all together) I just made the seams twice as large on the inside.

Sew along the line and then fold open.

04Fold 1/4 of an inch and iron that down. Then fold another 1/4 of an inch, iron again and pin. I skipped all of the ironing parts on the first one I  made, which was a huge mistake. For the other two I ironed after each fold and it made the job so much easier. So do as I say, not as I do.

05Sew the seam down along the edge. This will encase the raw edge of the fabric in the seam, making them look nice and neat! Repeat this process on the outer edges of the curtain. Fold 1/4 inch, iron, fold 1/4 inch, iron, pin, sew.

06For the top, fold down 1/4 inch, iron, fold down 2 inches, iron, pin, sew.

07For the bottom, fold down 1/4 inch, iron, fold down 1 inch, iron, pin, sew. Repeat on the other flap.

And you're done!

08Now from here you can either leave them plain or you can decorate! I was already thinking about decorating them, but after I put up this plain one to see how it looked, I decided I was definitely going to decorate them. They just didn't do it for me in their plain state. It probably didn't help that this particular curtain looks horrible because the tension of my sewing machine was off so it puckered the seams really bad.

But anyway, to decoration!

09For this one I drew an ensō circle. It's supposed to "express a moment when the mind is free to let the body create." I thought it would be perfect to put up in one of the doorways to our office/studio/wood shop. 10For this one I just painted some pretty standard bamboo.

11

And for this one I painted the whole curtain, sans a circle in the middle, with a dark greyish blue. After that dried I painted the circle with liquid gold leaf.

And here they are all hung up! 12 13 14

I hope you all enjoyed this project! I'm glad I didn't give up after I hung that first plain one. I almost did. But I think they look so much better after painting on them.

What do you all think?

For the Home, Other, Tutorials

DIY Faux Deer Head

091.jpg

First off I gotta say... Happy New Years! Welcome to 2015! Alright, back to this weeks project. I've always wanted to put up a faux mounted animal head in our house, but I could never find something that would work/was in the price range I wanted. I ended up giving up on finding the faux animal head and I made the flower curtain to go in that spot in my living room.

Well, of course not soon after I ended up finding the perfect head. Or almost perfect. Workable. I found a paper mache deer bust and it was on sale, yes! One of the antlers was broken off, but it was a super easy fix and they gave me an additional discount because it was the last one that they had. Double yes! I came home and got to work, and now I'm going to show you how to make your own!

suppliesSupplies.

01This step is completely optional. I wanted the head to have a bit more detailed, so I used some two part epoxy clay to sculpt in more detail. I also fixed the antler by popping it back in and then hot gluing it in place.

02Here it is all done being sculpted on! Looks pretty crazy right now, but it will make sense after painting.

03While I waited for the clay to cure, I added the hanging hardware. Just find the center of the wooden plaque and attach it there.

04Paint time! Paint the plaque and the animal head. I used white gesso because it has a matte finish which is what I wanted for this guy. I'm also going to use liquid gold leaf for an accent color.

05Once dry, mark out where you want the accent color to go. I did mine about halfway down the antlers.

06Paint time again! After I painted this part, I went back and added a few drip details.

07Use hot glue to attach it to the wooden plaque.

08Since the deer head was paper mache, it wasn't perfectly flat on the bottom, so when I attached it to the plaque there was a huge gap in some parts. If you have this problem, you can simply squeeze in some hot glue and then paint over it with your main color and that will hide the gap!

And then you're ready to hang!

09

Here it is in all it's glory. I took the flower curtain down and put this guy up in its place. I like it so much better than the curtain! What do you guys think? Let me know down below!

Alright, so now it's time for the giveaway winner! Congratulations blog reader Nicole!

Screenshot 2014-12-31 12.42.45

I will be sending you an email today! Make sure you reply as soon as you can because if you don't get back to me within 48 hours I'll unfortunately have to redraw a different winner.

Holidays, Kitchen, Tutorials

Etched Glass Champagne Flutes

071.jpg

Merry Christmas!! Since most of you are probably reading this after opening presents and all that other good stuff, I figured it was a tad too late for another Christmas themed project. However, it would be just in time for a New Years Eve project! So for this week I'm going to show you how to etch some glassware to make some pretty cool looking customized champagne flutes. You could make some as a gift for the host of the New Years Eve shindig you go to, or you could even make them as party favors for guests for your own party! suppliesSupplies. 01Use a sharpie marker to rough out your design. I wanted to do a bubbly design. 02Use the puffy paint to block out the areas that you don't want to be etched. Apply it a bit thick so it will be easy to peel off later. Let dry. 03Here's what my champagne flute looks like after blocking everything out. It looks a little confusing, but essentially I'm going to apply the etching cream to the bottom half of the glass, carefully "coloring" inside the lines around the middle bit. 04Apply the cream in a thick layer with a foam brush. Also you should be smarter than me and wear gloves while you do this. This stuff is etching glass, imagine what it could do to your skin. Let the cream set for a few minutes. I've seen people say that they let theirs set for as little as one minute, but I let mine set for the long long time of about 20 minutes. 05Rinse off the cream under warm water and soap. Let dry. 06Peel off the puffy paint. This part is so satisfying! 07Admire your work!


I hope you all enjoyed this project! You can totally do any design you want to do this. You don't have to limit yourself to only New Years designs if you didn't want to!


GIVEAWAY IS NOW CLOSED. Winner will be announced 1/1/15~

Also, there's still time, so don't forget to enter my giveaway!

SAMSUNG CSC

Holidays

Holiday Giveaway!

giveaway4.jpg

GIVEAWAY IS NOW CLOSED. Winner will be announced 1/1/15~

Hello everyone and welcome to my very first...

SAMSUNG CSC

 Giveaway info:

  • You're entering to win the wood turned sea urchin ornament pictured above, handmade by me.
  • You can enter 3 different ways:
  • Youtube: You must be a subscriber and then simply leave a comment on the video where I announced the giveaway, RIGHT HERE.
  • Twitter: You must be a follower and then retweet THIS TWEET that contains the photo above with the hashtag #chezlin2014xmas.
  • Blog: Leave a comment down below. Don't forget to leave a valid email so I can contact you if you win!
  • Giveaway ends 12/28/14 and winners will be announced 1/1/15

Giveaway rules:

  • Anyone can enter, but if you're under 13 you'll need your parents permission.
  • It's only necessary to enter through one of the methods listed above, but your name will appear in the pool for each entry method. Only one entry per method will be counted. That means if you enter through each one, your name will be in the pool three times!
  • If you do not claim the prize within 48 hours of me getting in contact with you/announcing the winner it will reset and I'll draw another name.

Good luck everyone!

Holidays, Tutorials

Sea Urchin Ornaments Part Deux

Yesterday I posted a video of me making an ornament with a sea urchin using a lathe to turn the parts for it. I realize not everyone has access to a lathe, so I decided to put together some sea urchin ornaments using materials that a lot of crafters would have but also would be easy to find at your local craft store. A little video summary will follow!

I will be doing a giveaway for the wood turned ornament from yesterday, so if you're interested in that, click here for more information.

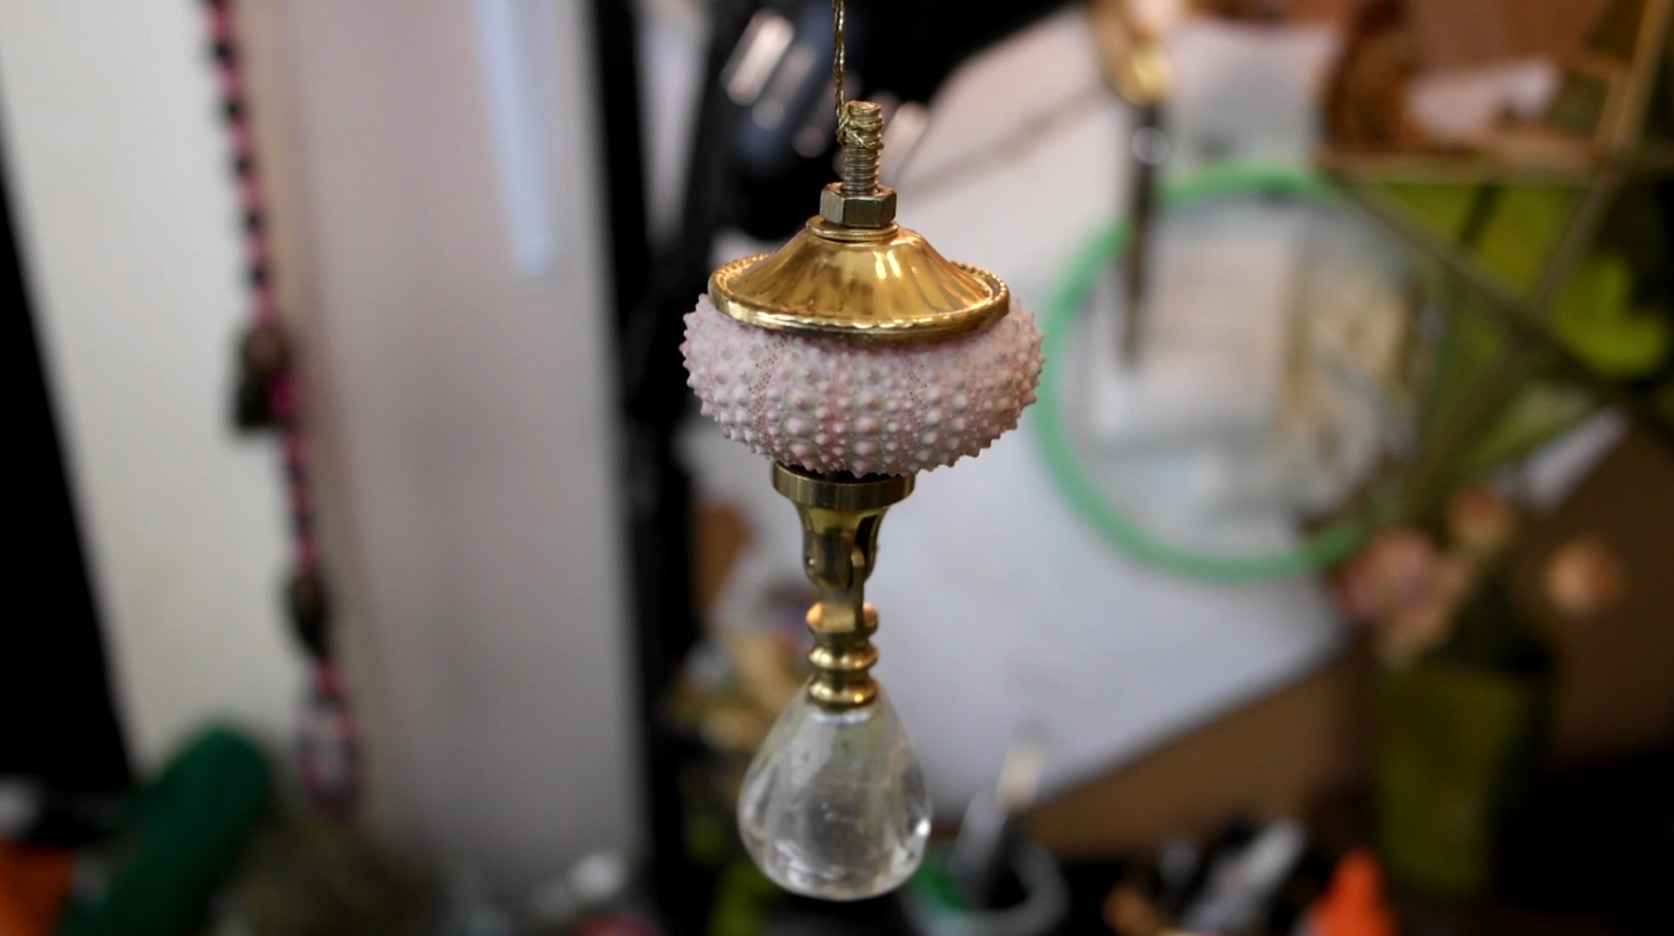
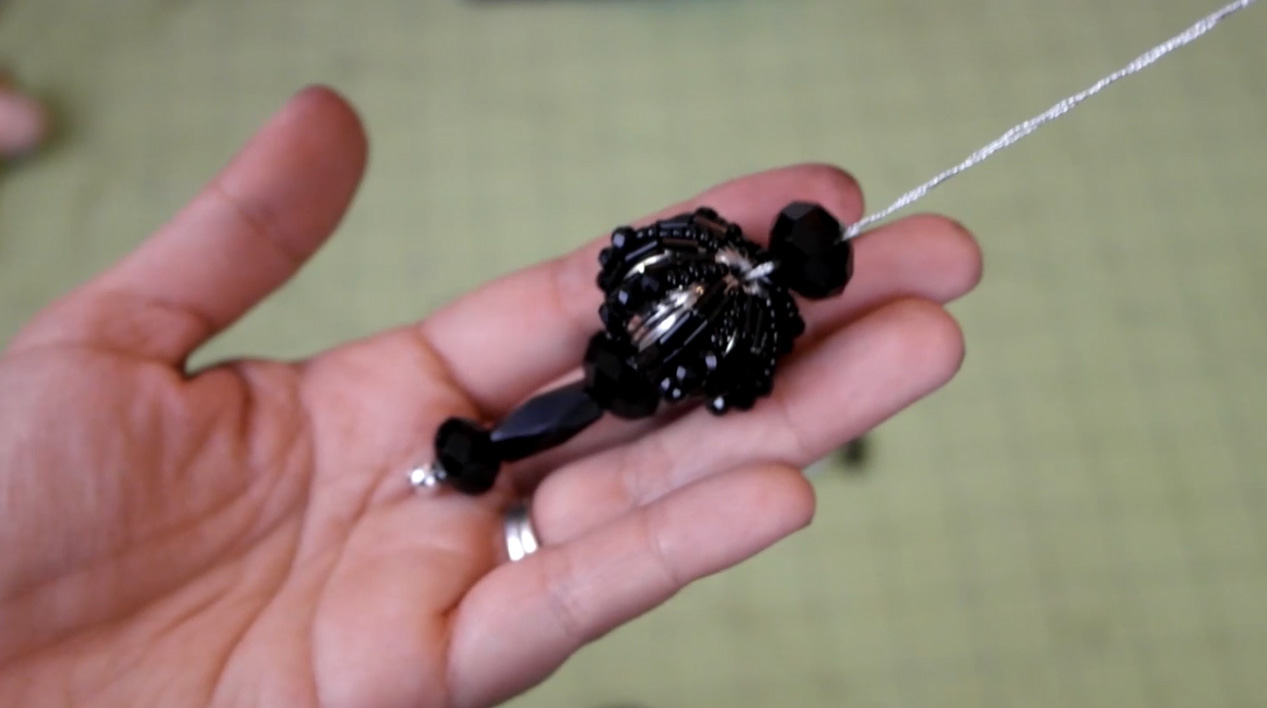
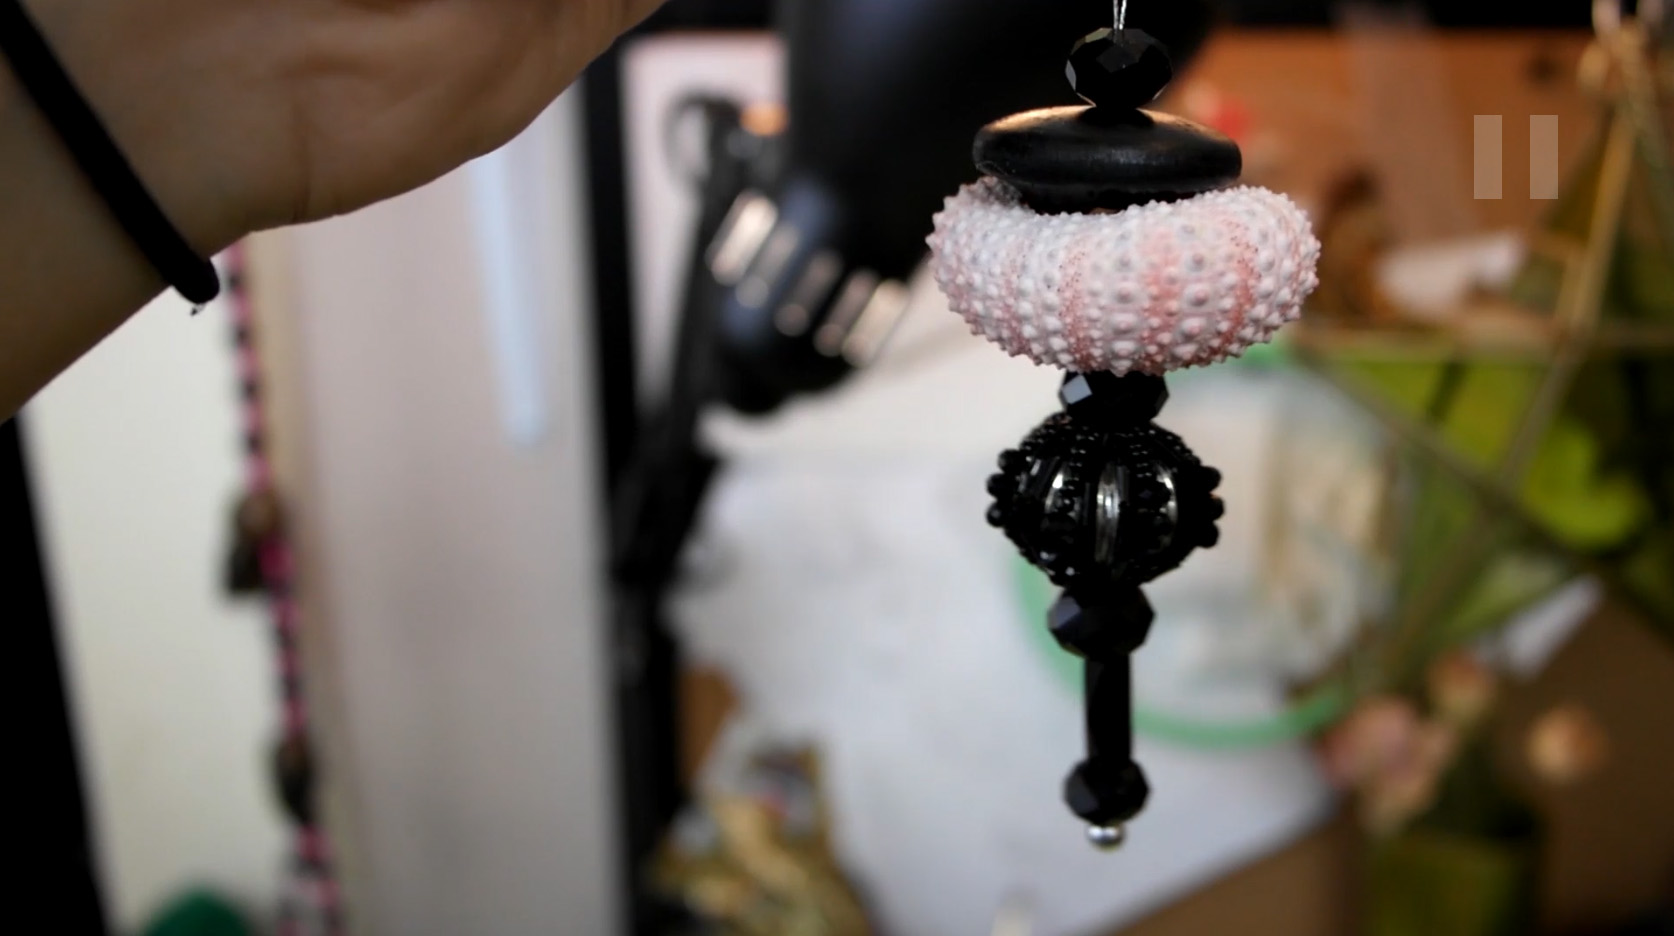
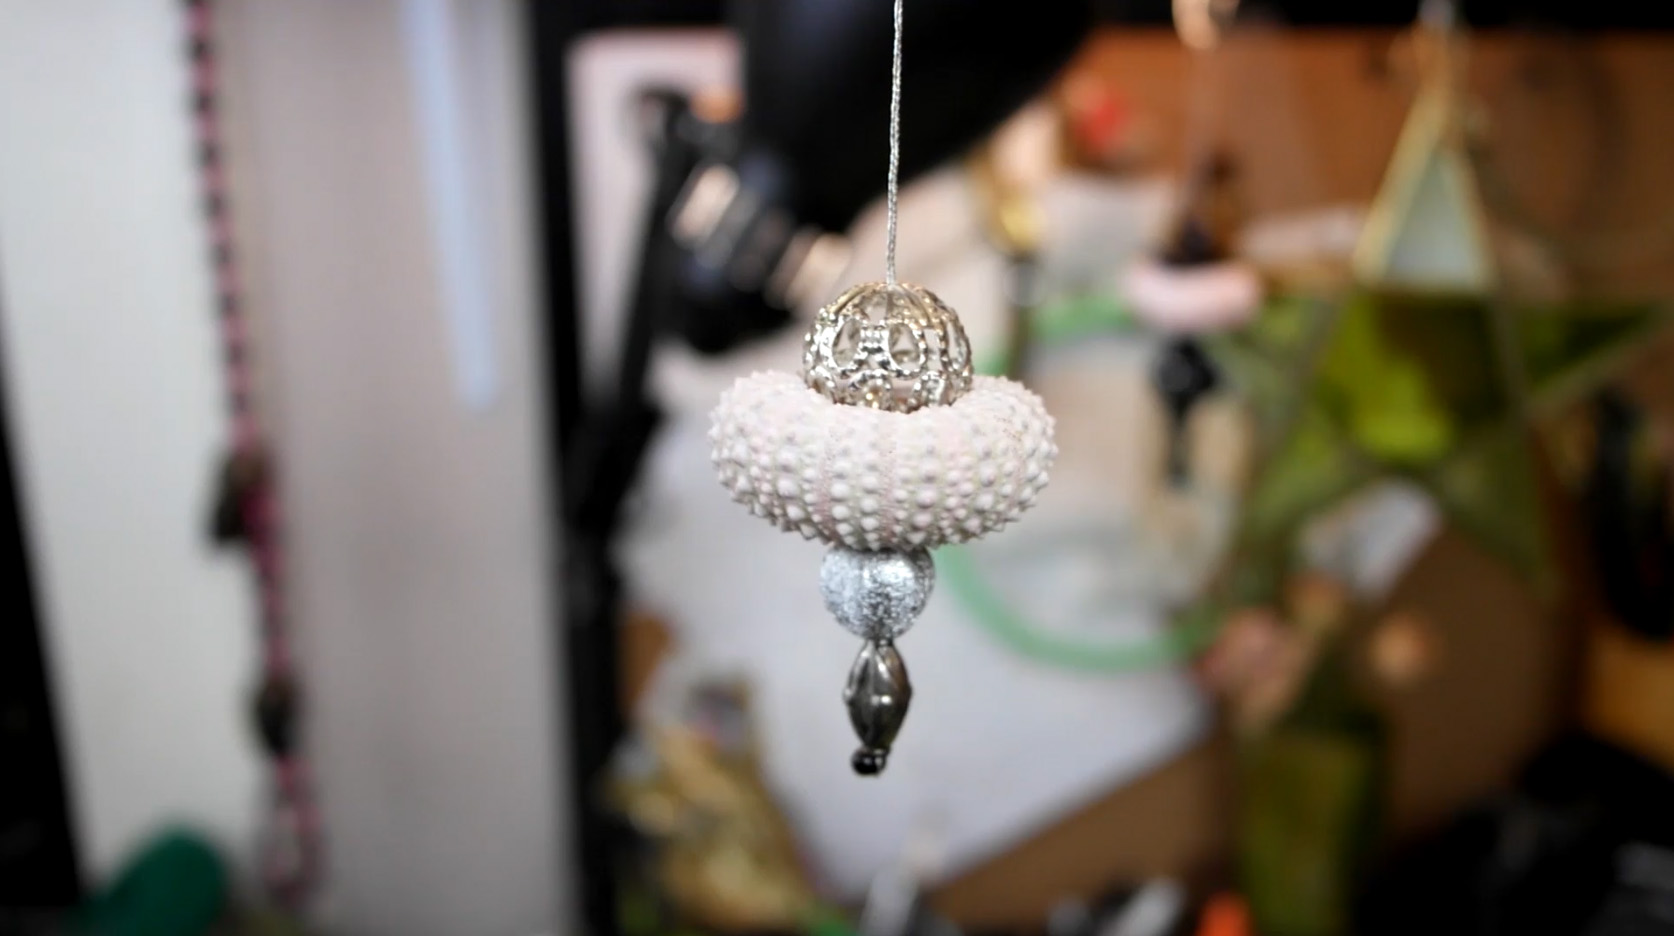
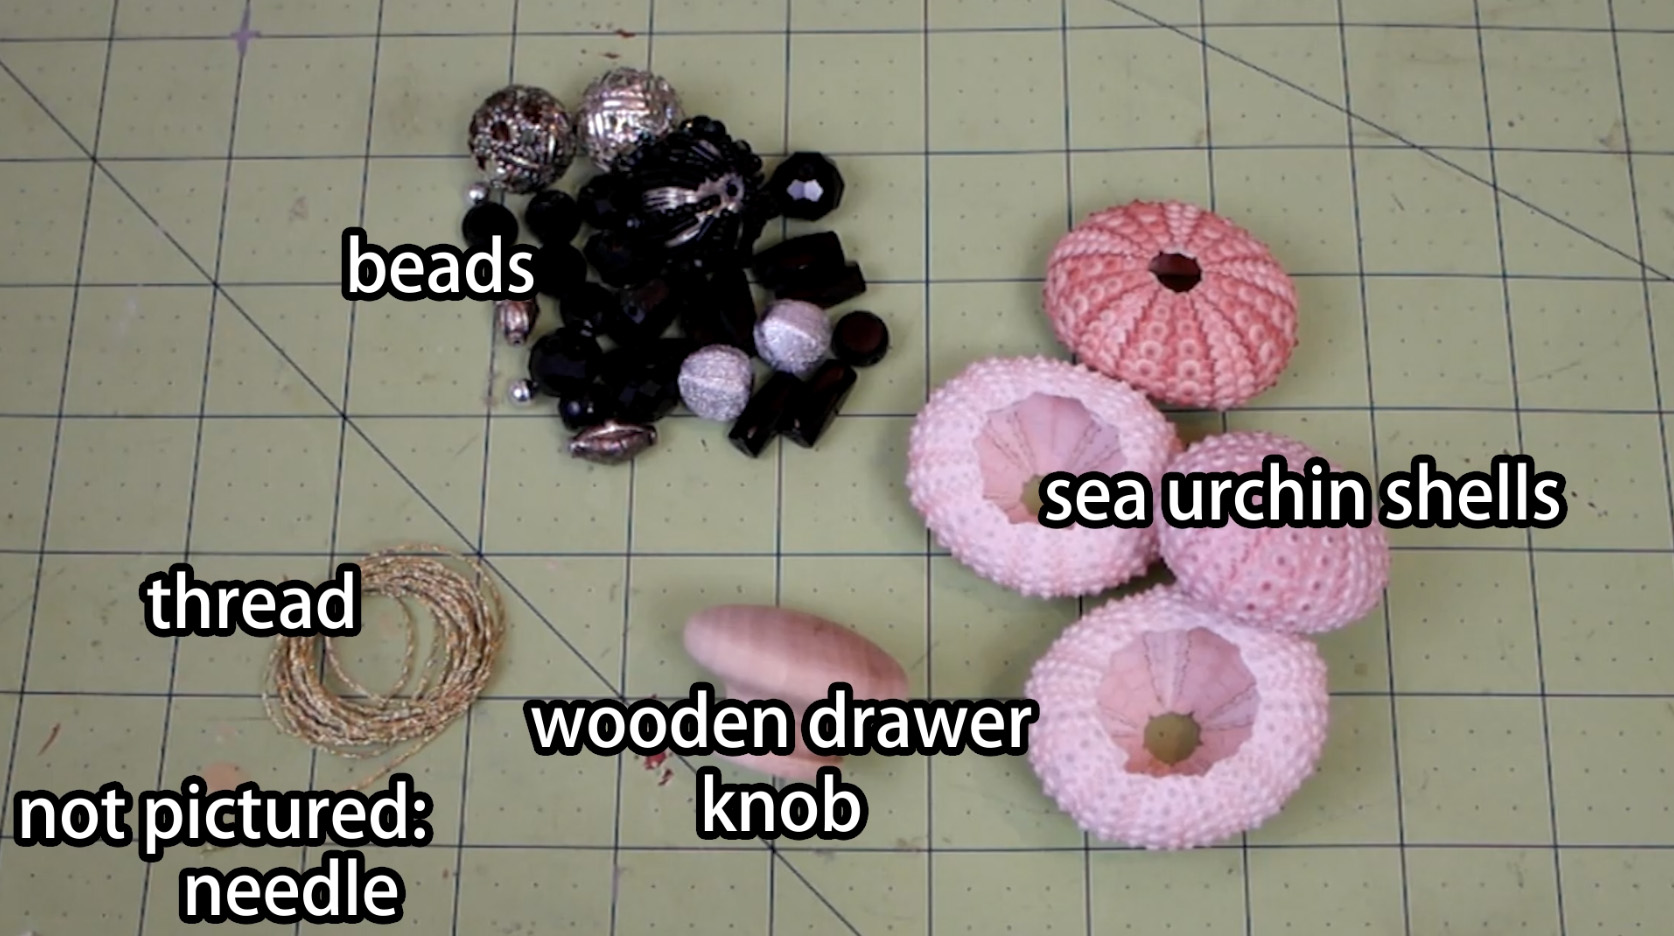
I made two different kinds of ornaments.  One using a drawer pull I bought at my local craft store, and one using beads.

Drawer pull ornament:

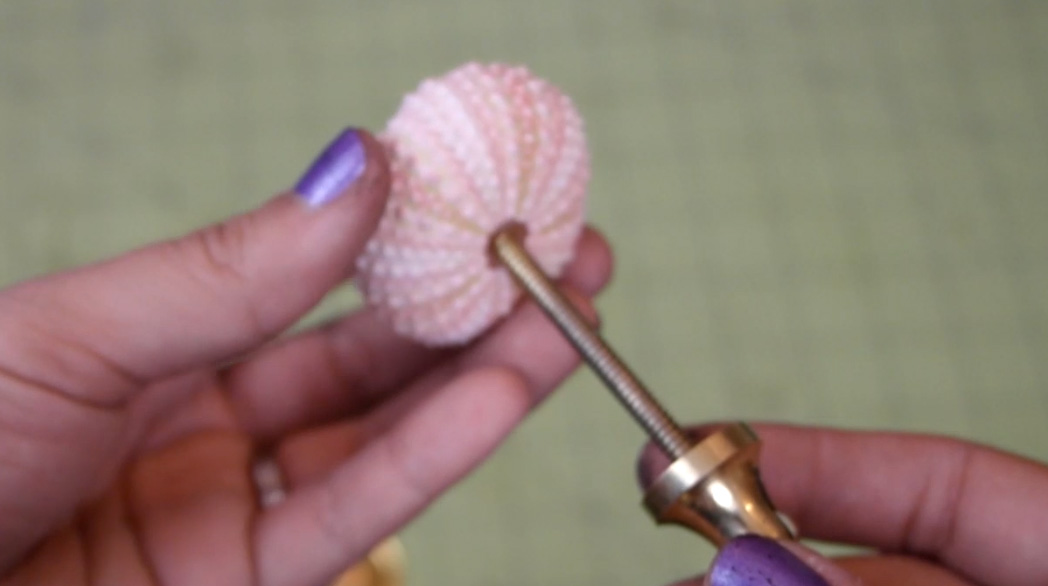
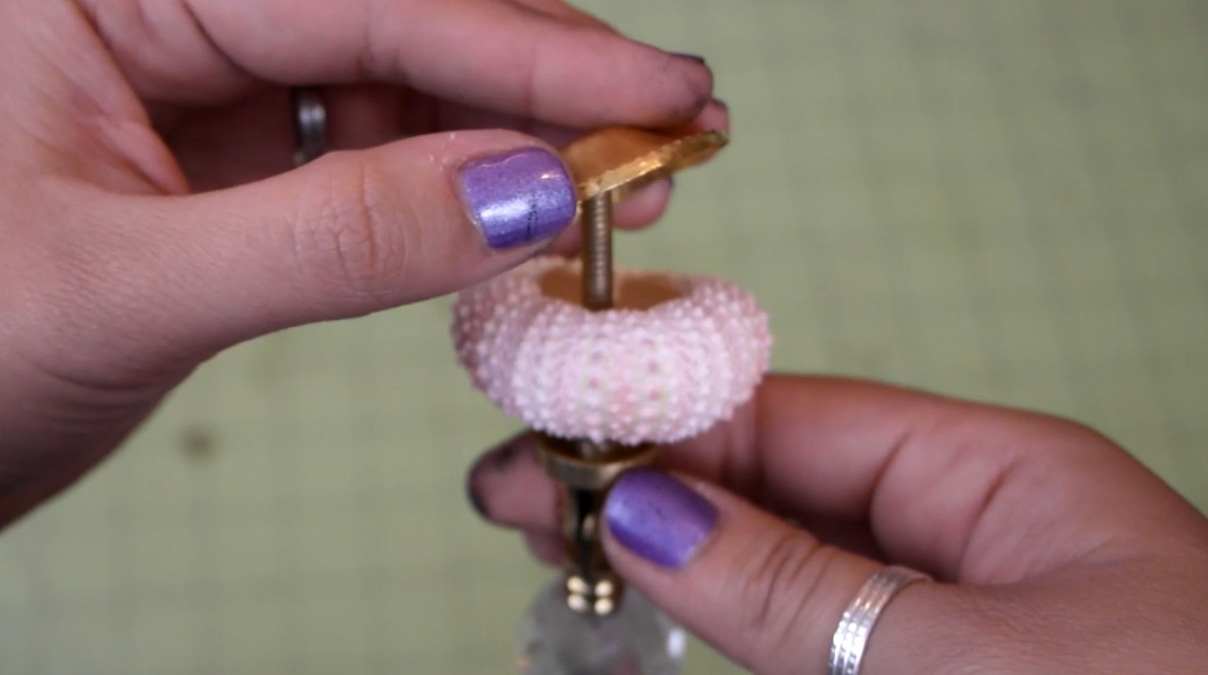
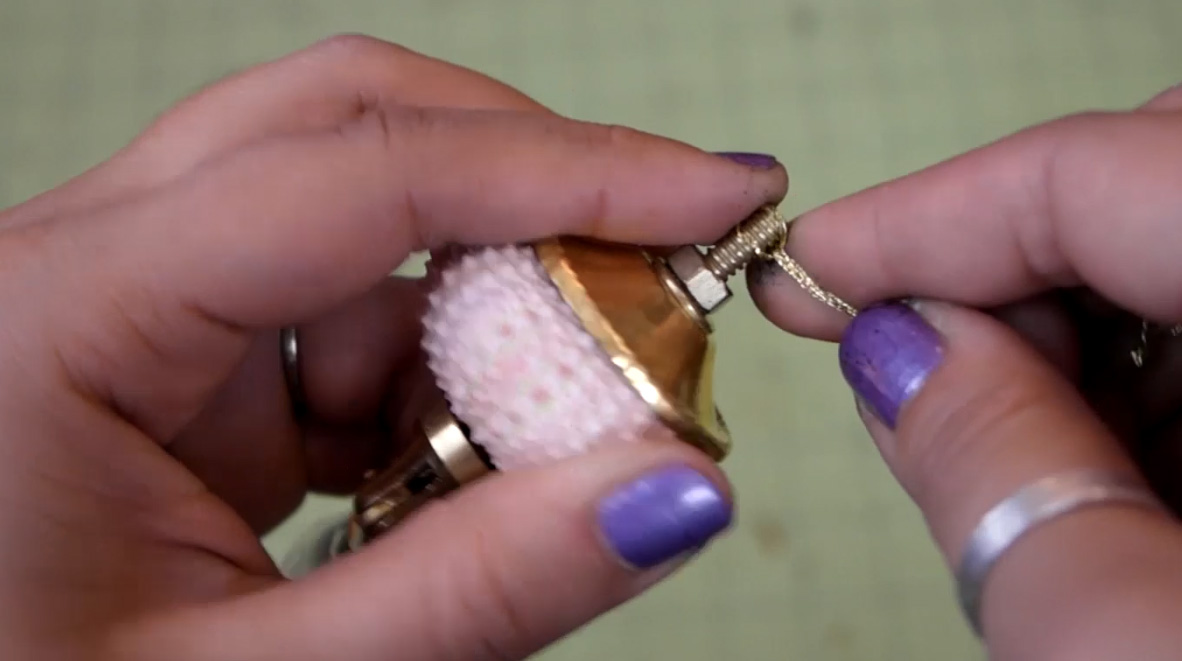
This is by far the easiest method. You're basically just screwing the drawer pull together around the urchin.

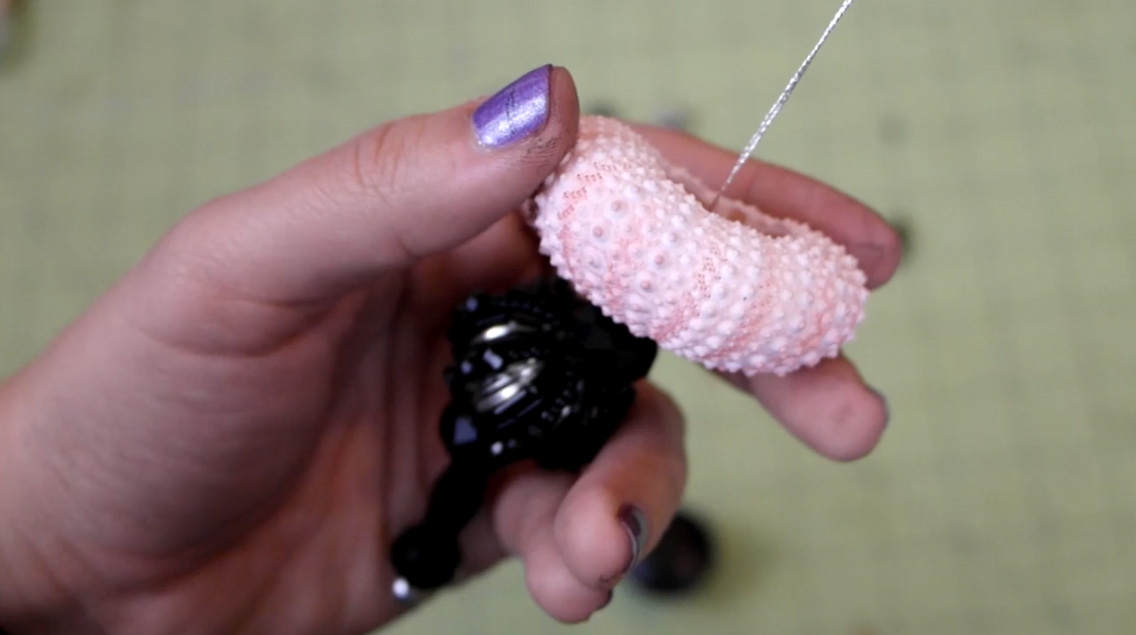
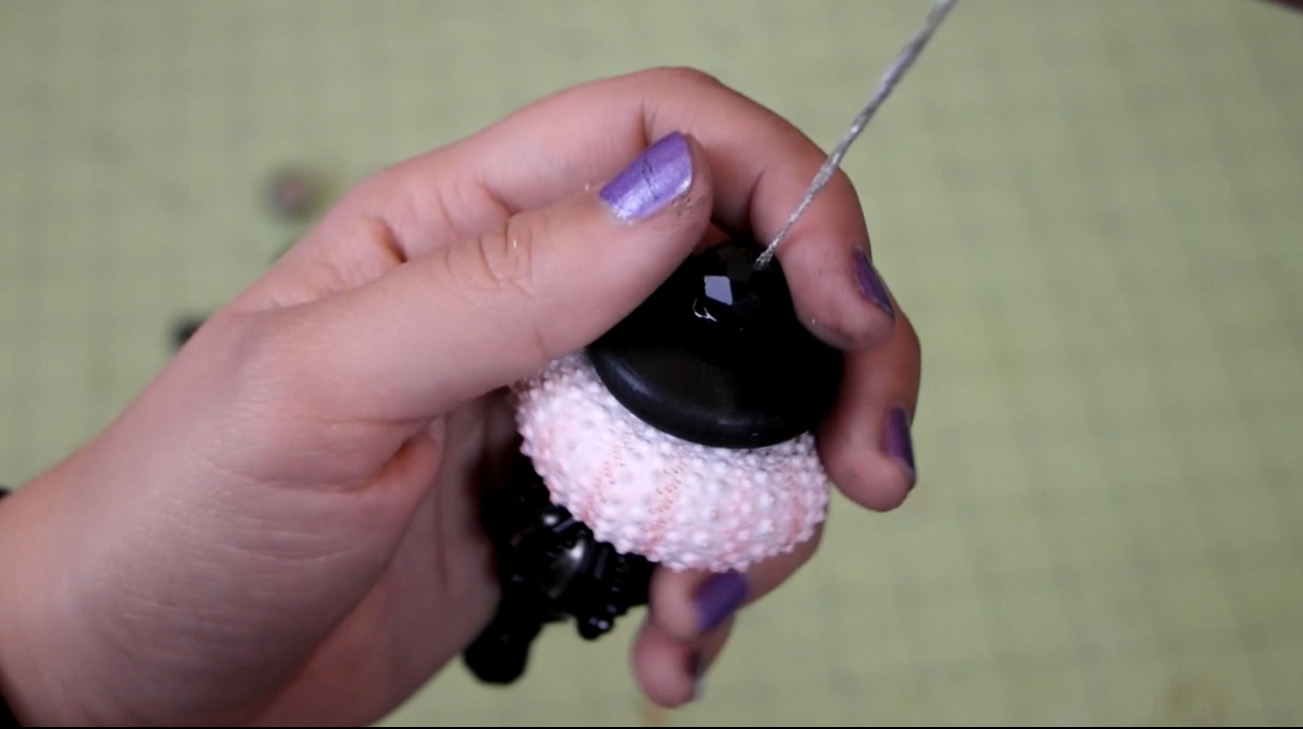
Hover over or click on the photos for instructions.

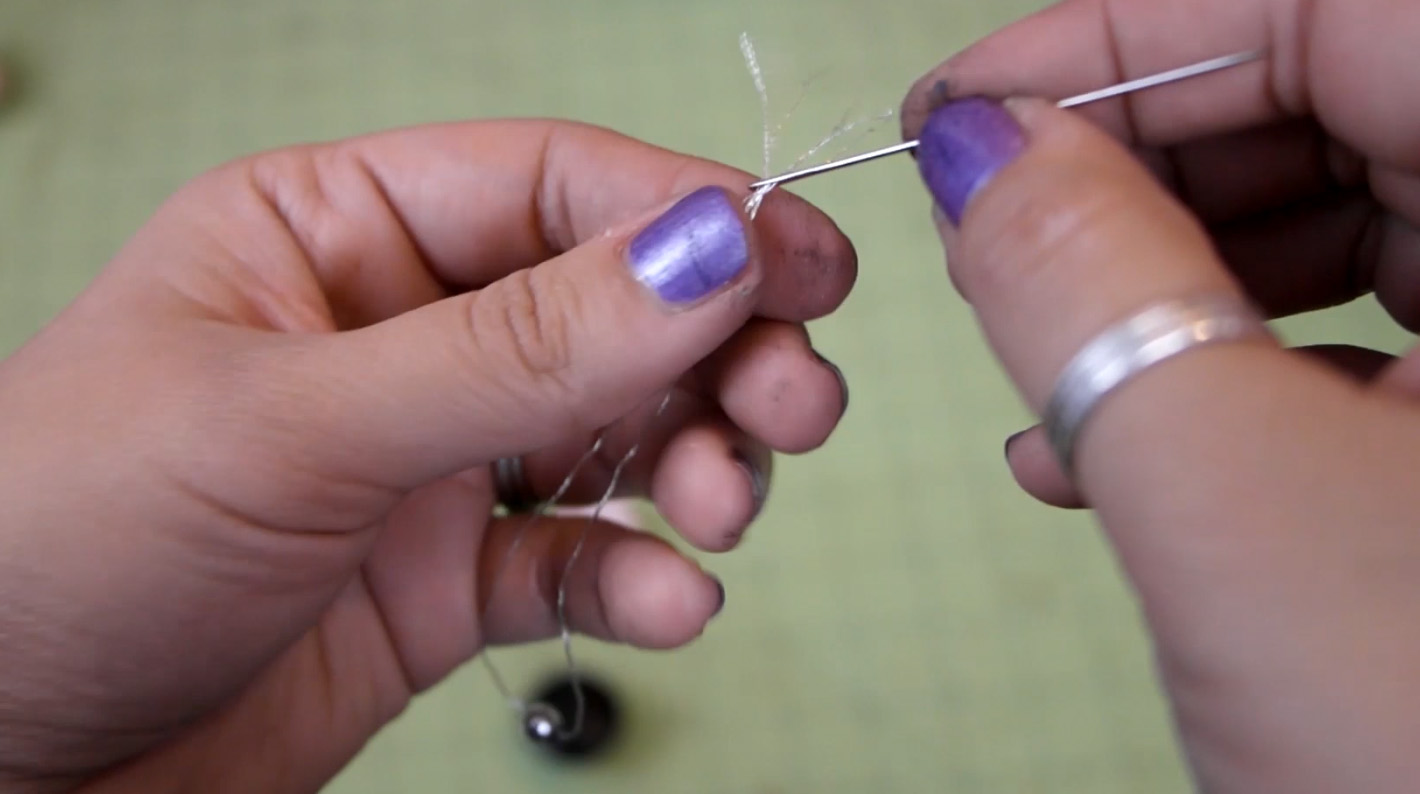
Bead ornament:

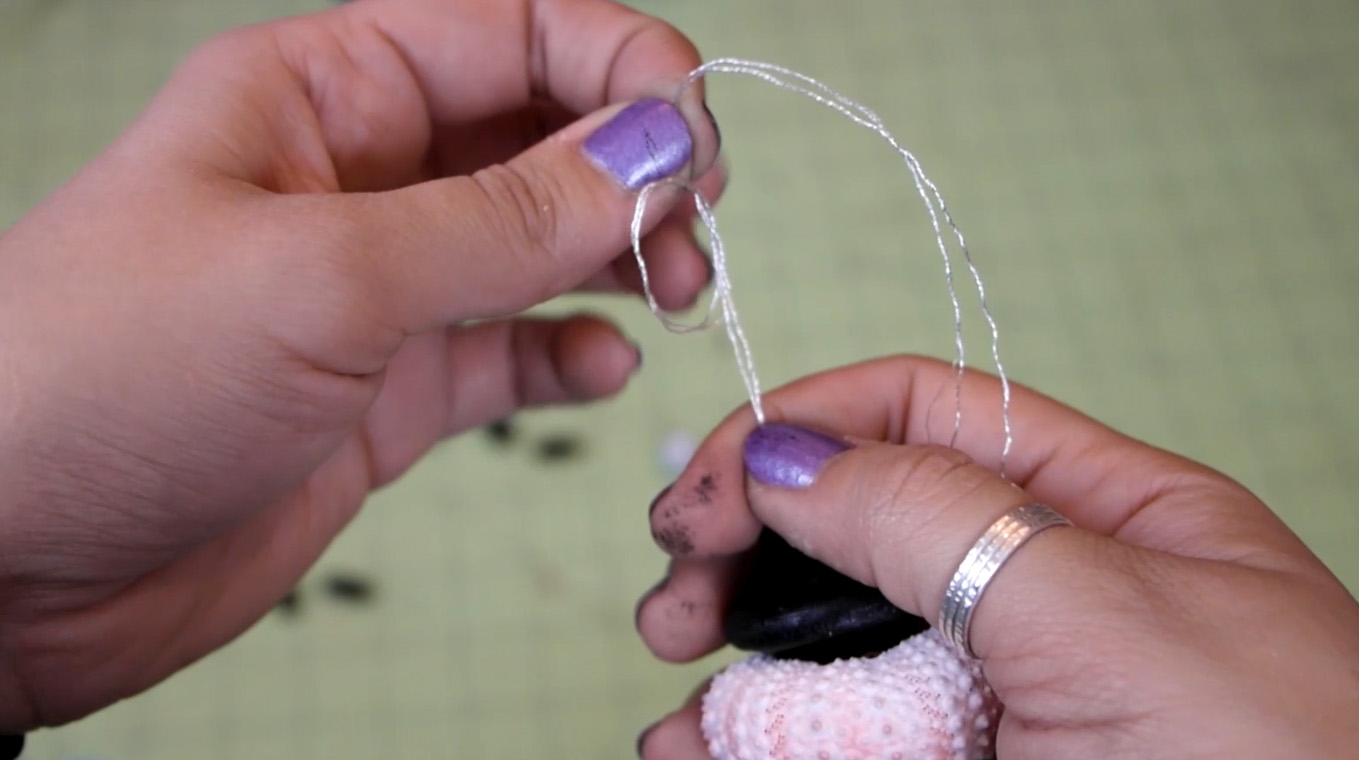
Hover over or click on the photos for instructions.


I hope you all enjoyed! If you have any comments or suggestions for future projects, please let me know!

GIVEAWAY IS NOW CLOSED. Winner will be announced 1/1/15~

And don't forget to enter for your chance to win a wood turned sea urchin ornament made by me!

Holidays

Wood Turned Sea Urchin Ornaments

A few months ago my husband bought a lathe, so I decided I'd learn how to use it. I've learned what I know from a combination of him teaching me and watching youtube videos so there might be some things I'm doing wrong or could do better. If anyone has any tips for me, please let me know! My most recent project on the lathe was a finial and topper for a sea urchin ornament. I decided to take video and share it with you all! This isn't a tutorial video or anything, but if you're interested in  the other ornaments that make an appearance at the end, I'll be posting a tutorial for those tomorrow.

Hope you enjoyed~

Clothes, Tutorials

DIY Embroidered Appliqué

A few months ago I came across a sweater that I totally fell for. It was the embroidered crane sweater from the Altuzarra for Target collection. I just loved the design and the placement of it, but of course, being the crafter that I am, I ended up talking myself into embroidering some of my own designs and throwing them onto a sweater to create something that has the same feeling like the original sweater. So today's project is going to be the embroidered appliqué that I made to attach to a thrifted sweater.

Keep reading for a video summary!

suppliesHere's what you'll need. You'll want to cut the water soluble fabric and tulle to fit your embroidery hoop.

01Draw your design onto some water soluble fabric.

02Take the middle hoop and drape the black tulle and water soluble fabric over it and then push the outer hoop over it all and tighten the hoop slightly. You'll want to keep it loose enough to be able to pull the fabric in the hoop, but tight enough to keep it in place once you've pulled it.

Work around the hoop gently pulling the fabric taut. Then finish tightening the hoops all the way.

03Embroidery time! I was totally inspired by Michele Carragher's embroidery style. I'm not really going to go into detail about how to do this part because I was just kind of winging it and doing what felt right for that part of the design. According to my research I was using a combination of stem stitches, detached chain stitches and split stitches. And of course I added some beads and jump rings as embellishments.

04

05Here it is all finished! Well, the embroidery part anyway.

06

To secure the thread ends and to make sure nothing moves too much, paint a thin layer of Mod Podge onto the back of the design. It's important to use Mod Podge because once its dry it isn't water soluble so you wouldn't have to worry about washing the glue away whenever you did laundry.07Tear off as much of the water soluble fabric as you can.

08Trim the excess tulle away leaving 1/8 inch on the edges.

09

You can see here where the water soluble fabric didn't tear away, so off to the sink I was.10Under running water, gently rub the areas where the water soluble fabric is still clinging on for dear life. It will dissolve away.

11I made two mirrored embroidered appliqué designs and sewed them on the shoulders of a thrifted sweater.

And...

12Finished!

I hope you enjoyed this project! I actually like it a lot more than the original sweater I based this project on. This is my first major embroidery project so if anyone has any better techniques or anything like that for me then please leave a comment! :D
Stay tuned for some holiday goodness next week!

Clothes, Tutorials

3 Easy Beanie Mods

I love beanies. Like shoes and scarves, I feel like you can never have too many. Since it's finally starting to get cold where I live, I thought I'd put together a few ways to spruce up some simple, plain beanies.

A summary of the video will follow!

Beanie 1

For the first beanie I embellished it with two pom poms to give it a sort of teddy bear ear-esque look. Hover over the images or click on them to see instructions!


Beanie 2

This second beanie mod is inspired by Korean fashion. One of my guilty pleasures is Kpop music, and I feel like I was always seeing the idols wearing cute beanies with really long bunny ear like bumps on top. I decided I needed to own something similar. And here it is! Hover over the images or click on them to see instructions!


Beanie 3

This last beanie mod isn't reminiscent of any kind of animals like the last two were. This one is simply if you wanted to add a little edge to the thing. Hover over the images or click on them to see instructions!

And those are the beanie modifications I wanted to share with you all! I hope you all liked them. I'm super excited to add these guys to my beanie rotation now!

Kitchen, Tutorials

5 Thanksgiving Leftover Recipes

Happy Thanksgiving everyone! I hope the day is going splendidly and your bellies are stuffed. Since the upload day for my videos and blog fall on this particular holiday it would be kind of silly for me to do a recipe for Thanksgiving, but since most of you will be seeing this post after Thanksgiving I thought it would be a good idea to shoot a video/write up a post with a few recipes for your leftovers! I want to point out that since I made this video before Thanksgiving, instead of using a turkey I cooked a  while chicken instead. The recipes are still the same, just pretend I'm using turkey meat/bones instead of chicken! I didn't cook a turkey for two reasons: I couldn't find any whole ones at the grocery store when I was going to make this video and because these meals were made for just me and my husband, so even if I could find a turkey, I didn't want to cook all of that meat and then have it go bad since we couldn't possibly eat it all by ourselves.

Keep reading for the full ingredients and recipes!

01

  • 1 cupcranberry sauce
  • 1 red jalapeno finely diced
  • 1 red bellpepper finely diced
  • 1 tsp lemon juice

Throw the jalapeno, red bellpepper and lemon juice into a pot and heat over medium heat until they start to just soften. Stir in the cranberry sauce. Crank the heat to high and bring to a boil. Lower the heat to med-low and simmer for about 10 minutes or until thickened.*

*My cranberry sauce was quite loose, so I simmered mine for a little bit longer. And some people who have thicker sauce may need less time, but 10 minutes is a good general time.


02

  • 1 cup leftover mashed potato
  • 1 1/4 cup flour
  • 1 egg beaten
  • 1/2 teaspoon salt

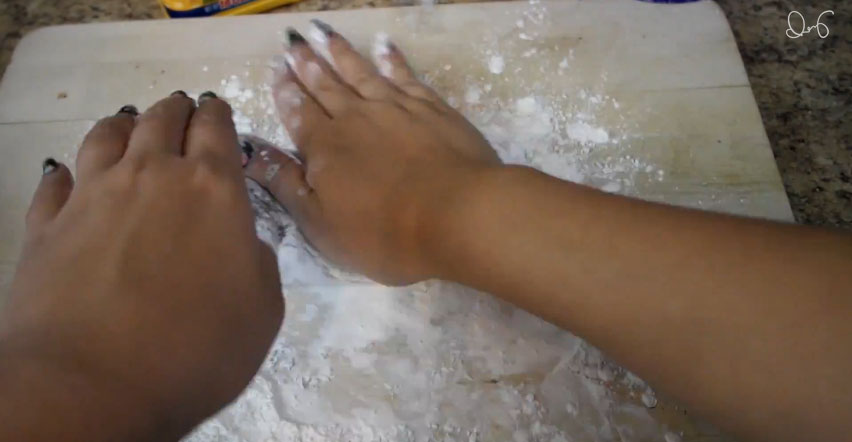
Dump salt and 1 cup of flour onto a cutting board and make a well in the middle. Dump your leftover mashed potatoes on top and make a well with them also. Pour the beaten egg into the well and using a scraper start bringing in the sides of the flour and mashed potato into the middle to mix with the egg until it comes together like a dough. You could just mix everything together in a bowl, but it's more fun this way! Also, depending on your mashed potatoes you may need to add the additional flour. Just add a little bit at a time and knead it in until you have a dough that doesn't stick to your hands. Divide the dough into quarters and roll into long snakes and cut into 1 inch pieces. Gnocchi have lines in them that are typically created with a special paddle, but if you're a more casual gnocchi maker, you can get away with just using the back of a fork. What you want to do is place a piece of dough on the back of a fork, towards the base of the tines and using your thumb, roll the dough down. An alternate method is to just poke them in the middle to create a little dent. Place your finished gnocchi on a lightly floured baking sheet until you're ready to use them! If you're not going to use them that day, you could freeze them for later use.* To cook, bring a large pot of salted water to a boil and dump them in. Since they're fresh they won't take very long to cook, usually they take about 2 to 5 minutes. They'll float to the top of the pot when they're done. Use a slotted spoon to fish out the cooked gnocchi and place directly into your sauce. If you like a little bit of crispiness, you could also take them out of the water and put them into a saucepan with a bit of oil and saute until lightly golden. Then top with your sauce. Or you could also use them as the "noodles" in soup like I'll show you later in this post.

*To freeze, place in a single layer, try not to have them touching, and throw the whole sheet pan into the freezer. Once they're frozen you can throw them into a ziplock bag in order to save valuble freezer space. Once ready to use, let them defrost a bit on a baking sheet in a single layer and then cook like normal.

03

  • turkey bones
  • 1 onion
  • 2 large carrots
  • 2 or 3 celery stalks
  • 4 garlic cloves
  • 3 bay leaves
  • a few sprigs of rosemary
  • a few sprigs of thyme
  • water
  • salt to taste

After you've picked all of the meat off of the bones throw it into a pot. Fill with water. You'll want to use enough to cover the bones. Crank the heat to high. Roughly chop your veggies and chuck them into the pot. Toss in the herbs as well. Bring to a boil and then lower the heat to med/low and simmer for 6 to 8 hours. Place a collander over a bowl and pour the contents of your pot in. Discard the bones and veg and herbs. Add salt to taste.

04

  • bread
  • turkey meat
  • cranberry pepper jelly
  • lettuce
  • turkey jus or gravy

Build your sandwich! Spread a bit of the jus onto the bread. Alternatively you could skip this and just dip the whole sandwich in the jus while you eat it. Place the lettuce and spread the cranberry pepper jelly onto the other half of the bread. Throw the turkey on top of the lettuce, close the sandwich and there you go!

05

  • 1/4 cup olive oil*
  • 1 onion diced
  • 4 garlic cloves minced
  • 1/4 cup flour
  • 4 cups turkey broth
  • 1 large carrot diced
  • 1 celery stalk diced
  • 1 cup turkey chopped or shreaded
  • 1lb gnocchi (conveniently my homemade recipe makes roughly this much)
  • 1 can coconut milk
  • 1 sprig thyme
  • 1 teaspoon dried parsley
*1/4 cup might seem like a lot of olive oil, but you need it because we're going to be making a roux!

Heat olive oil in a large pot over medium/high heat. Throw in the onions and garlic and cook until the onions are translucent. Stir in the flour. Stir constantly for about 5 minutes. Stir in the turkey stock. Dump in the carrots, celery, turkey and herbs. Lower heat to med/low and simmer for about 20 minutes. Pour in the coconut milk and let simmer for 5 minutes. Fish out the bay leaf and any other herbs. Season the soup with salt and pepper to taste. Throw in the gnocchi and cook for about 5 minutes, or until the gnocchi starts to float to the top. Ladle into a bowl and enjoy!


I hope you all liked these recipes!

Tutorials

Geometric Turkey Candles

Thanksgiving is a week away and now is the perfect time to start getting your table decor together. Especially if you're like me and plan on DIYing most, if not all of it. Recently I've seen some tutorials on how to make geometric candles and I really liked that look, so I decided to create my own design for a geometric turkey that you could display by itself (along with the food of course) or you could pair it with the other geometric type of candles for an interesting tablescape.

Keep reading for a quick video summary!

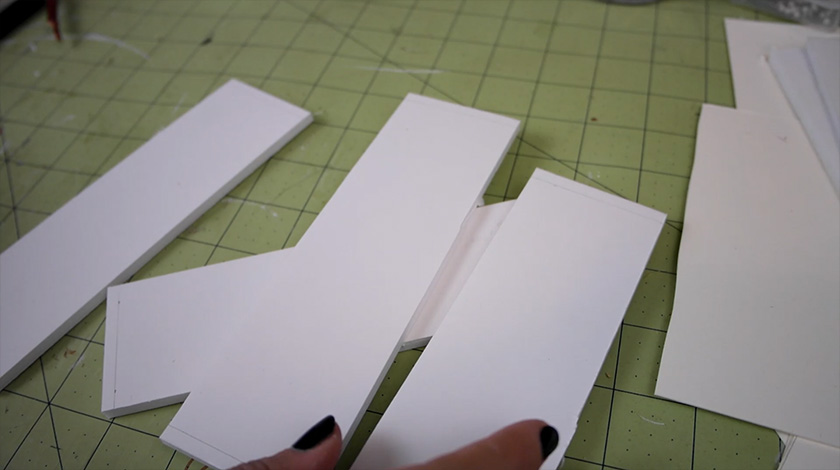
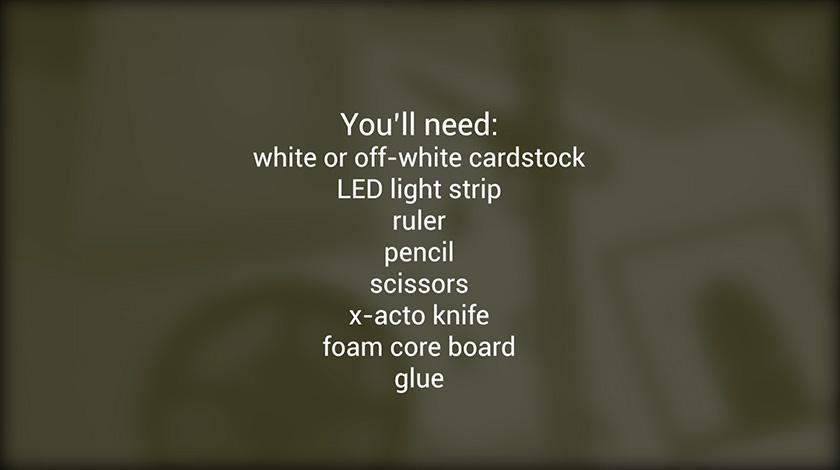
01Supplies! You can find the pattern HERE. I recommend printing onto cardstock since it's more rigid, but printer paper will still work. It just won't look as sharp as one with a cardstock mold.

02Use scissors and/or an xacto knife to cut out the pattern.

03Flip your blade over and, using the blunt side, trace over the dotted lines to crease, or score, the lines. This will help you to cleanly fold them.

04Fold along the lines using this guide.

05Apply glue to a tab.

06And glue to the corresponding number. You want to glue the tabs to the outside of the pattern. Since we're filling them up with wax, if you glue the tabs inside, you'll get an indentation from the tab in your candle.

After you finish gluing the whole thing up take your glue and  dab some on to the corners to close up any holes.

07Take some acrylic paint and paint a thick layer all over the turkey. Repeat 2 o r 3 times. This is to ensure there will be no leaks. I did 2 layers on this one and had no leaks. Let dry.

08Take the tube shape and glue the tabs onto the matching triangle tabs on the chest of the turkey like so. After I did this I noticed a few iffy spots on my turkey so I just dabbed on a bit more glue to those areas. Theoretically you could have just done a few layers of glue rather than paint initially, but with paint you can easily see if you have missed any areas.

09Mark a hole on the back of the turkey and poke a hole.

10Stick your wick in and pull through so an inch or two is sticking out of the top and bottom.

11Apply some water soluble glue(Elmers) around the base of the wick. You want to make sure it's water soluble so that if, after you removed the mold, there is glue still on the wick, you can just easily clean it off under running water.

12Melt your wax in a double boiler. I'm using an old coffee can that's sitting in about an inch or so of simmering water. I'm also using crayons to color the wax. For this specific candle I attempted an ombre and totally failed at it. I explain it more in the video, but that is why the candle ended up having some weird horizontal stripes in it.

13Pour your hot wax in the mold and let cool slowly. I had another mishap at this stage. Since I was trying to do the ombre effect and I'm impatient, I threw the mold with the hot wax into the freezer between layers in an attempt to speed things up. My resulting candle has cracks all in it and I believe that the freezer step is what caused that. The two prototypes I made before this one were both cooled on the counter overnight and didn't have any cracks like this one did.

14After you let the wax harden, cut the excess wick off the bottom and then remove the mold. If you made a cardstock mold you will probably have to use your xacto knife to get it started.

15When removing the mold from around the wick just pull up carefully. Like I mentioned earlier, if there is still some glue attached to the wick just clean it off under running water. Trim the wick down to about half an inch to an inch.

16And here it is with my first two prototypes! (The new guy is in the back) You can see the cracks in the new one. The smaller prototype has a line halfway through it because I didn't melt enough wax initially so it had started to harden by the time the second batch of wax melted.

17Here they are all lit up! You can see the slight design chance I did in the tail between the first two prototypes and the newest turkey.

Aside from the ombre fail and the unfortunate cracks in this last turkey, I really do love how they turned out and I'm definitely going to throw these guys on my Thanksgiving table this year!


For the Home, Other

Cat Shelves

It's no secret I like to spoil my cat. A while ago I made him a cat tree to give him a space to get away from our (at the time) new puppy. Well now that puppy is a decently big dog and he can reach Gremlin's little cat tree sanctuary, and while Grem normally doesn't mind too much(Hobbes is like a annoying little brother) I still wanted to give him his own space to get away when he wants to. I also wanted to put Grem's food and water bowl up a little higher because Hobbes love that stuff and can still get to it when it's on my dresser. So I made one shelf with recessed food and water bowls and two more simple carpeted shelves. A quick video summary will be below!

01Supplies. And how to cut your wood.

03I did miter joints, so I cut the wood at an angle for the corners.

04Figure out the placement for your food and water bowls on one of the shelves. Measure the size of the lip of the bowl (mine was 1/4 inch) and use that measurement to draw out another, smaller circle in the middle. You want to cut the wood out on that circle so the body of the bowl fits, but the lip doesn't, so the bowl rests nicely inside.

05Cut the circle out.

06Time to assemble! Use wood glue to stick the wood together and use the stapler to tack the wood in place with brads or finishing nails. You're going to attach the 32inch long piece to the 32inch side of the large piece of wood and then a 10inch length of wood on each side. Leave one side bare since it will be resting against the wall.

07Finish the wood according to instructions. I used a dark stain.

08Cut a piece of carpet out that's 32in by 10in. This is leftover remnant carpet I got for the cat tree. I still have so much left over...

09Attach the carpet. I put down some wood glue first before laying the carpet down. I honestly don't know if that even did anything because I followed up with about a million staples, but it made me feel better so I did it. So after you lay the carpet down use your stapler to staple the carpet down. I made sure to use a lot because I figured Gremlin was going to use these things as horizontal scratching posts and I didn't want him to be able to rip the carpet off.

10Here are the finished shelves! You can see the recessed bowls. I'm so happy with how they turned out!

11Now hang up on your designated wall! I really wish we had splurged on nicer looking brackets, but oh well. They're up already so I just gotta deal with it. I can always change them later!

12And here he is enjoying his new cat shelves!

I'm so happy these turned out pretty much exactly like how I pictured them in my head (beside the ugly brackets).

I hope you all enjoy, and I hope my instructions were clear enough! I didn't realize how hard it would be to explain wood working stuff.,. hah!


For the Home, Other, Tutorials

Flower Curtain Wall Decor

It's finally getting a bit chilly here and finally feeling like fall, so it's put me in the mood for all the autumn things. First things first, some decoration. My original intention was to make a wreath, but after getting my supplies home I changed my mind and decided to make some hanging wall decor instead. Here's how I did it!

Keep reading for a quick video recap below!


Supplies:01

02Cut all of the flowers apart.

03With the flowers I bought, the leaves were loose so had I superglue them in place.

05Find the center of a flower, squirt some hot glue in the middle and stick the end of a stem into it. Hold until the glue is hardened.

06Repeat until the strand of flowers is as long as you want. I made mine four flowers long. Repeat to make as many segments as you need for your branch size. I made nine.

07Tie a length of string onto the stick and then to the head of the top flower of one of the segments.

08Repeat until you've attached all of your segments. I tied mine about three to four inches apart.

09Here it is over my tv!

10My branch was pretty lightweight and adding the flowers didn't add much weight to it so I was able to just hammer two nails in the wall and rest the branch on those.

11If your branch is too heavy for that method, you could tie a piece of twine or yarn on each end of the branch and hang from a single nail like in the image above.

Hope you all enjoyed this project! I love it. I have a feeling like this piece is going to stay up on the wall for a while!